
Final Fantasy 2 Pixel Remaster 100% Walkthrough - Pandaemonium Dungeon

If you step on the Teleport Tile at the end of the Jade Passage you will appear directly in The Pandaemonium, which is the final dungeon of the entire game.
So before you start this final dungeon I have put together a Final Checklist just to make sure you aren’t missing anything before heading into the end game.
Checklist:
In the Bestiary you should have 117/128 by the time you get to the end of Jade Passage (if you are missing more than that check our Bestiary Guideto see which ones you are missing).
The only Trophies you should be missing are: “War’s End” (story related), Field Research - Professional (complete 100% of the Bestiary), the “Legendary Hunter” (open all chests) & the “Adventurous Wayfarer” (visit all locations, which you will get as soon as you enter the Pandaemonium as long as you visited the 3 optional locations: Gatrea, Chocobo Forest and the Rebel Camp).
Check on the World Map menu to make sure you have opened all chests in all locations (except Pandaemonium of course).
If you still don’t have the Weapon/Magic Tactics Trophies (for reaching level 16 with any weapon/spell) I recommend you check out our Trophy Guide section.
So as long is all of that checks out, you will be getting the Platinum Trophy by the end of the Pandaemonium Dungeon when we finish!
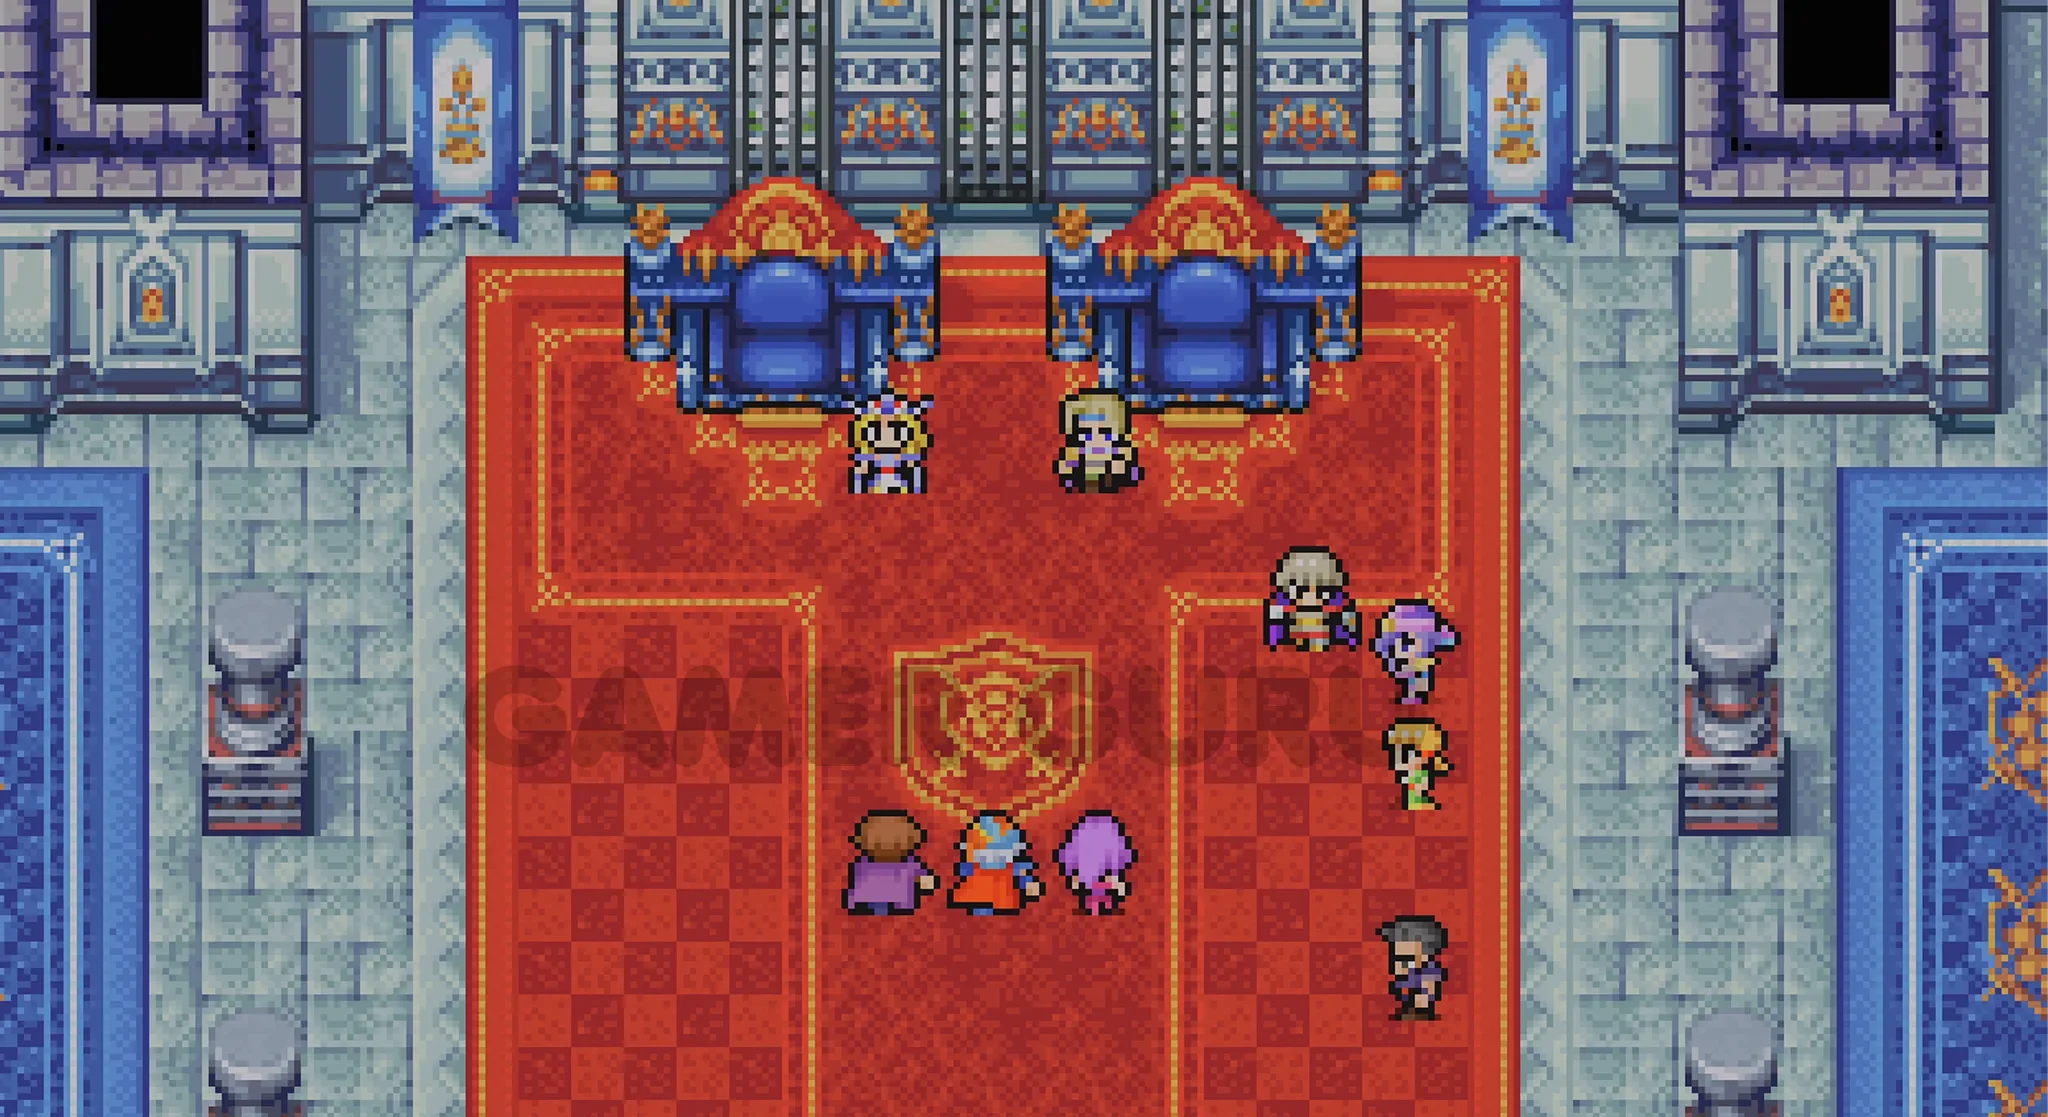
Pandaemonium
Remember that you can always leave the dungeon at any time by using Teleport before defeating the final boss (but you will have to walk all the way back through the Jade Passage to get back here again after).
 "Adventurous Wayfarer" Trophy for visiting all locations.
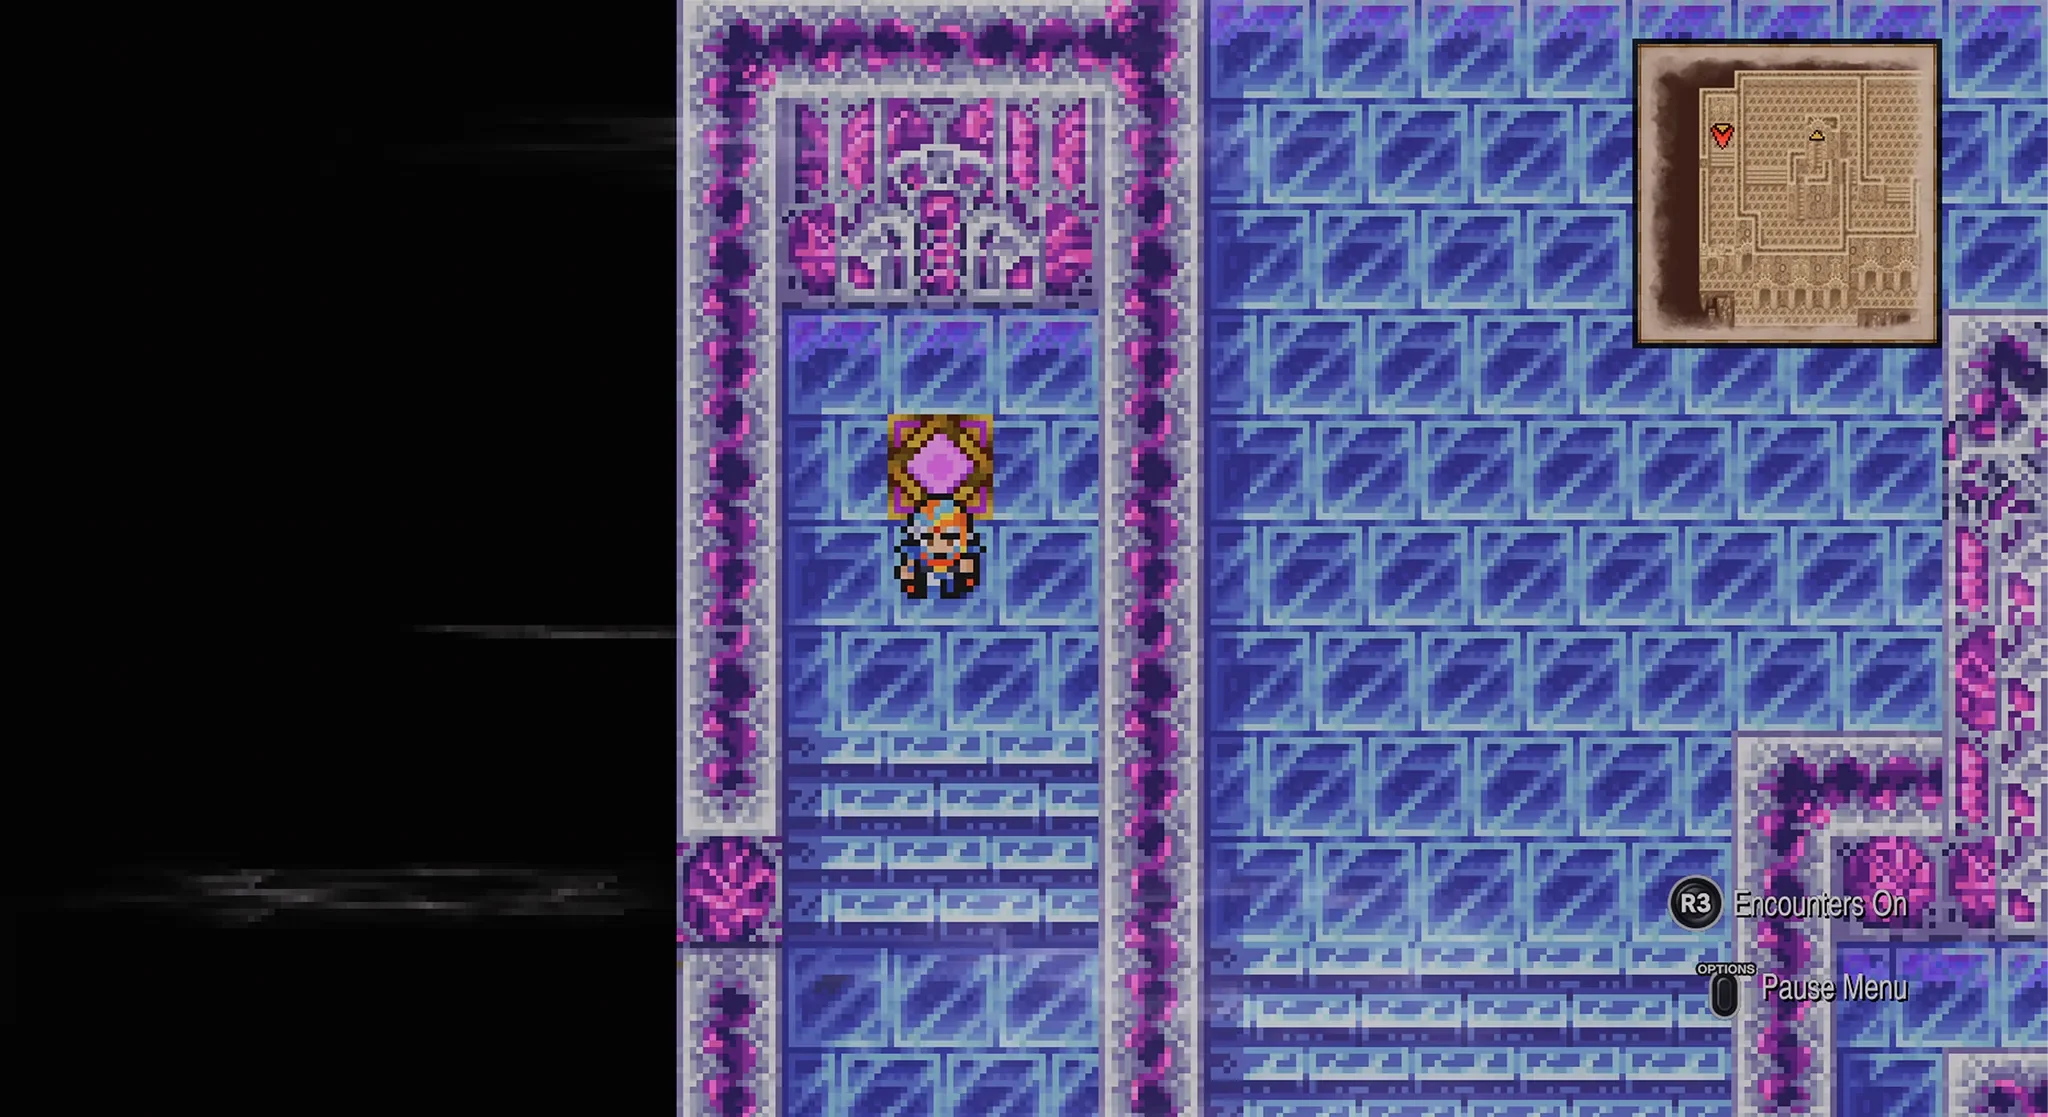
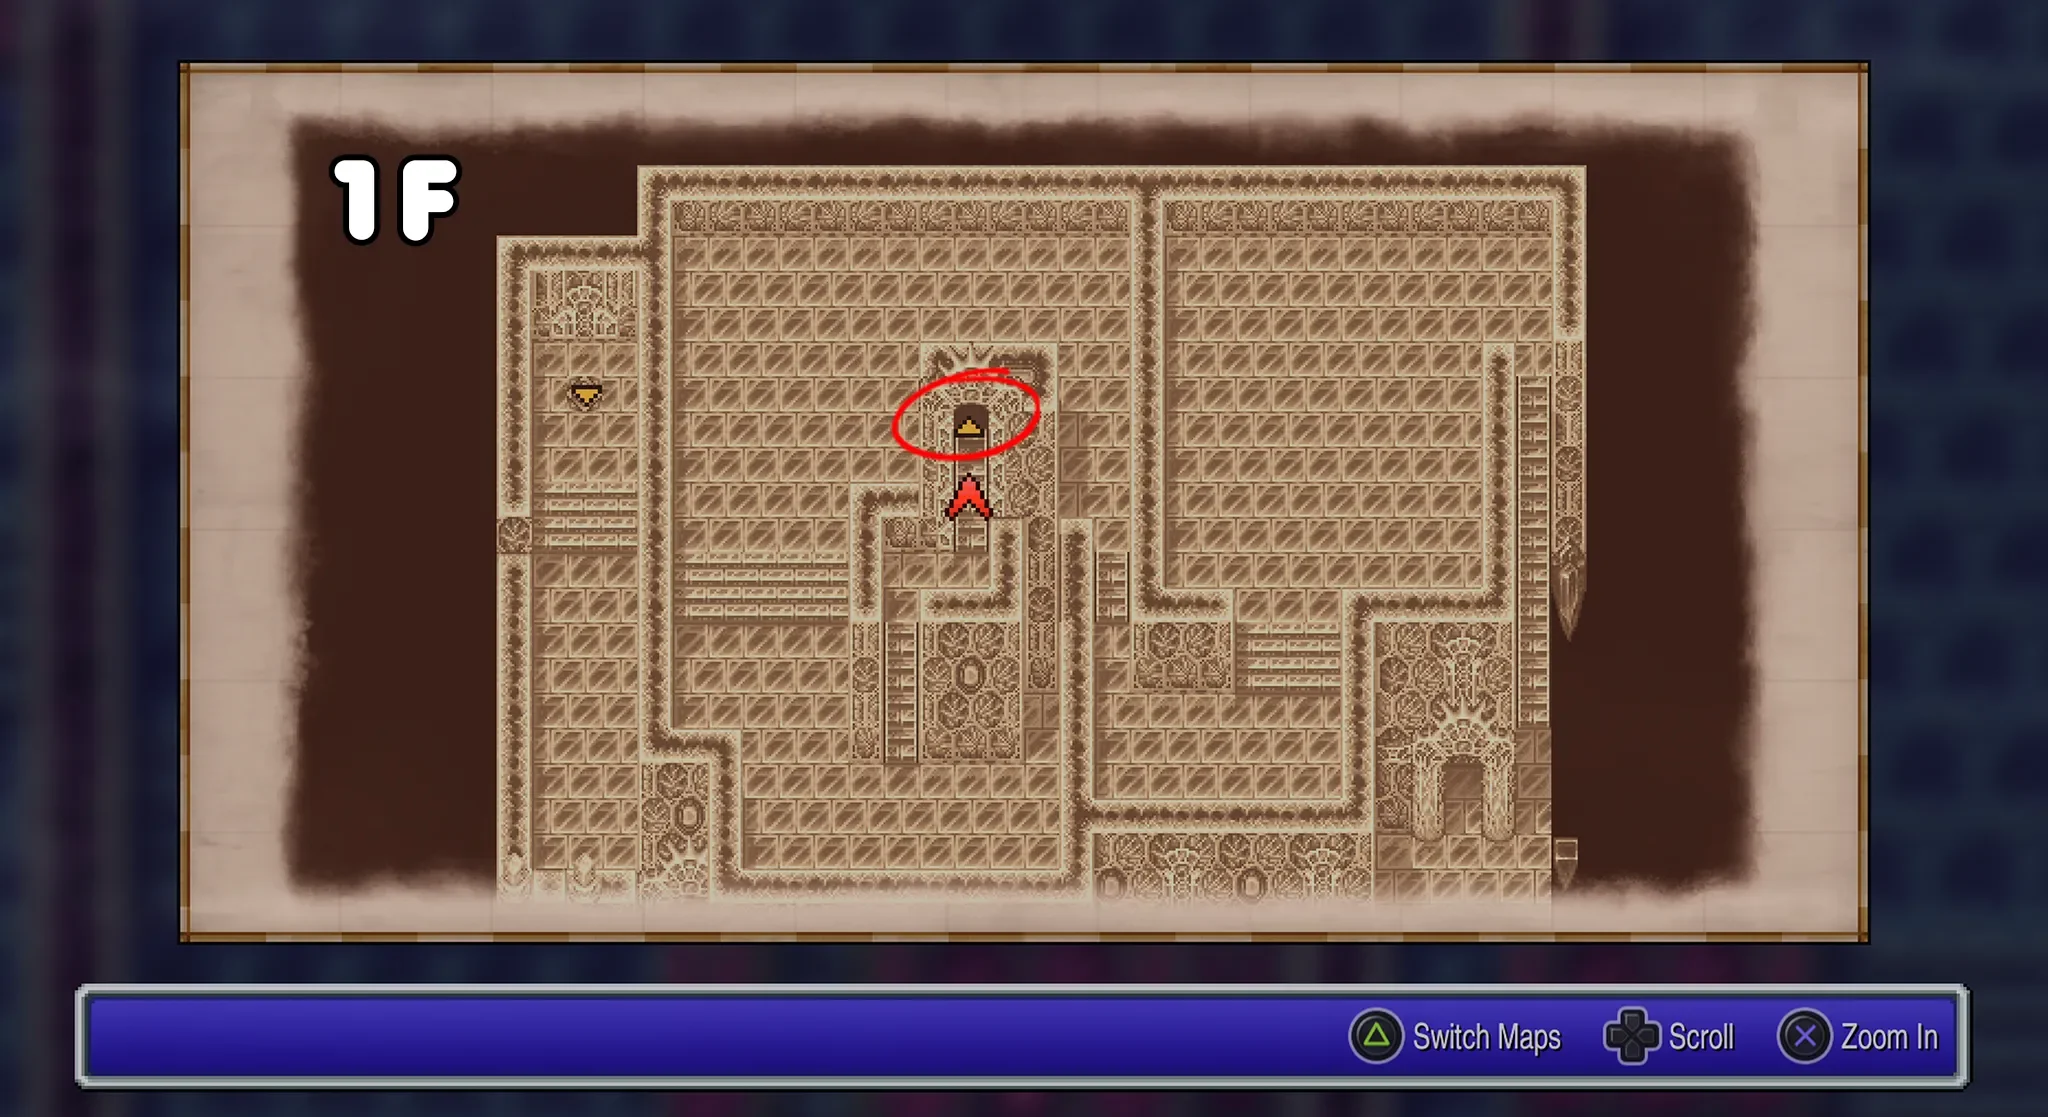
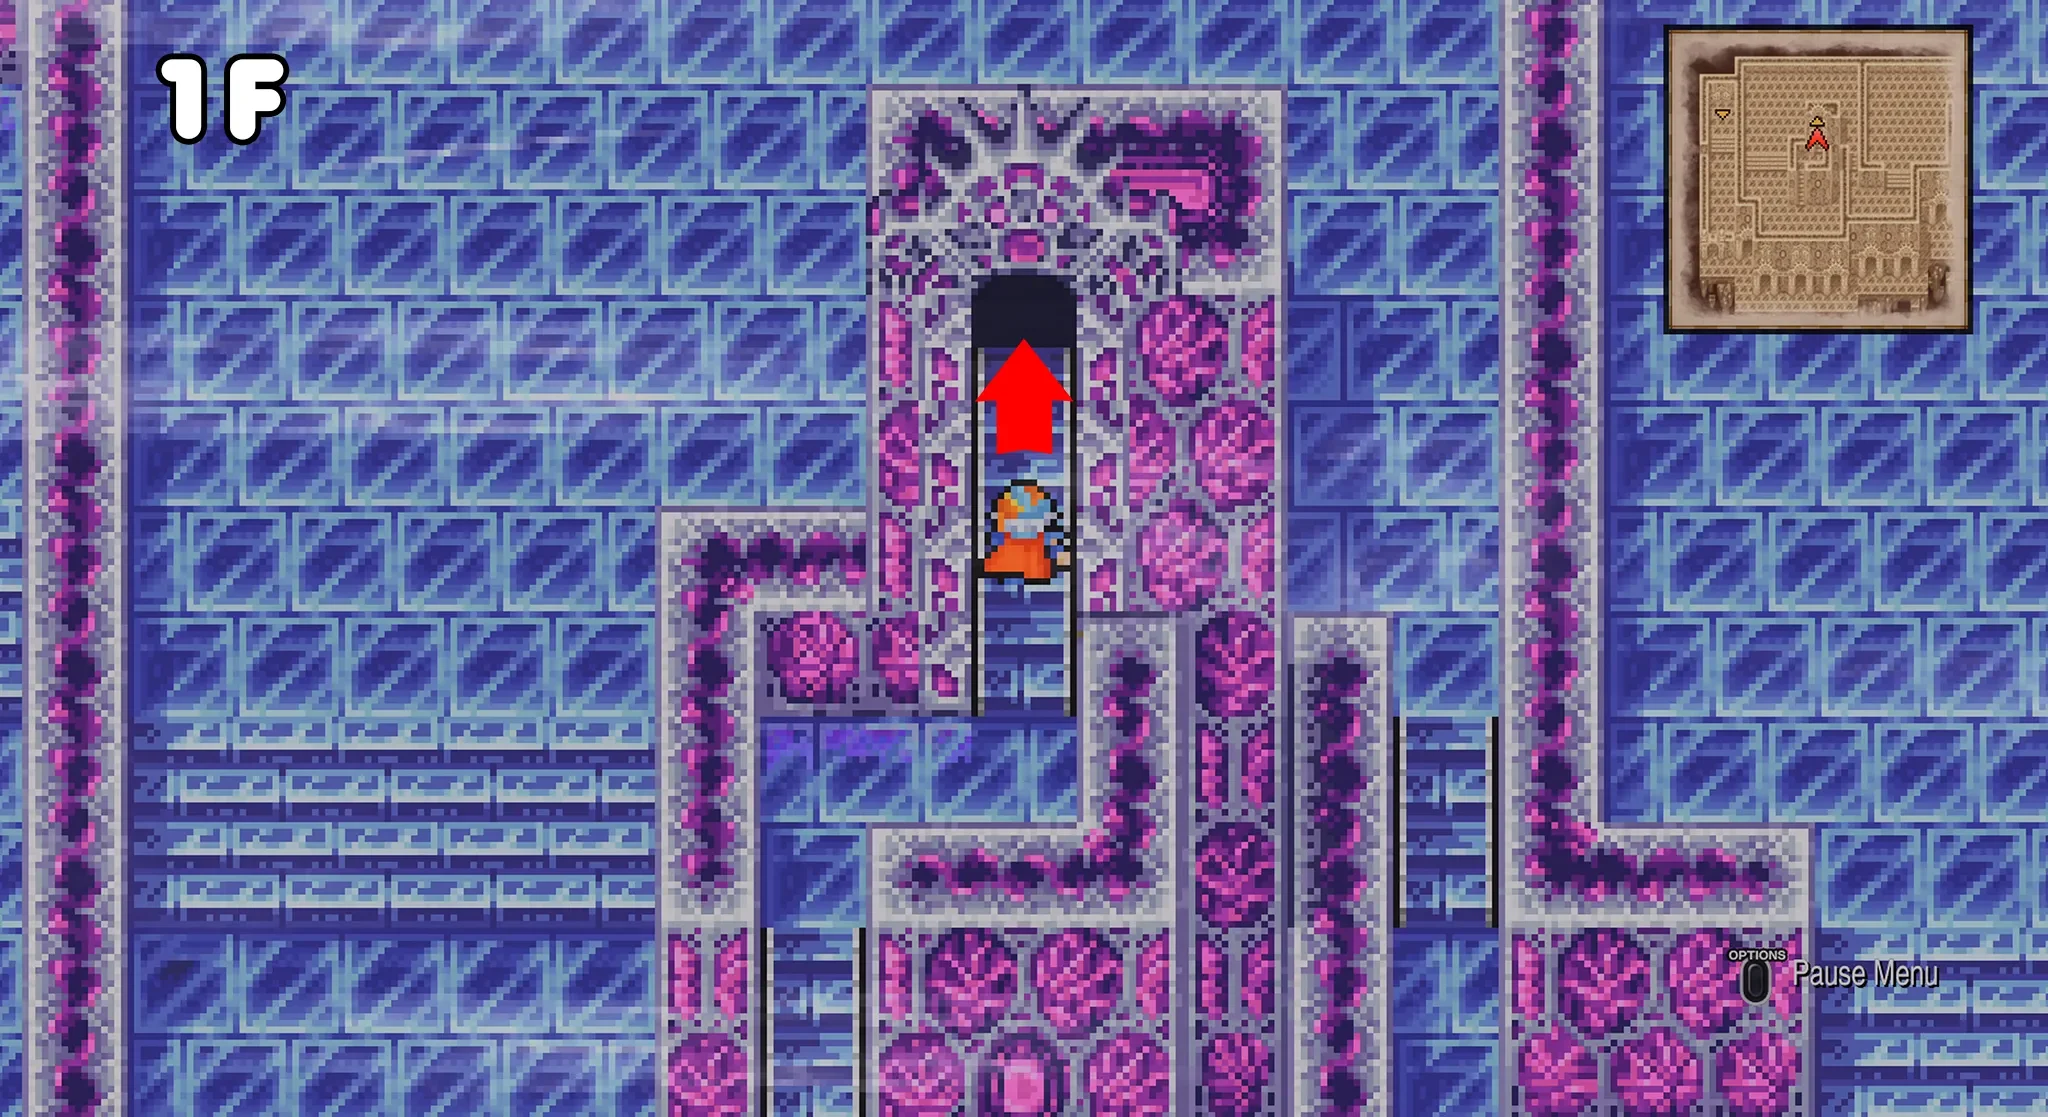
1F
There isn’t anything of interest on this first floor, so you can just go staright to the stairs in the middle to reach 2F.
2F
2F is also a very simple layout, there will be 1 very easy to see chest and also just one exit teleport tile to reach the next floor.
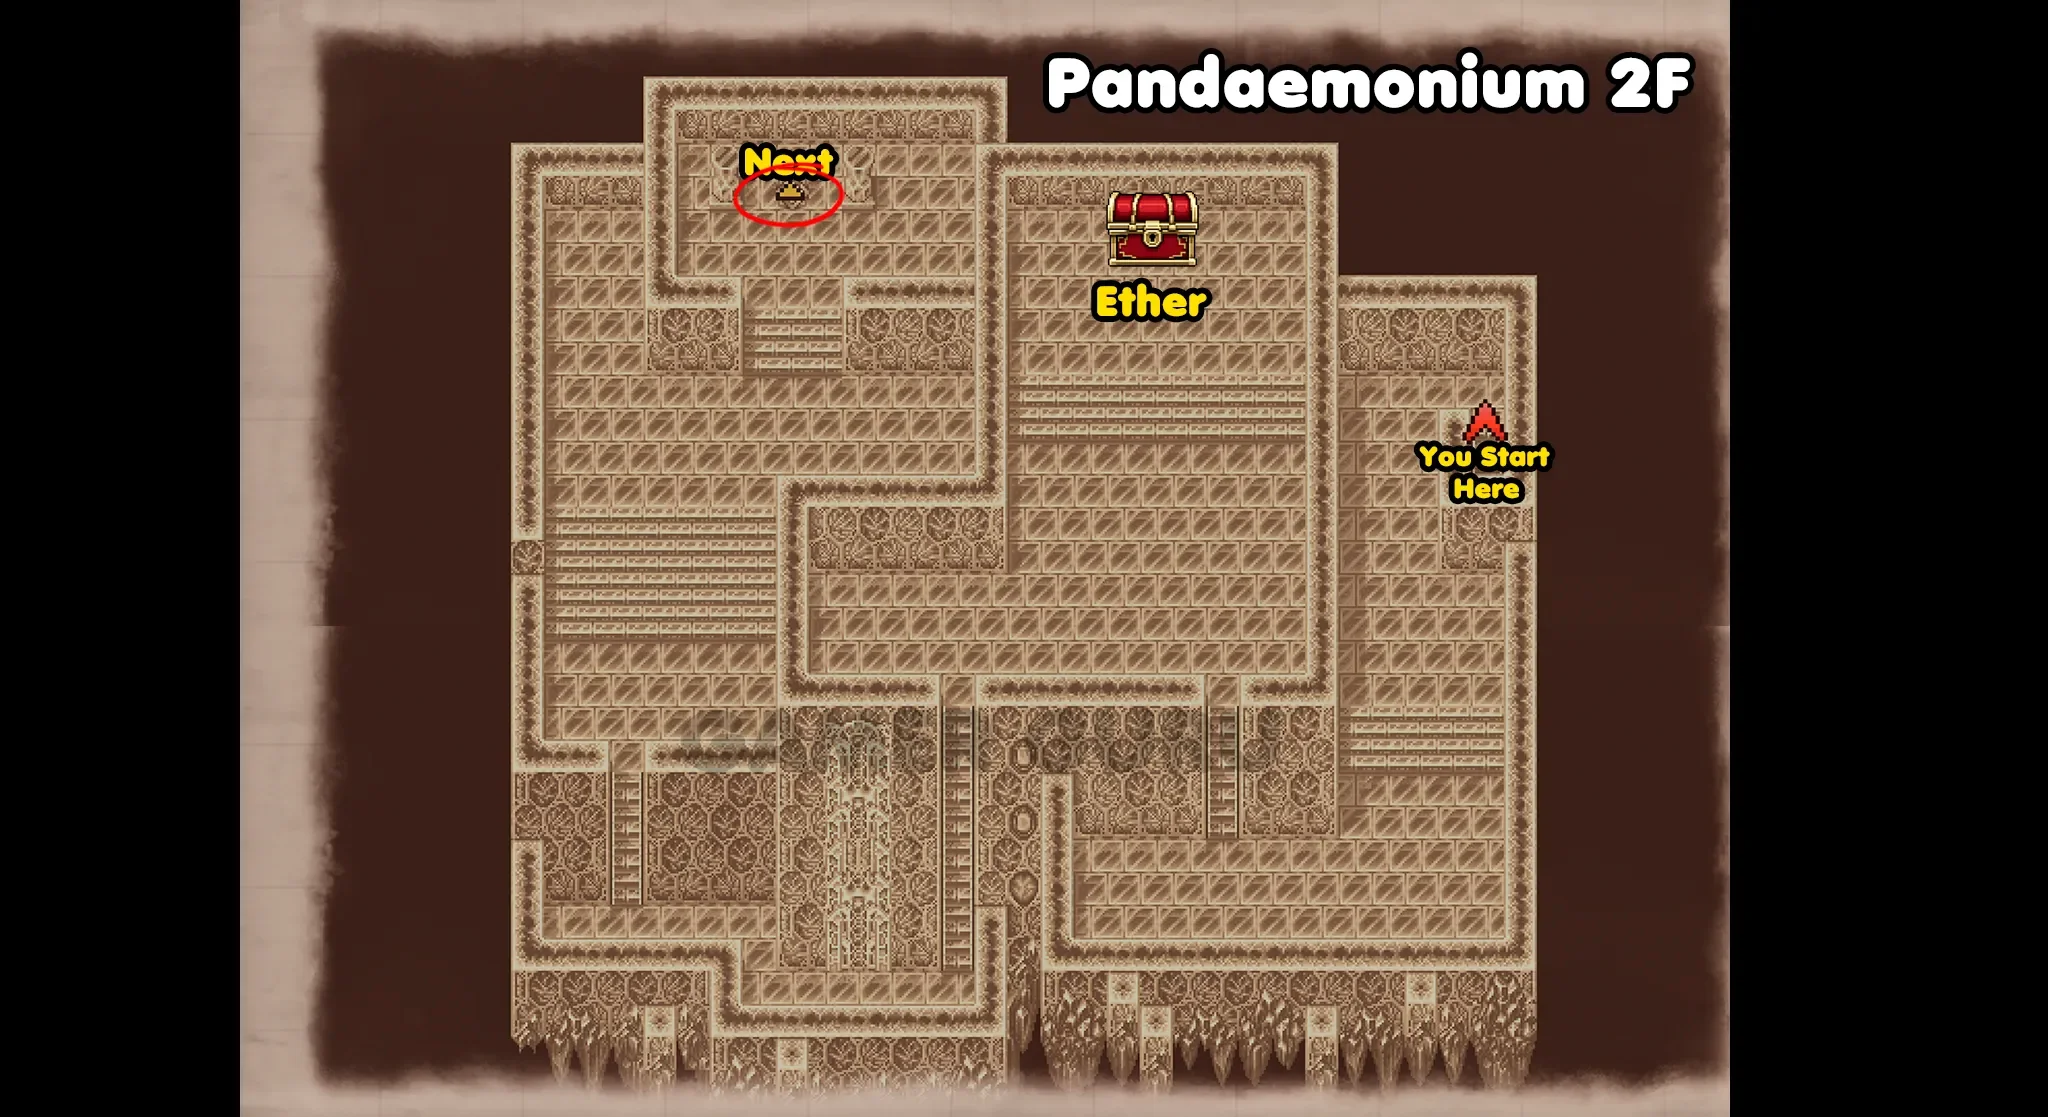
The chest contains an Ether, once you have opened it, continue to the Teleport Tile to reach 3F.
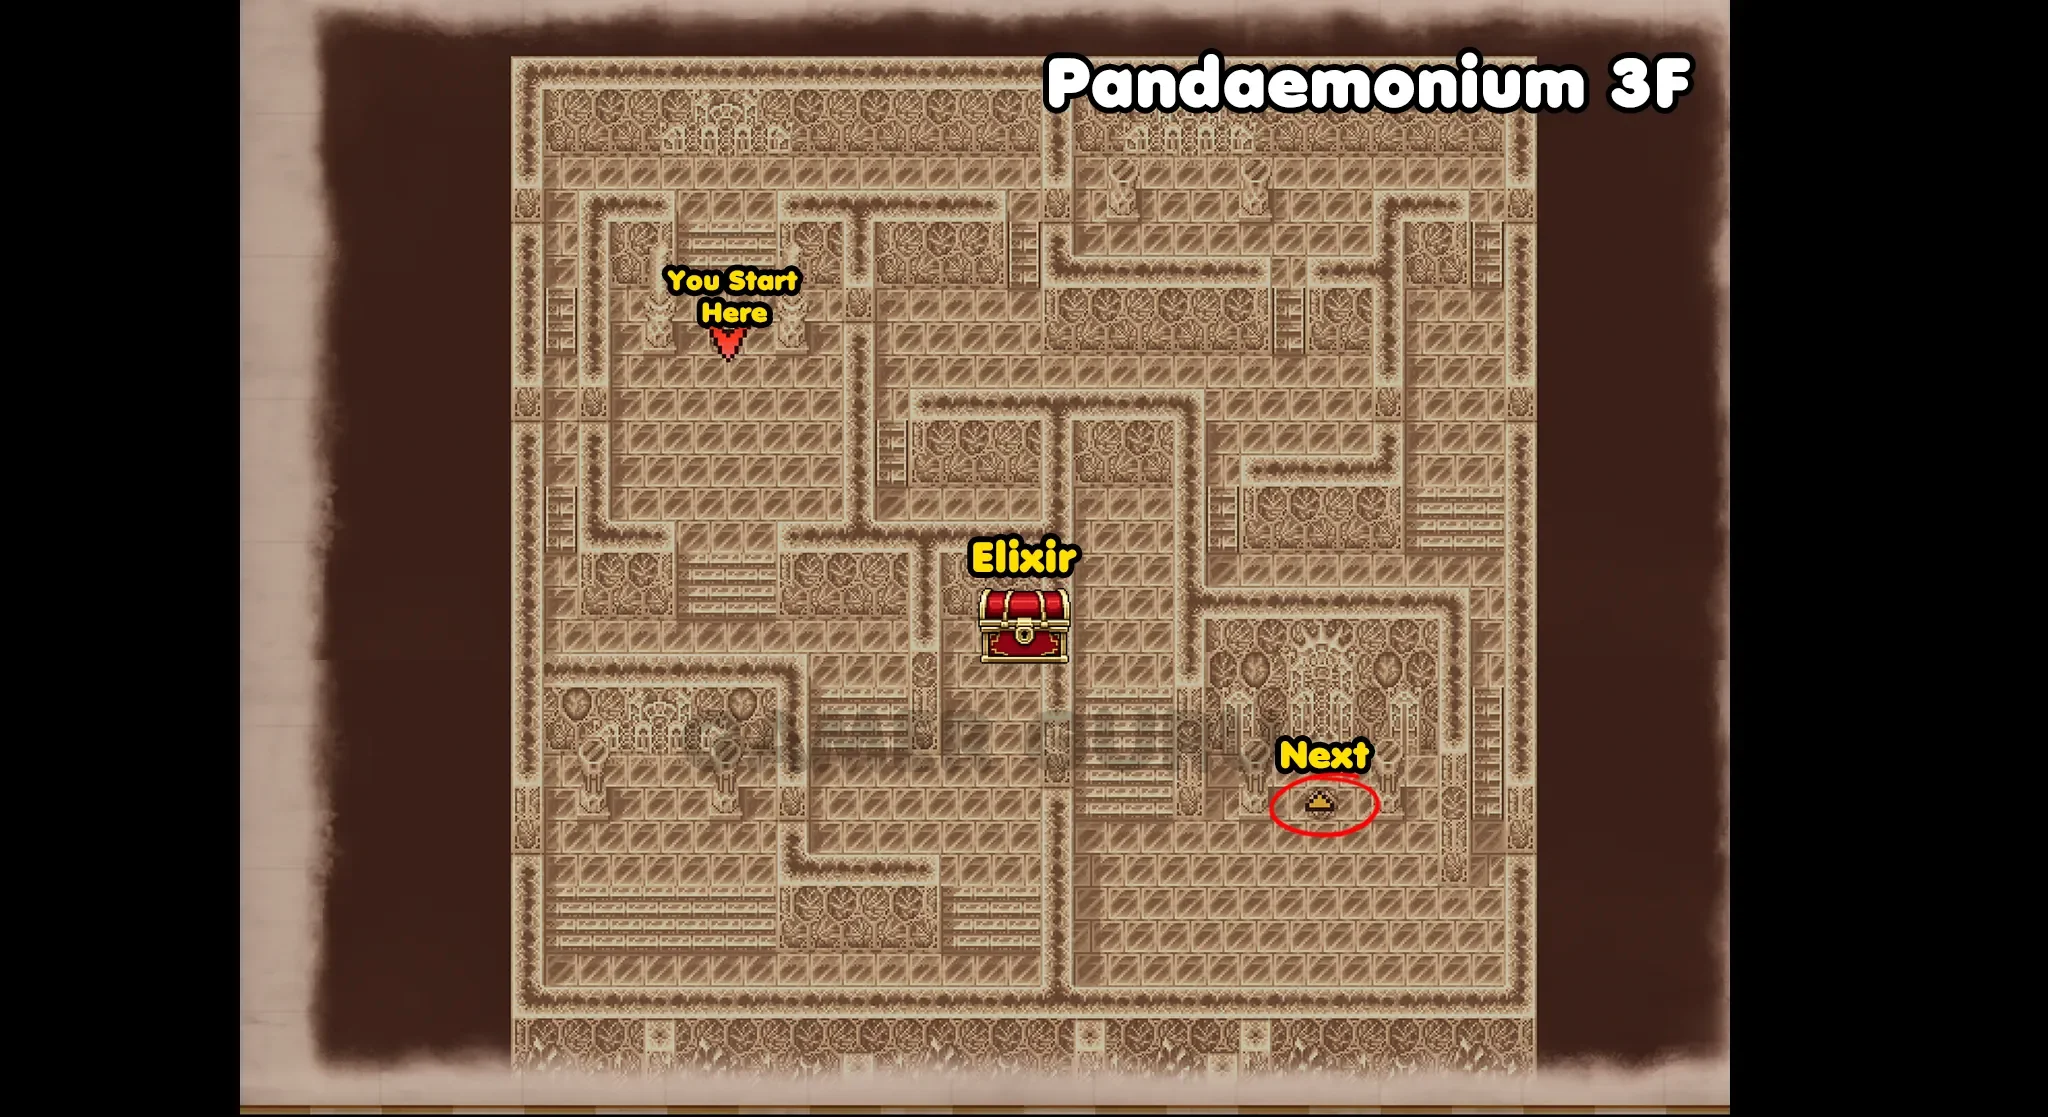
3F
Honestly there isn’t too much to mention about 3F either, similar to the previous room it has 1 chest, this one contains an Elixir, and then a Teleport Tile at the bottom right that will take us to 4F.
4F
4F doesn’t have any chests, but it does have a row of 4 doors that all lead to different chests on other floors.
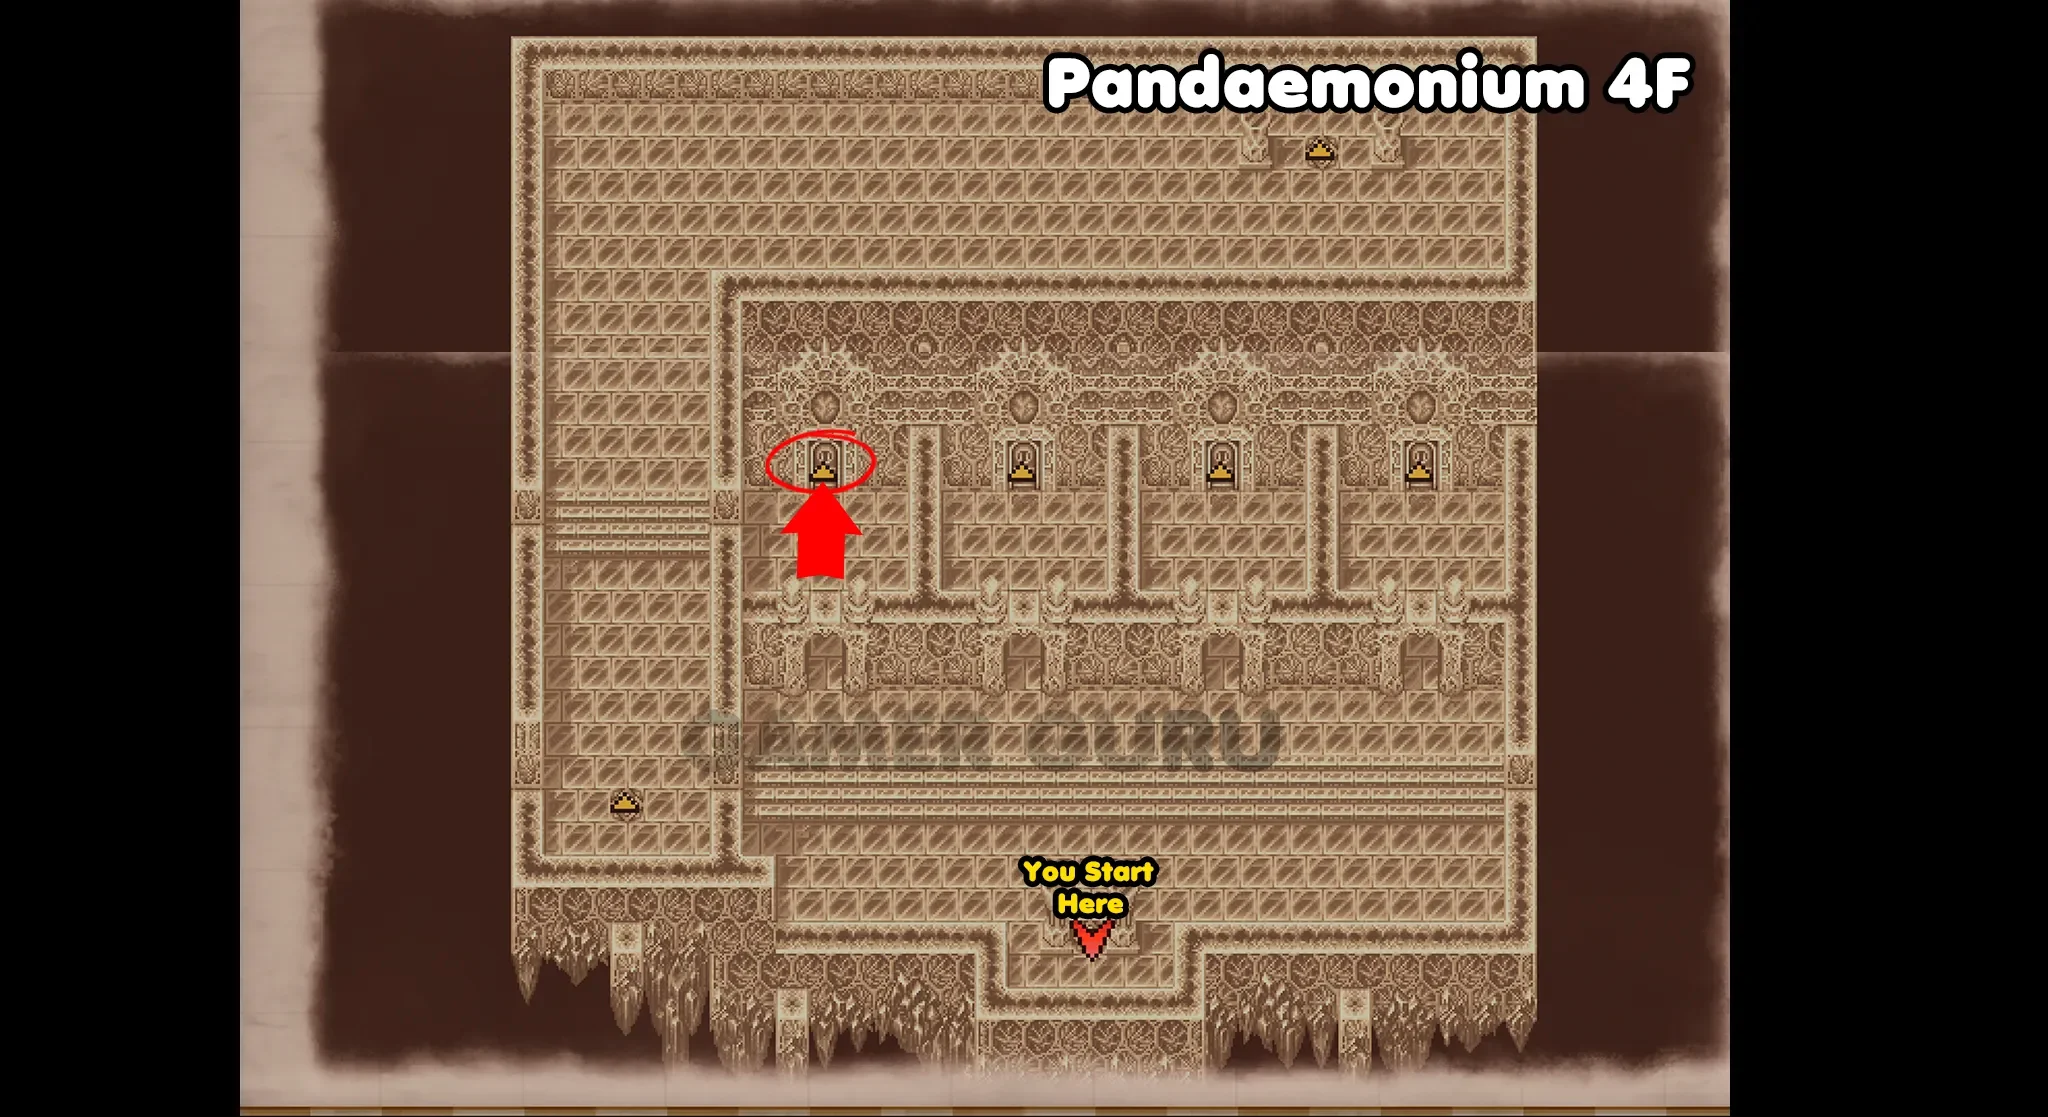
To keep things in order, let’s start by going through the door on the left, this will take us to the left part of 5F.
5F
This floor technically has 3 chests, but from this entrance we can only get 2 of them for now.
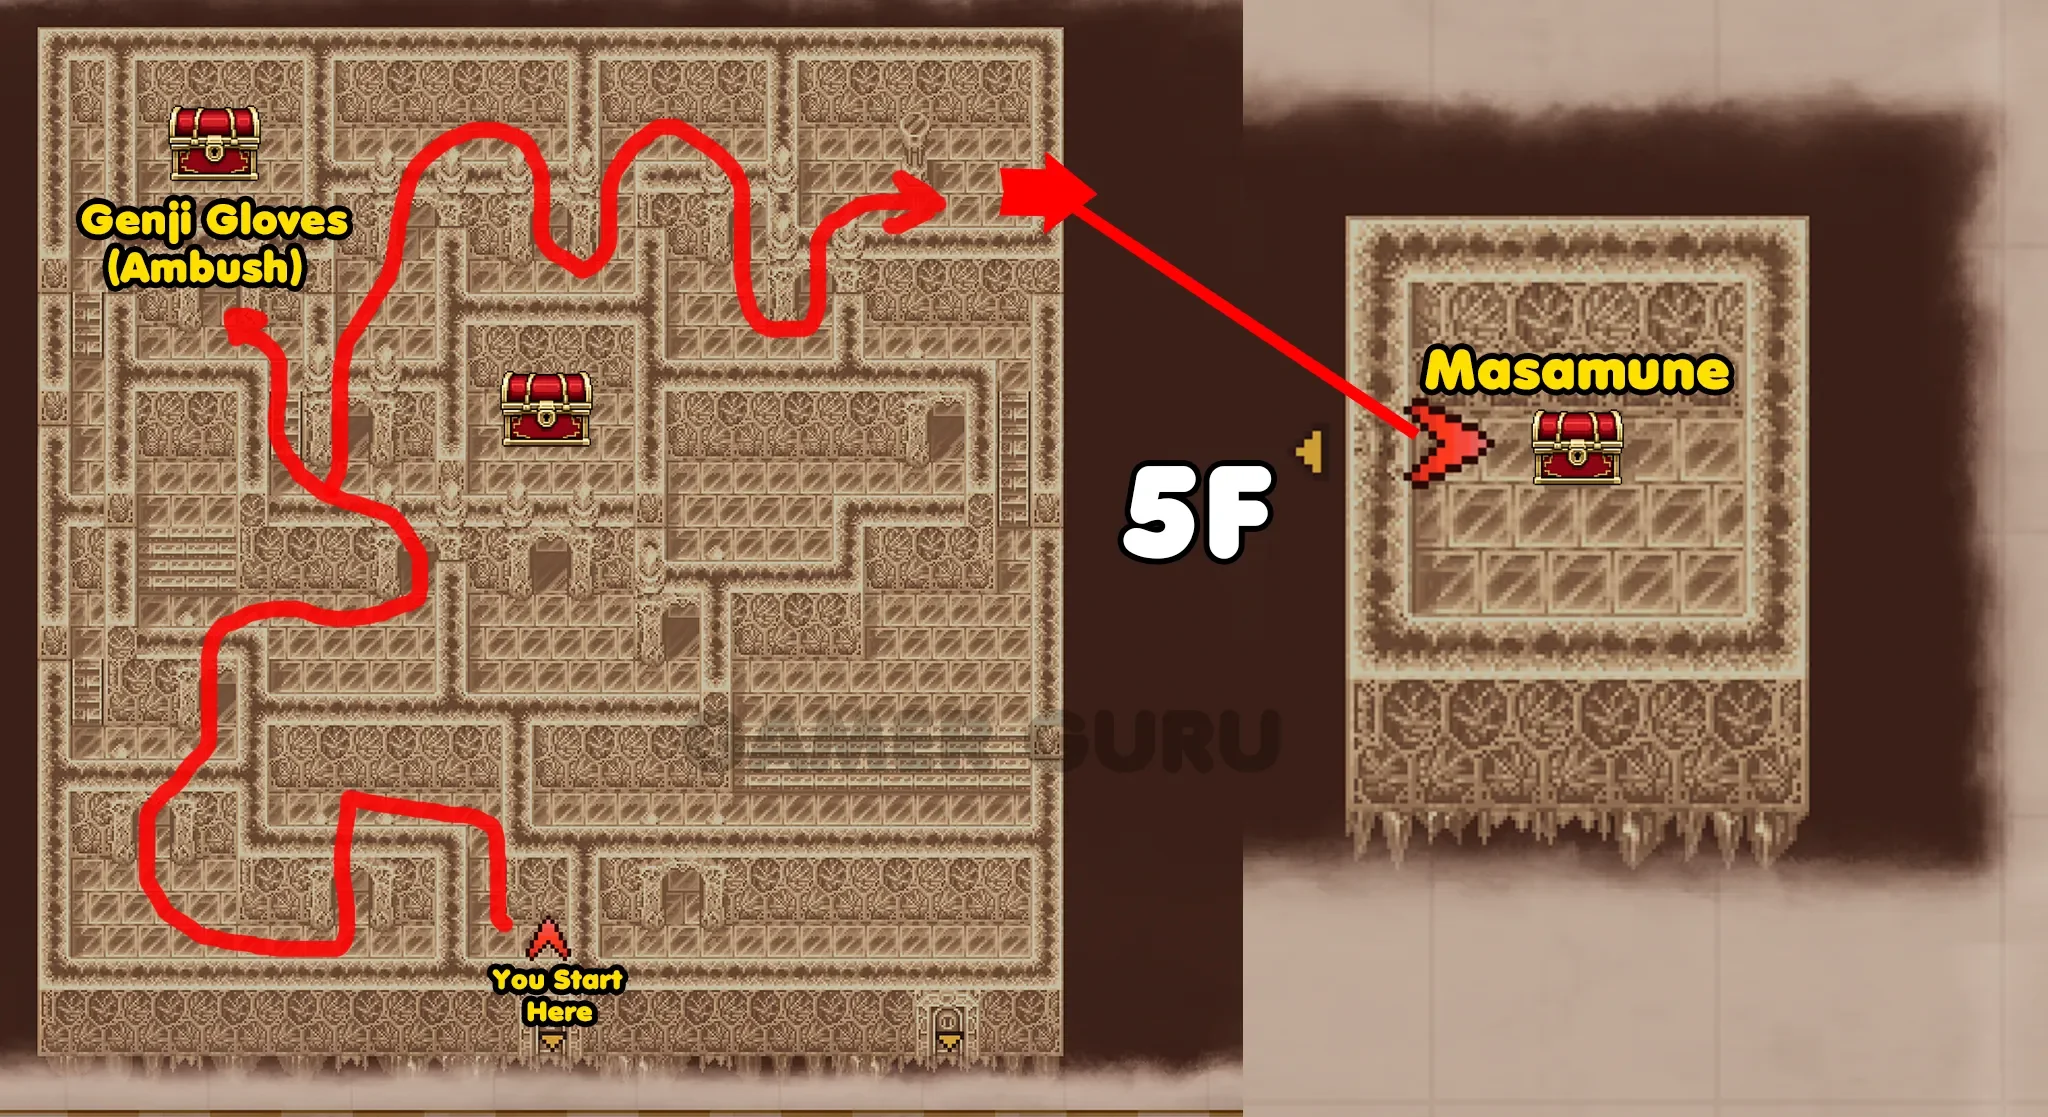
If you follow the red line I have drawn you will reach both of the chests. The one on the left has the Genji Gloves (there will be an ambush).
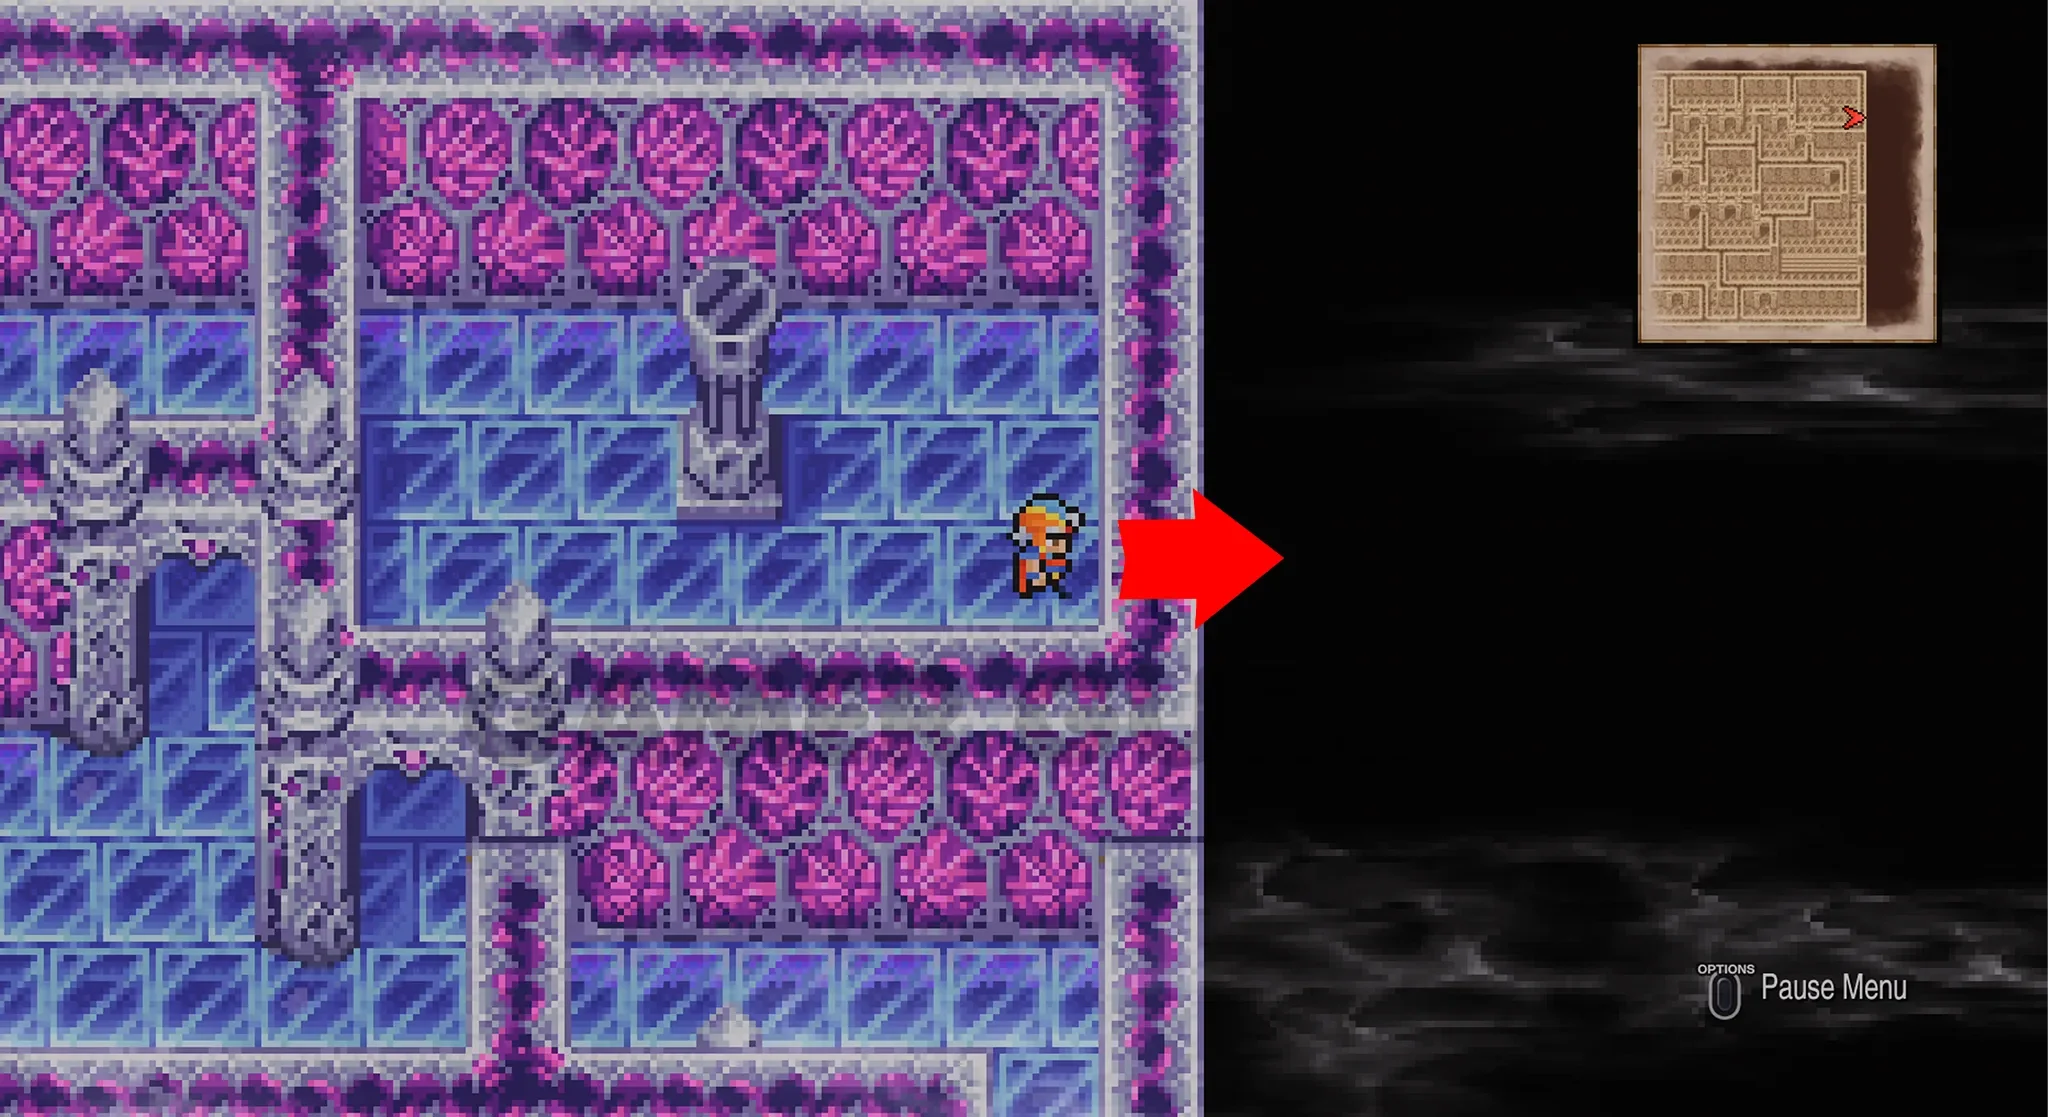
And in the room at the top right there is a fake wall you can walk straight through to find the Masamune (probably the best sword in the game)!
Once you have opened both of these chests, walk back to 4F (the room with many doors) and this time go through the 2nd door from the left.
This will take you to the right side of 5F.
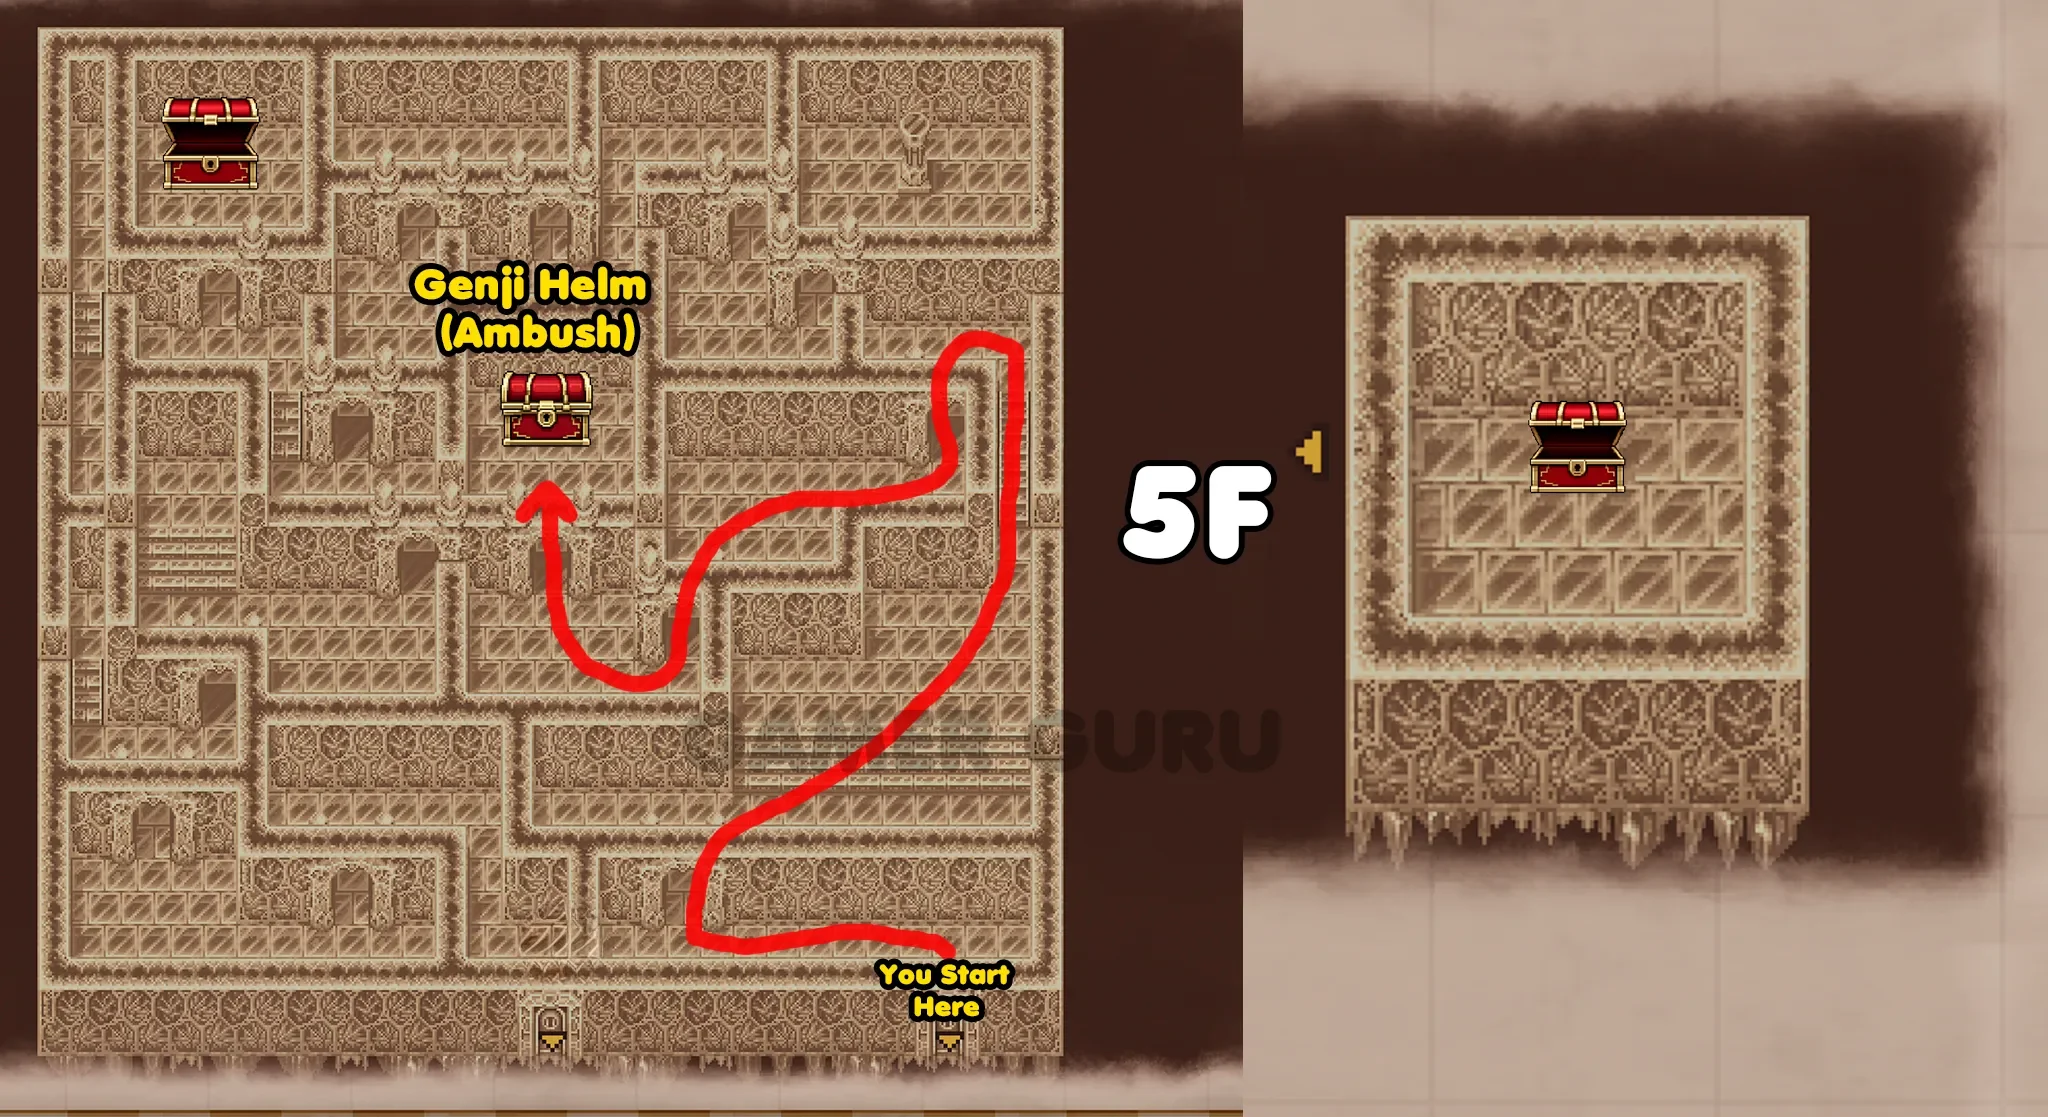
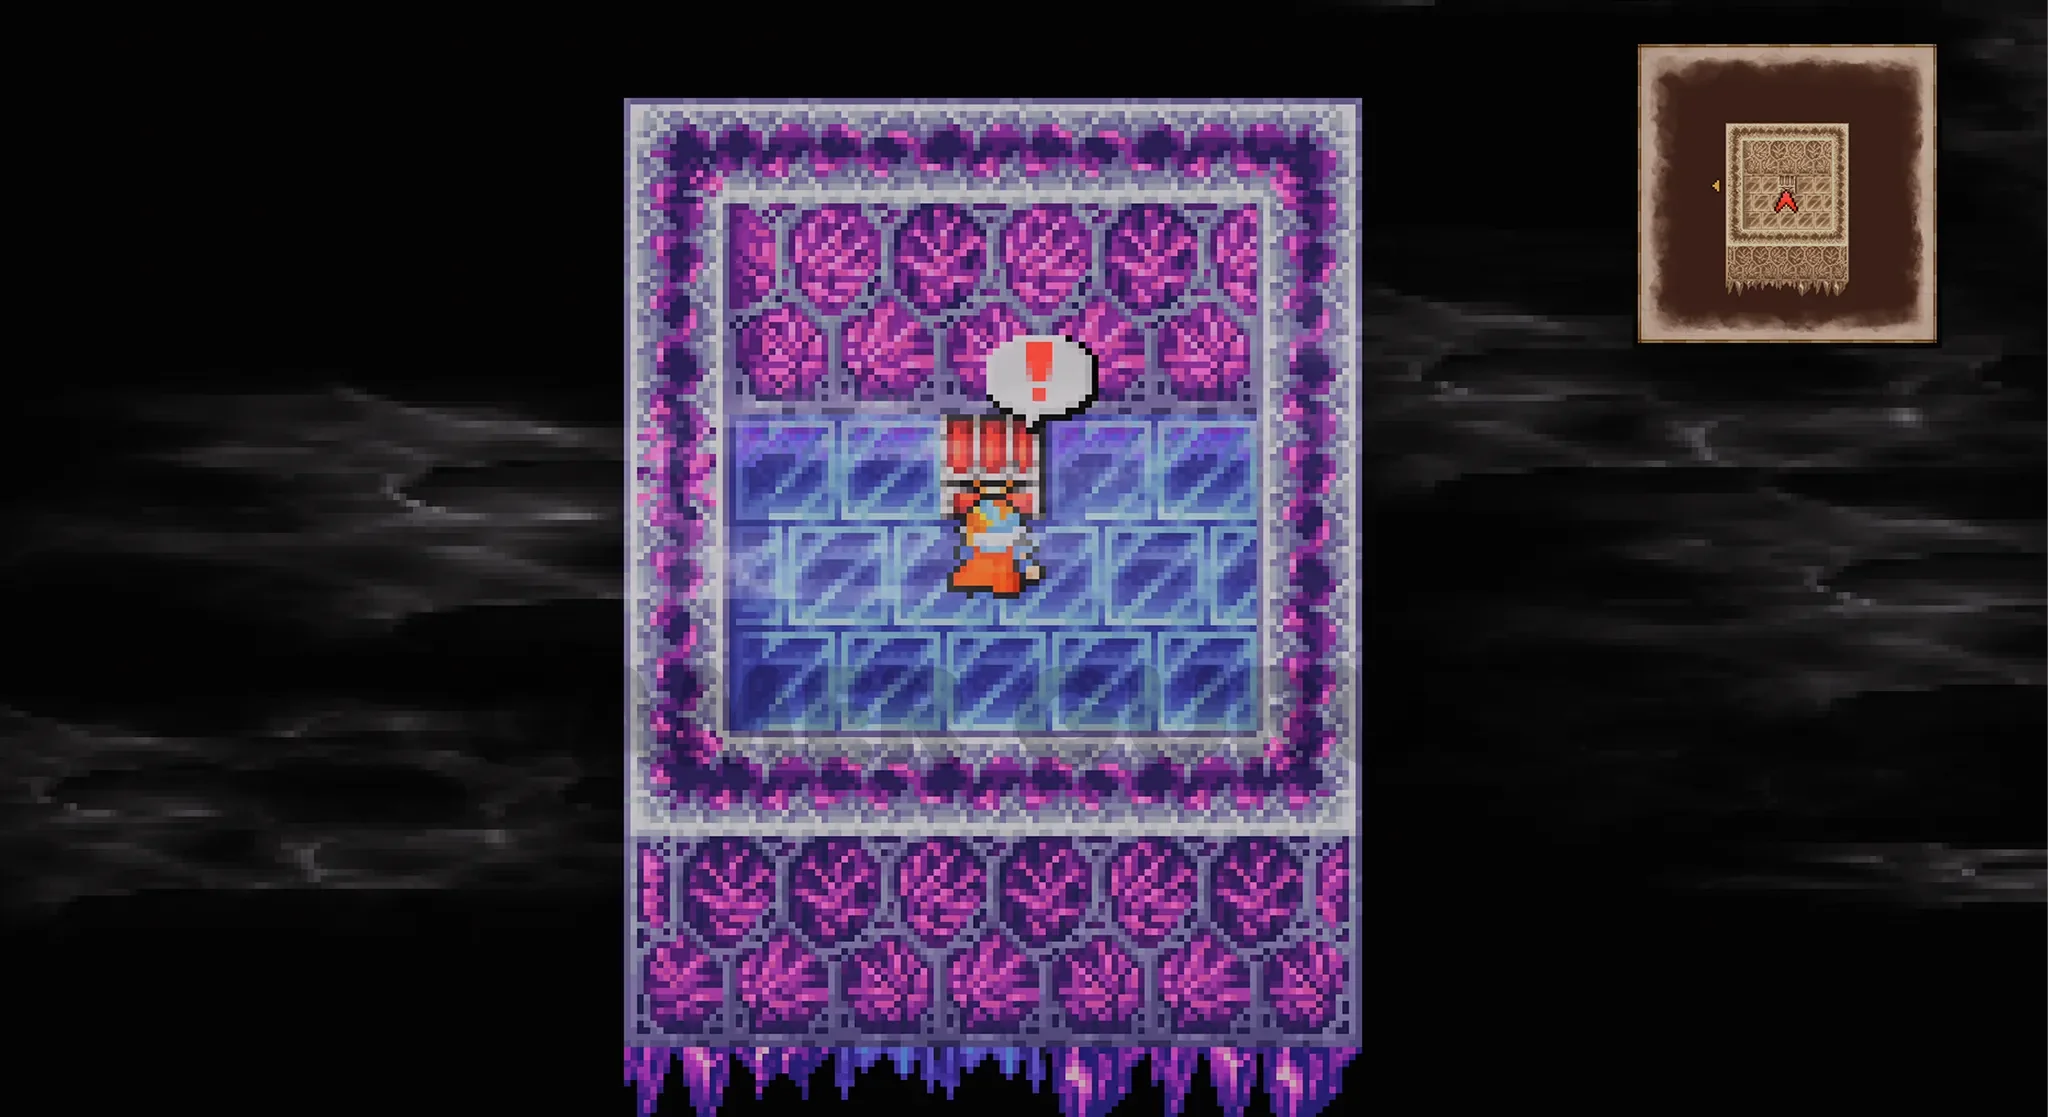
Again just follow the red line to reach the chest that contains the Genji Helm, but be careful, you will get ambushed by Tiamat!
Once you have the chest, return back to 4F again, now go through the 4th door (the one all the way on the right). This will take you to the right side of 6F
6F
From this side of 6F we will be able to get the chest at the very top right of the room.
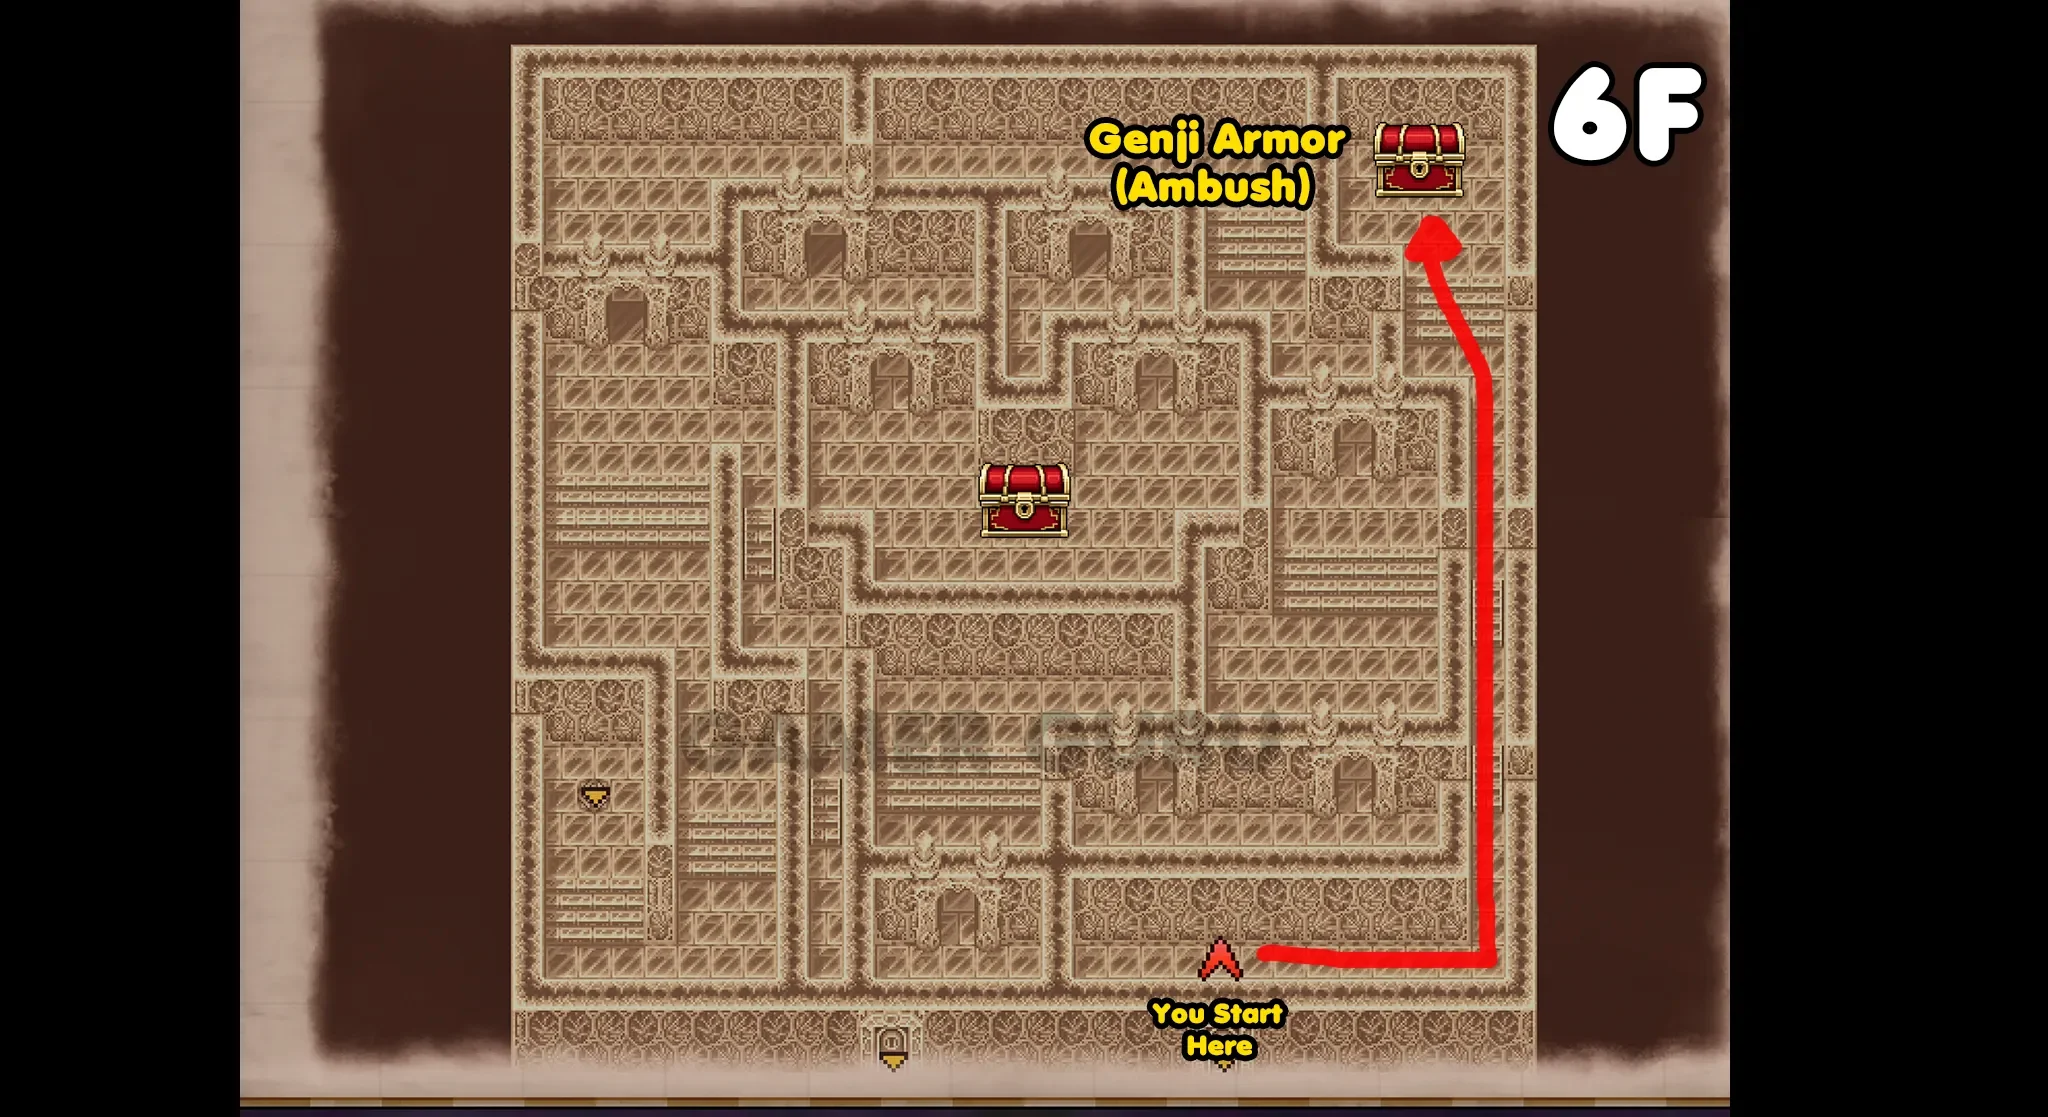
Just go all the way to the right then walk directly up until you reach the chest.
Be careful as there will be powerful ambush against Beelzebub!
Once you have opened the chest, return back to 4F for the final time and this time go through the 3rd door to reach the left side of 6F.
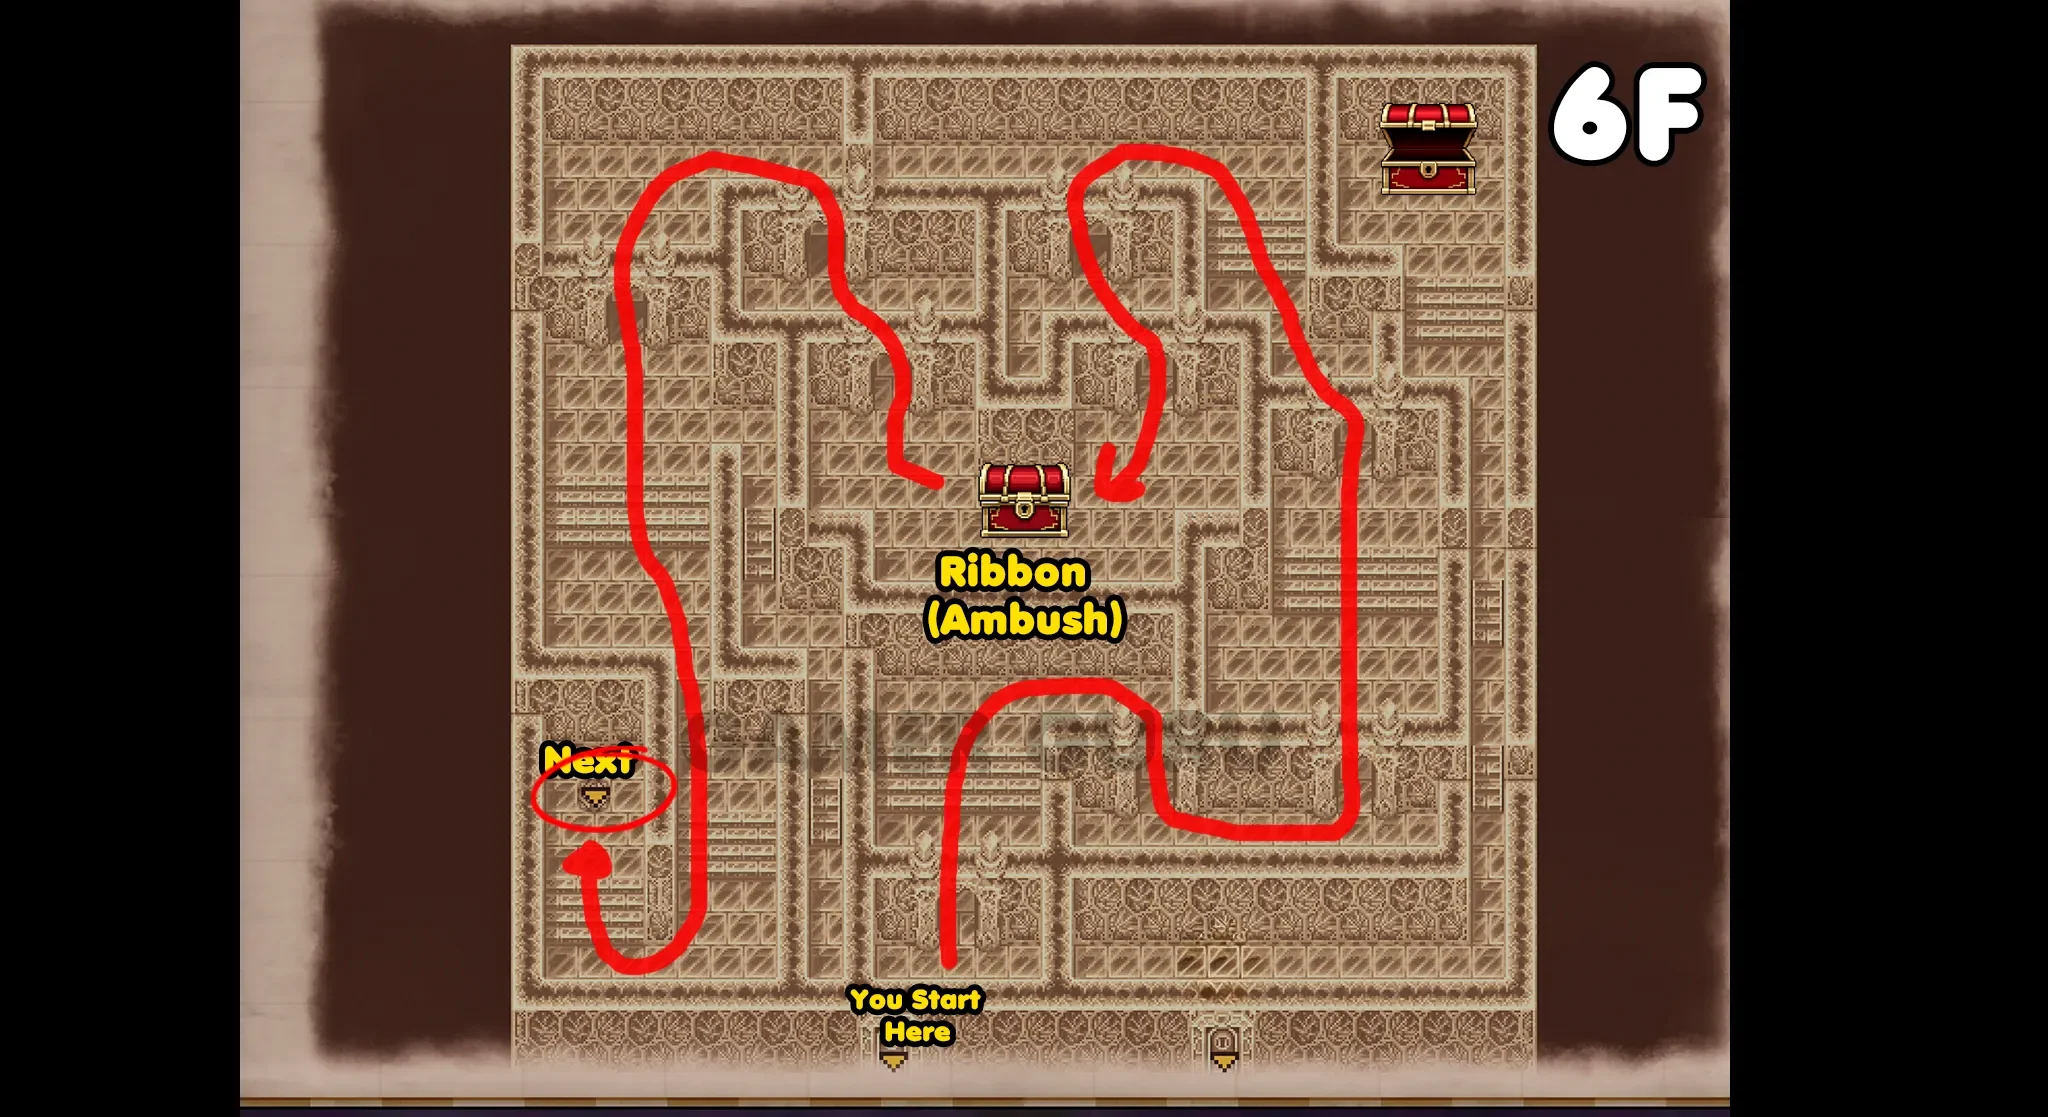
Again, follow the red line to reach the center chest that contains the Ribbon (this one will also be an ambush).
Once you defeat the ambush, continue following the red line to reach the Teleport Tile that will take you to the left side of 4F.
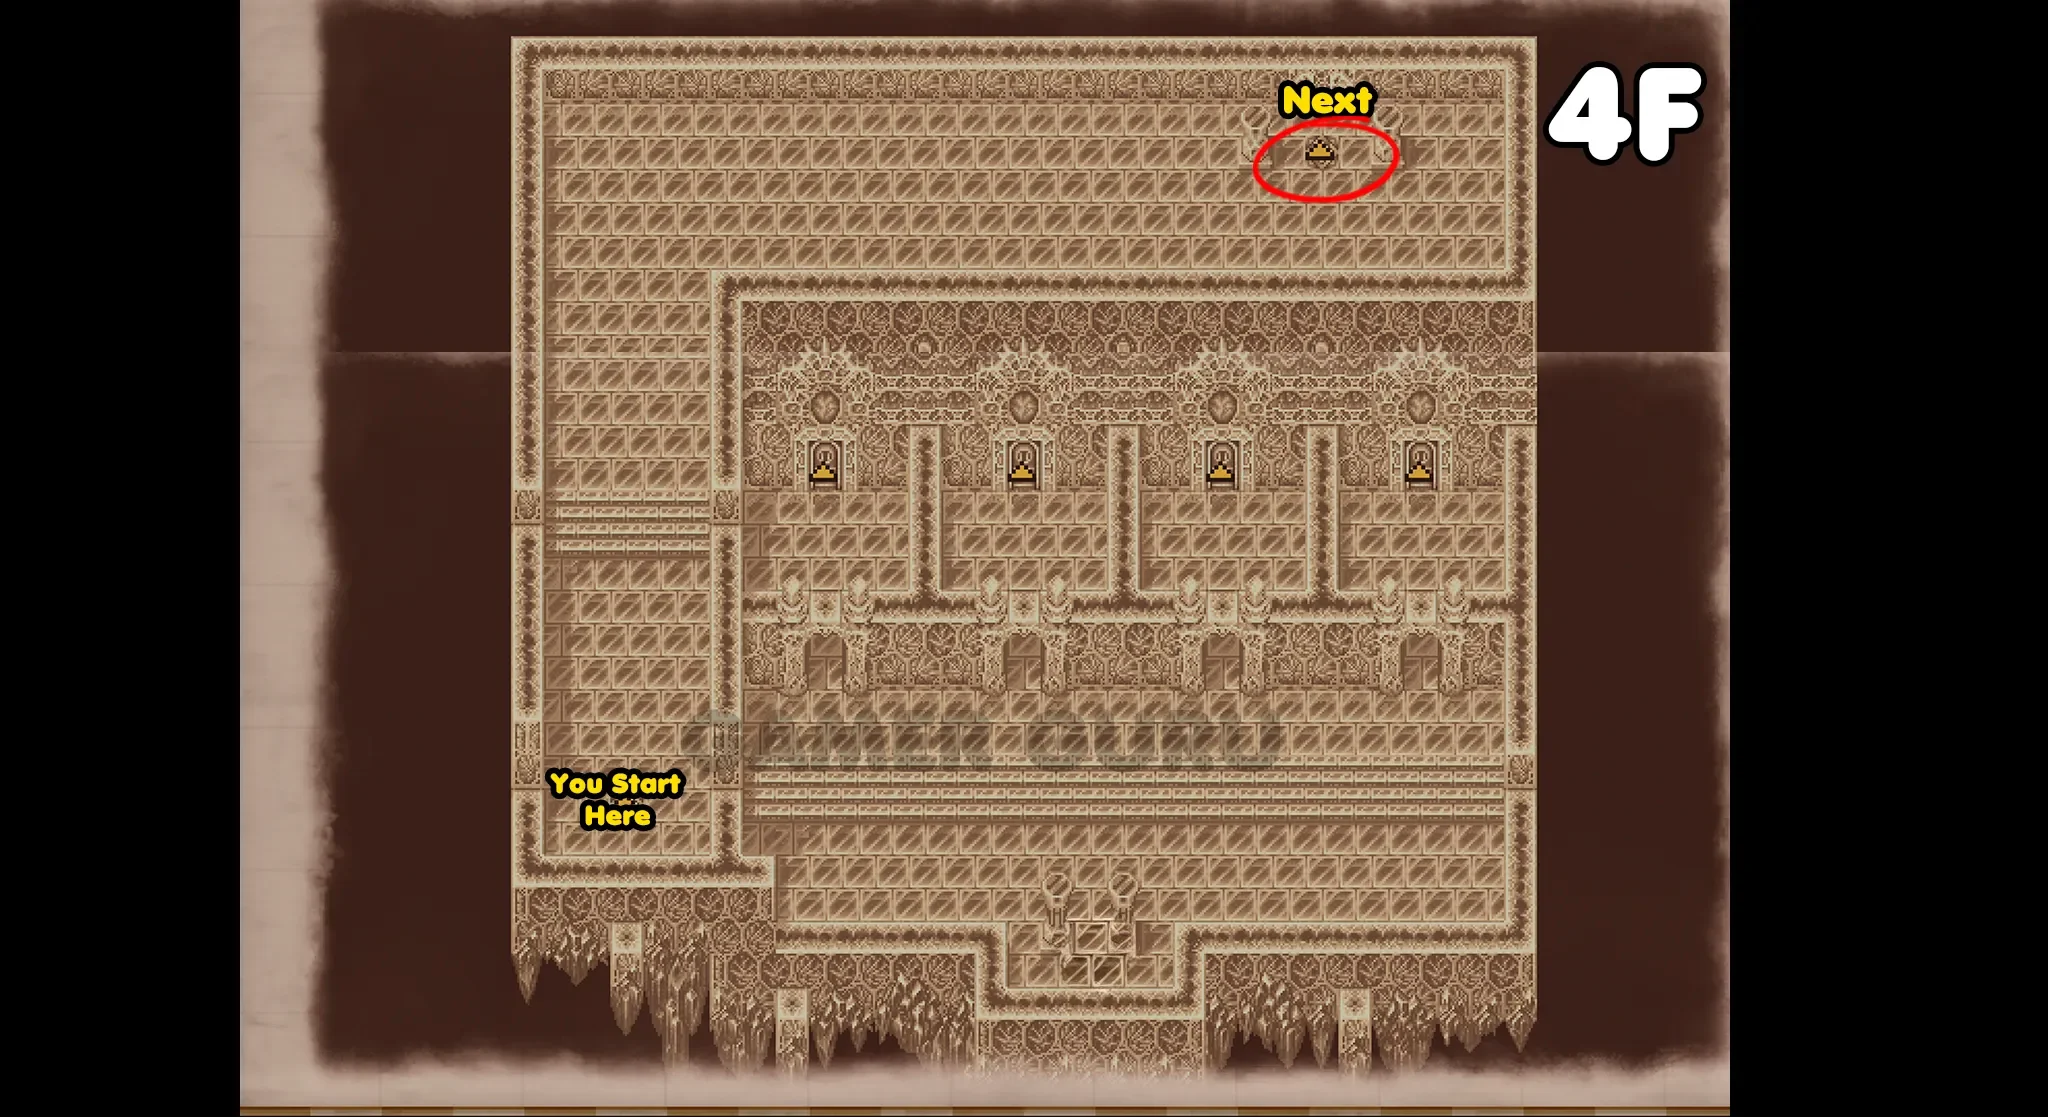
From here just walk to the Teleport Tile at the top of 4F to reach 7F.
7F
7F is another very simple room layout, just 1 chest near the entrance that contains a Sage’s Wisdom and then a Teleport Tile at the bottom left that you need to walk all the way around to, to reach 8F.
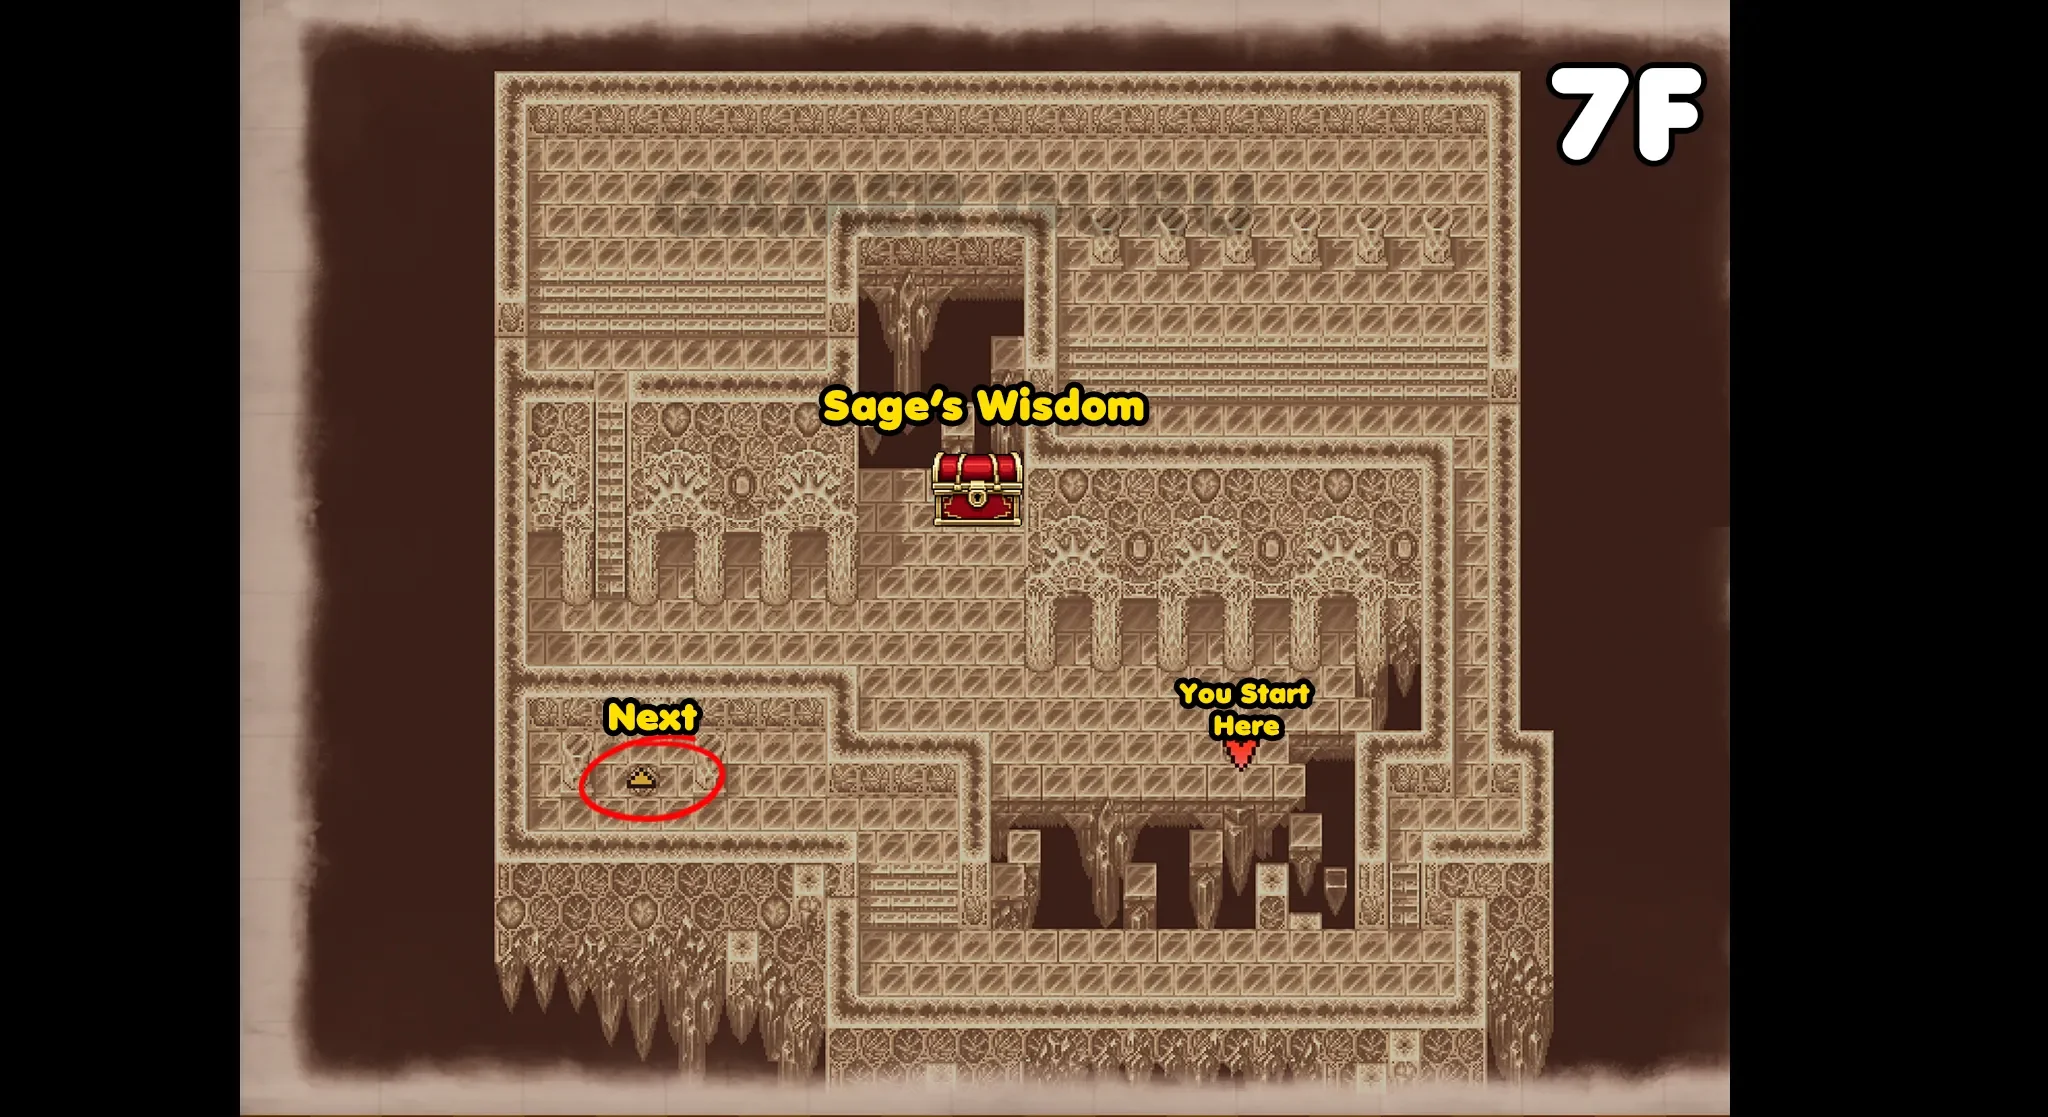
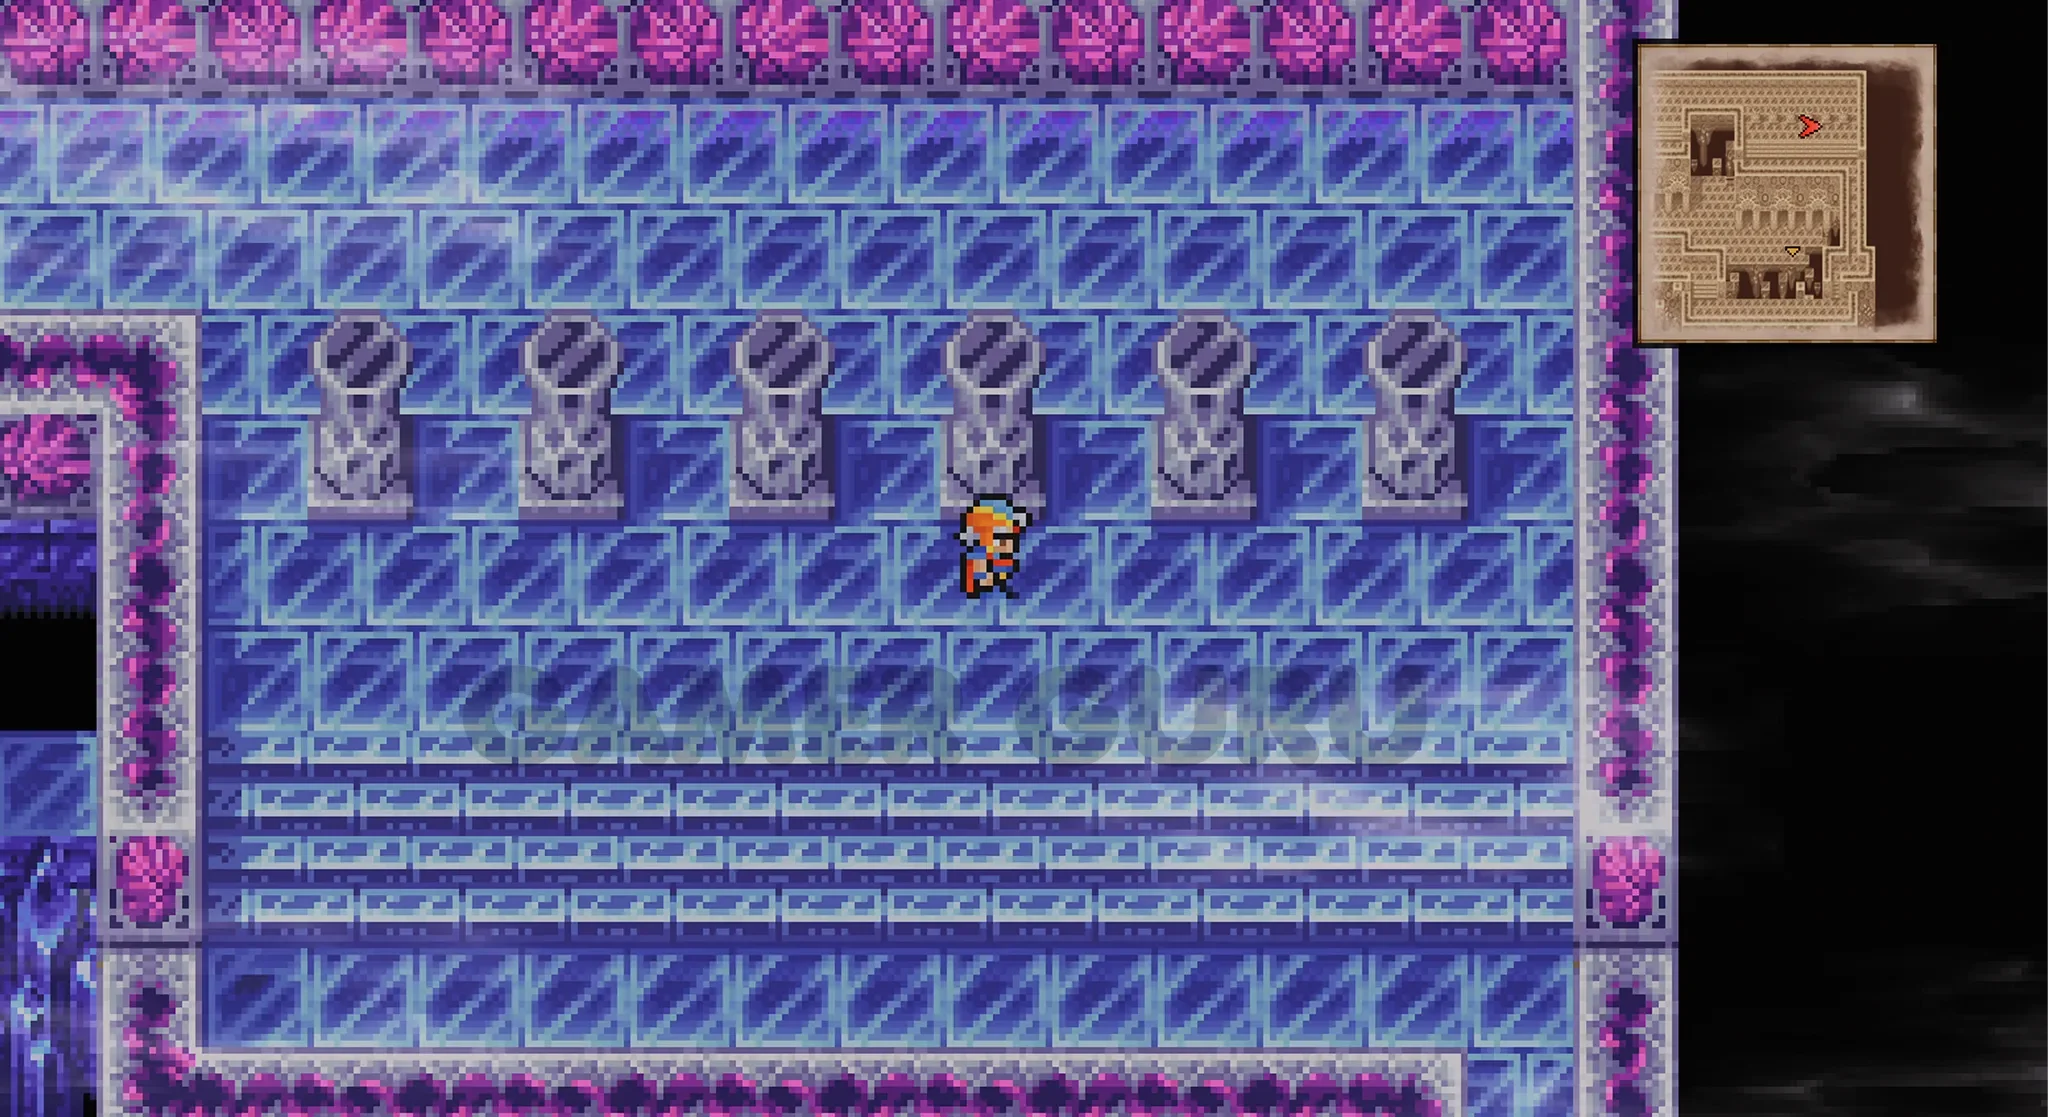
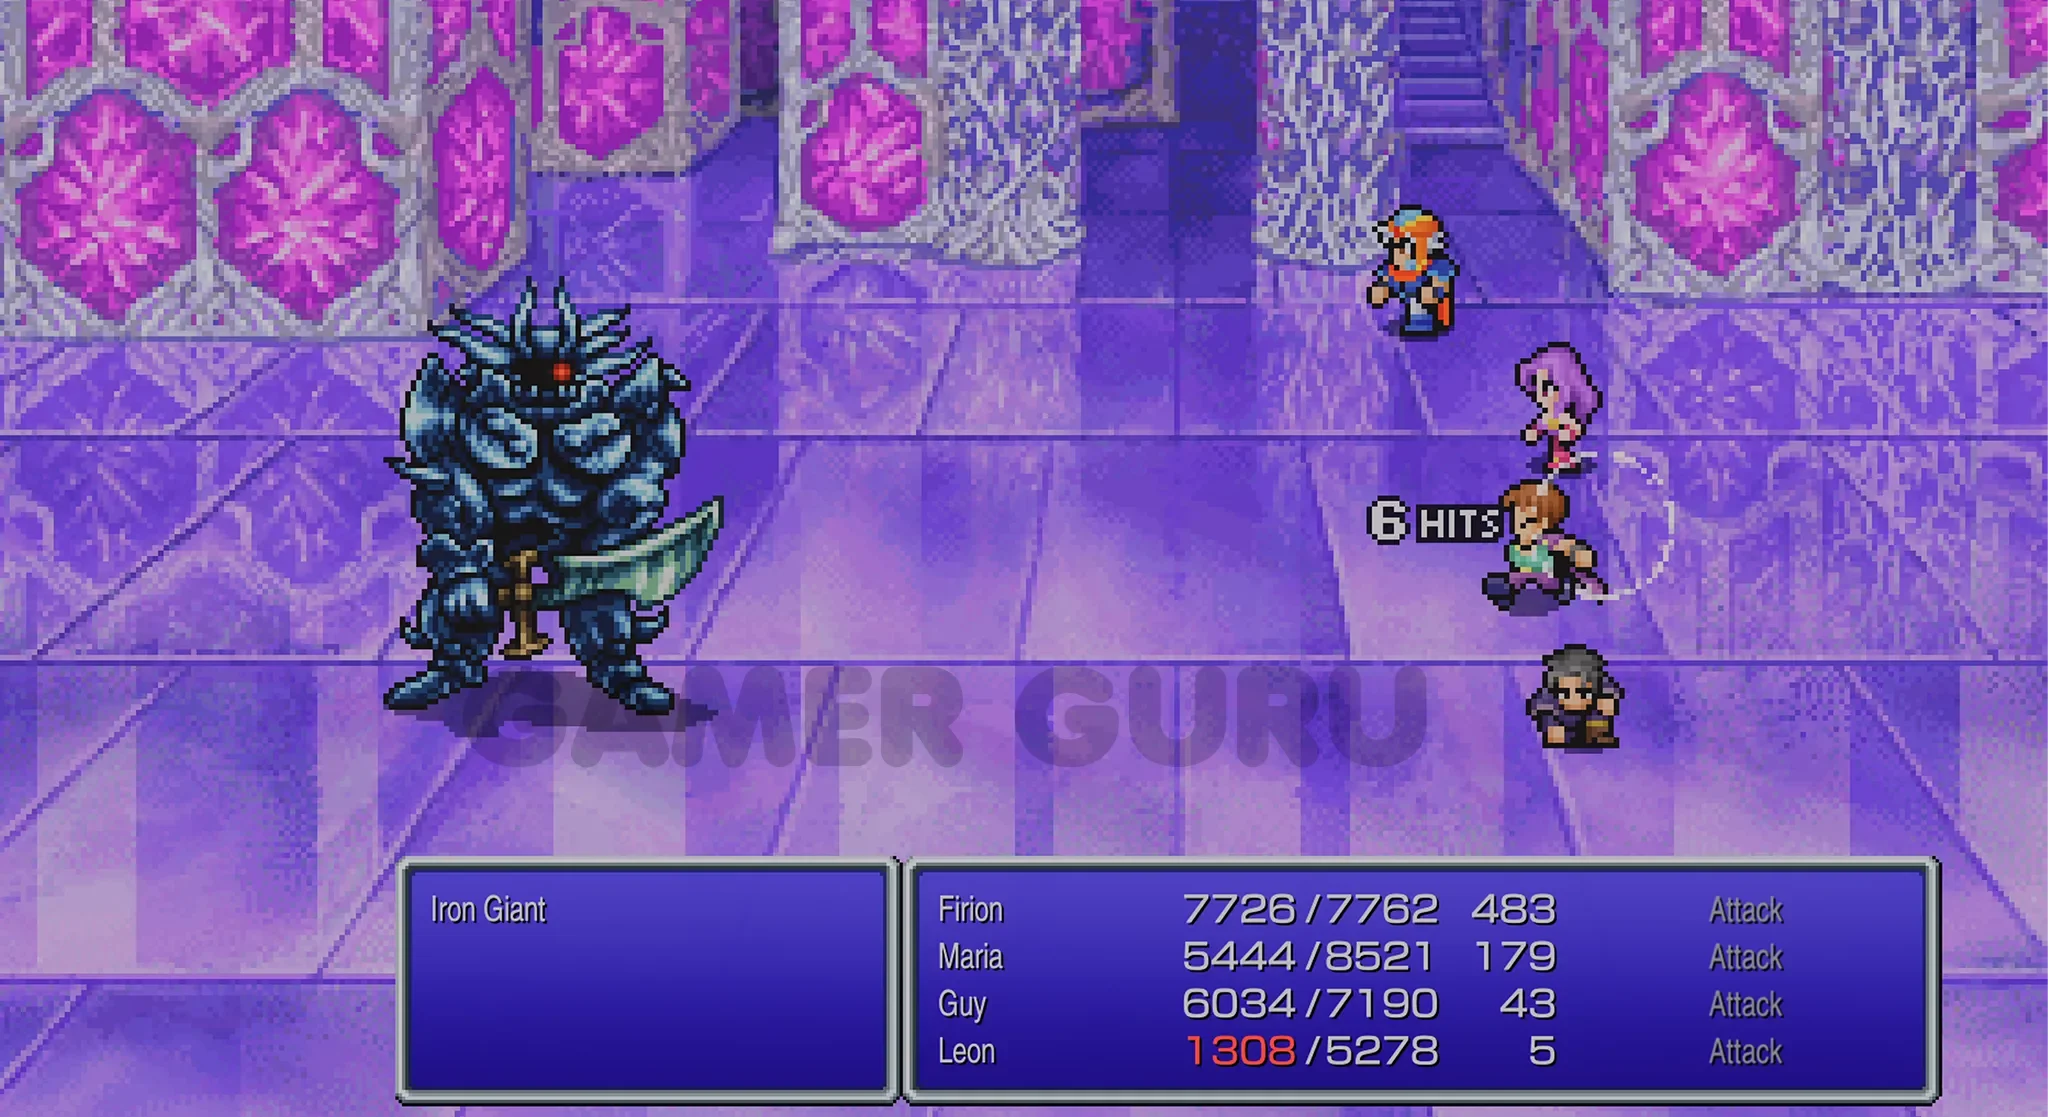
Also, if you are still missing Bestiary Entry #124 (Iron Giant), the top right part of 7F where all the pillars are seams to be the best place to encounter one.
When you’re ready, take the Teleport Tile at the bottom left to reach 8F.
8F
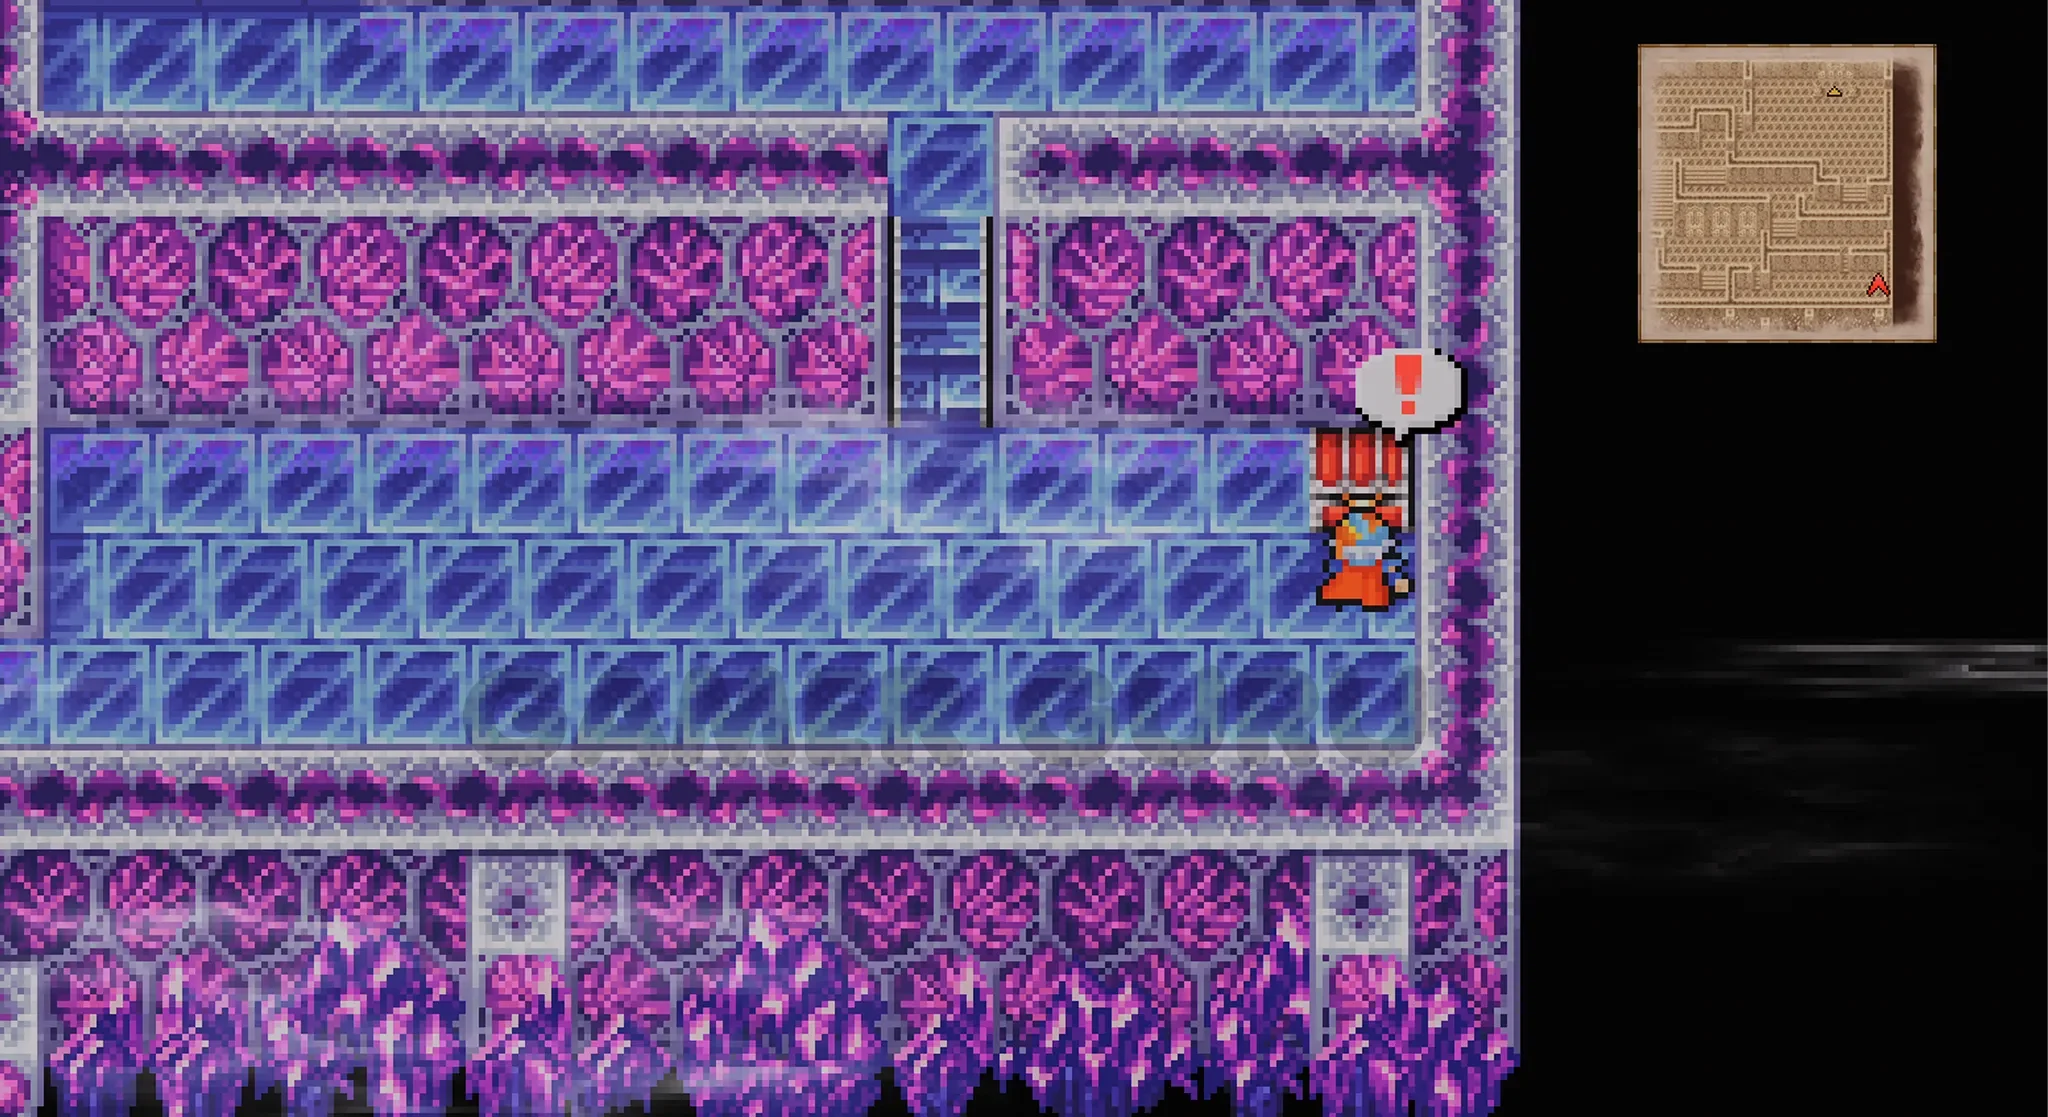
This is the last room in the game that contains chests, so these are the final 2.
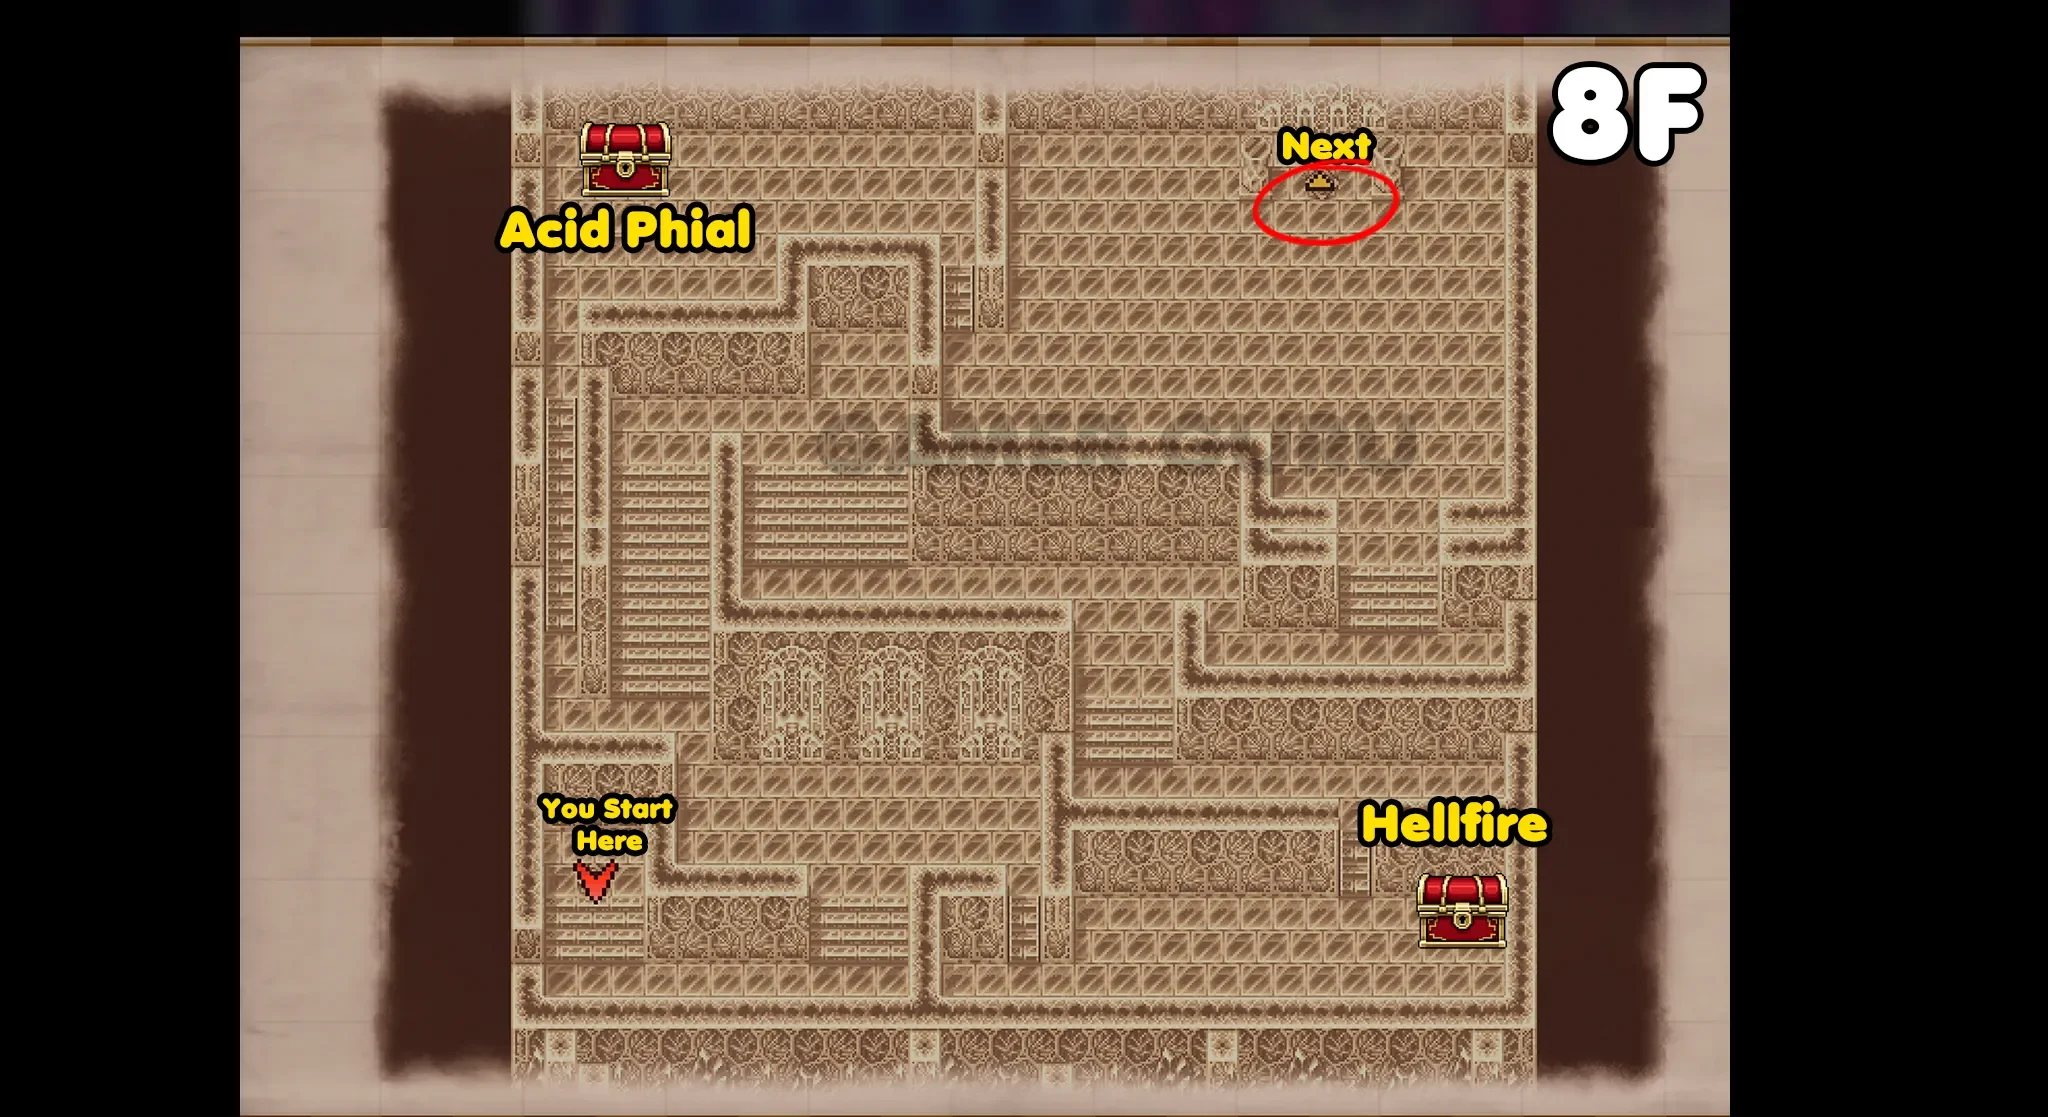
The chest at the bottom right contains Hellfire, and the one at the top left has an Acid Phial.
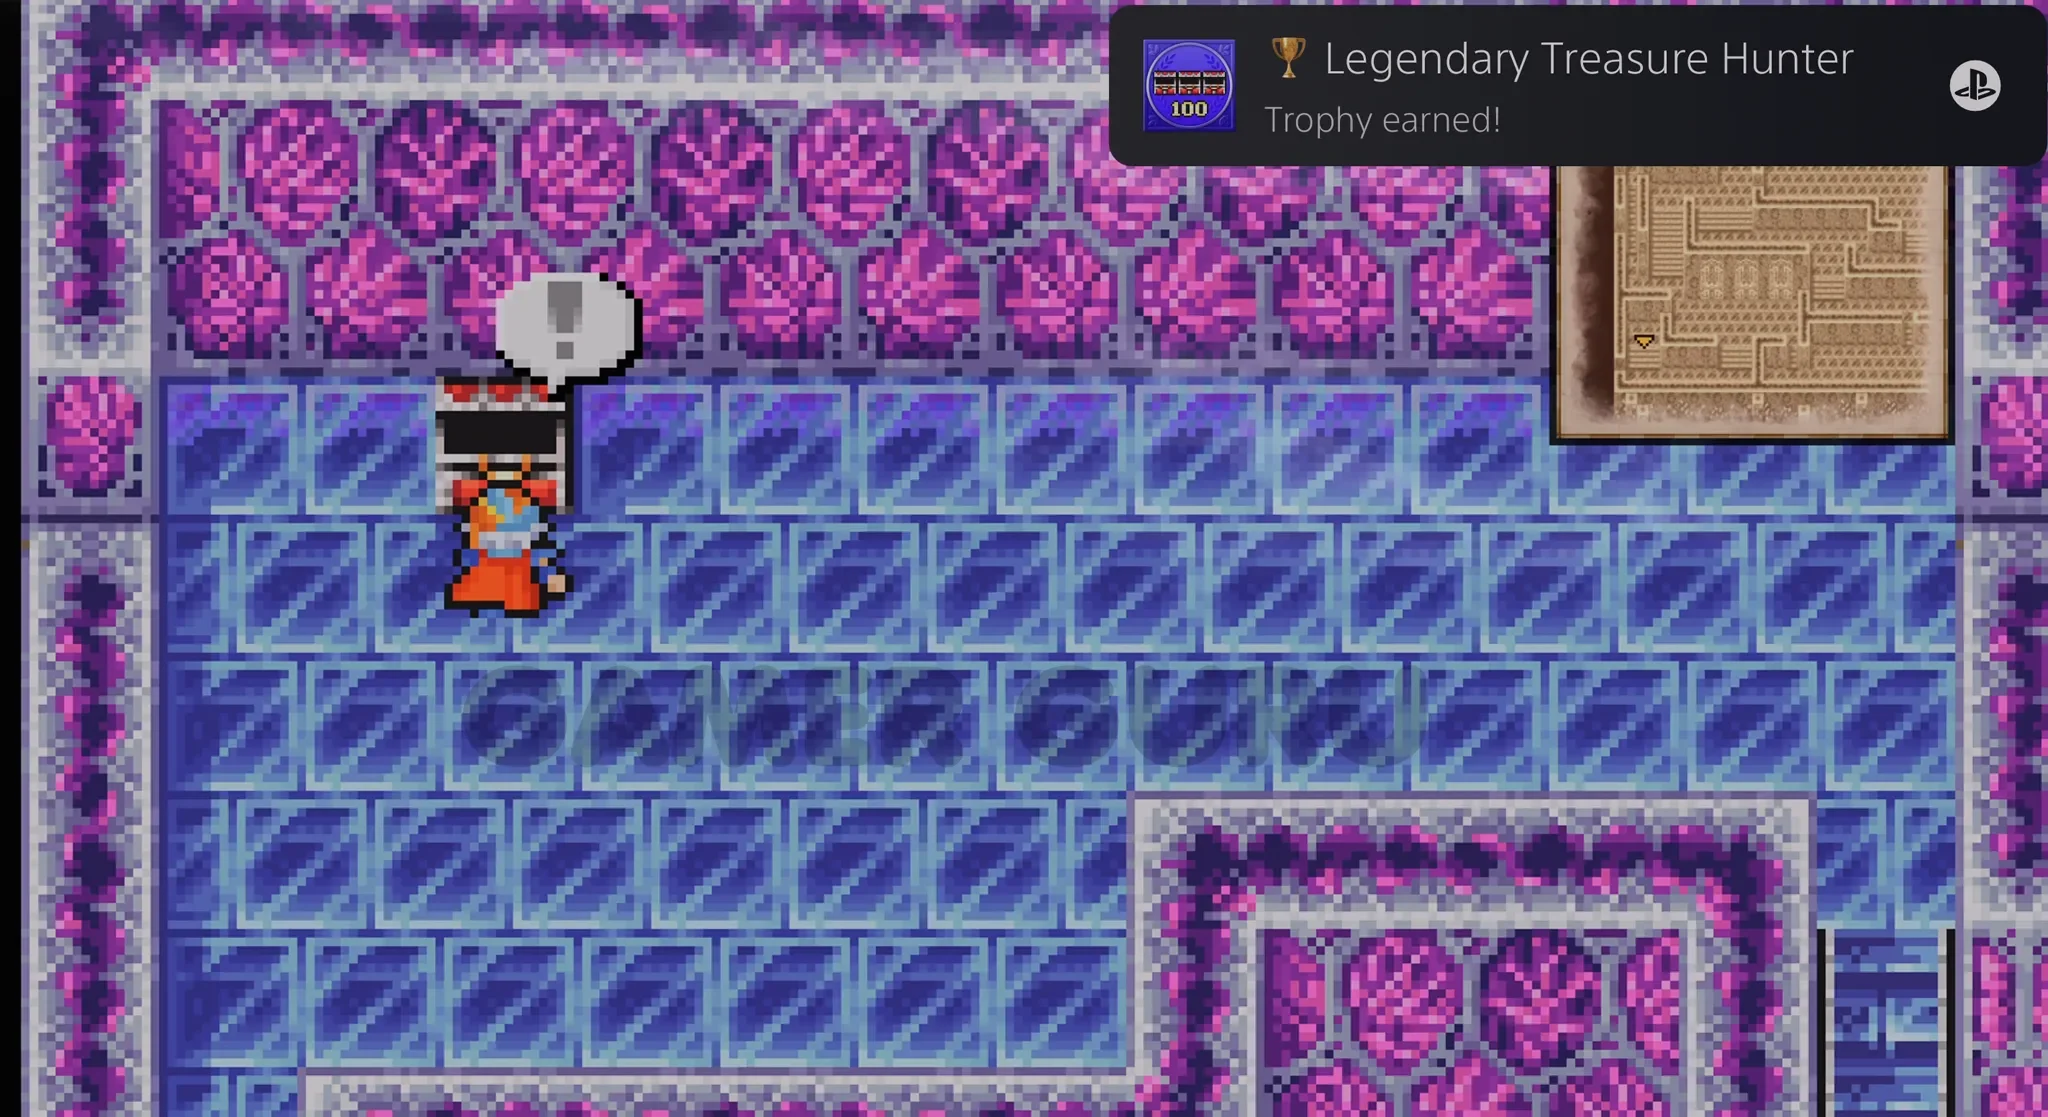 "Legendary Treasure Hunter" Trophy for finding every chest in the game!
Once you have opened the final chest, go into the Teleport Tile to the right reach 9F, which is just a big empty room.
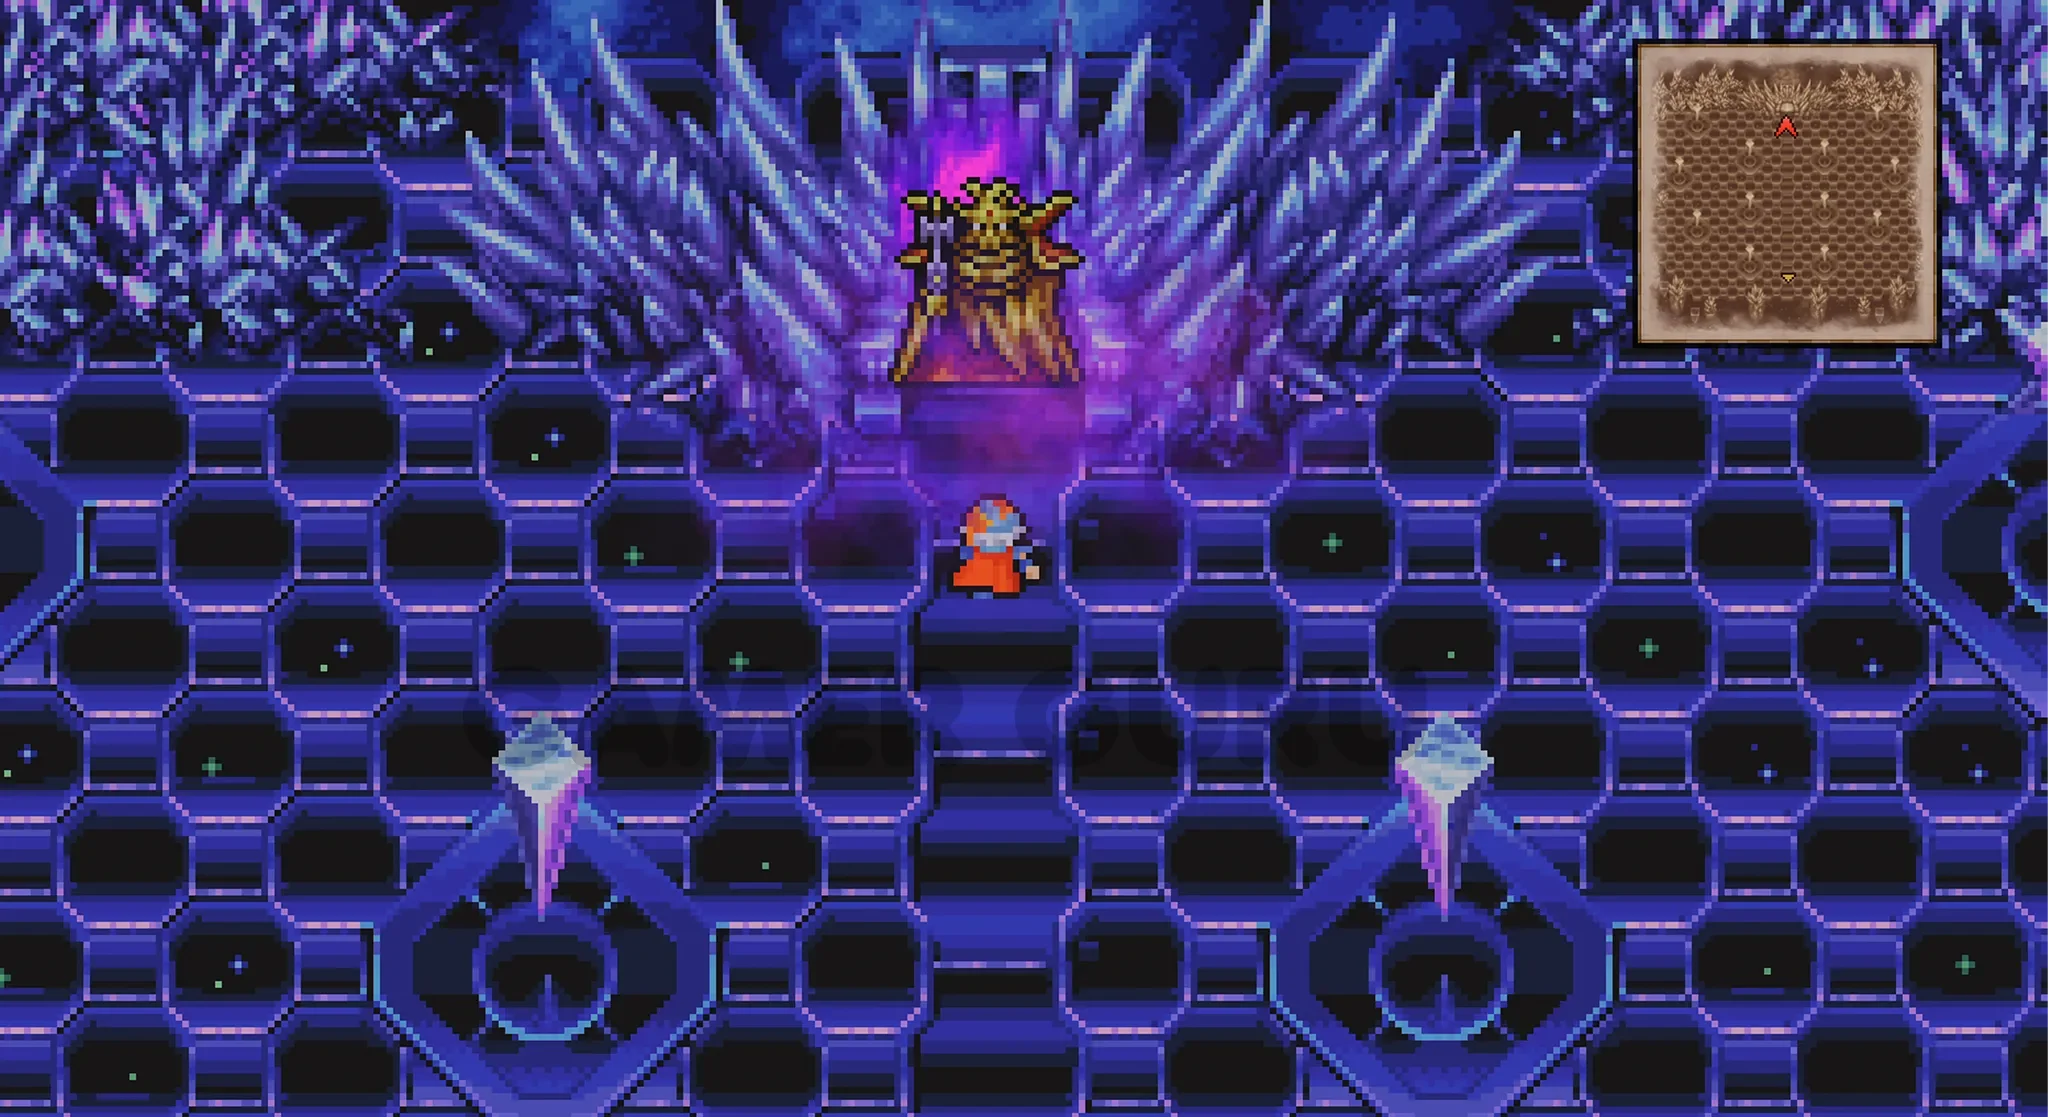
In 9F go directly to the bottom left corner to find another Teleport Tile that will take you to the Boss Room!
Final Boss Fight
The best advice I can give you for this boss fight is make sure to equip the Blood Sword, it makes this fight A LOT easier.
Cast Blink on your party as soon as possible, as his basic attacks will drain your HP to heal himself each time which can make the fight drag out for longer, so the better evasion you have the less likely he will be able to heal himself as often.
Cast Haste on your Blood Sword user to attack as quickly as possible, the Blood Sword is so great against him because it bypasses his massive defense stat, as it always deals 1/16th (6.25%) of the targets max HP . And it also drains the enemies HP to heal the user every time it attacks.
 "Field Research - Professional" Trophy for completing 100% of the Bestiary (assuming you didn't miss any of course)!
 "War's End", which should be your last Trophy for the
  Platinum!
Thank you for reading all the way until the end, and congratulations on your Playthrough!
It has been fun, I hope to see you in future guides.
Gamer Guru