
Final Fantasy 2 Pixel Remaster 100% Walkthrough - Cyclone Dungeon

After recovering the Ultima Tome from the Mysidian Tower we are ready to head back to Castle Fynn to update Hilda on the situation!
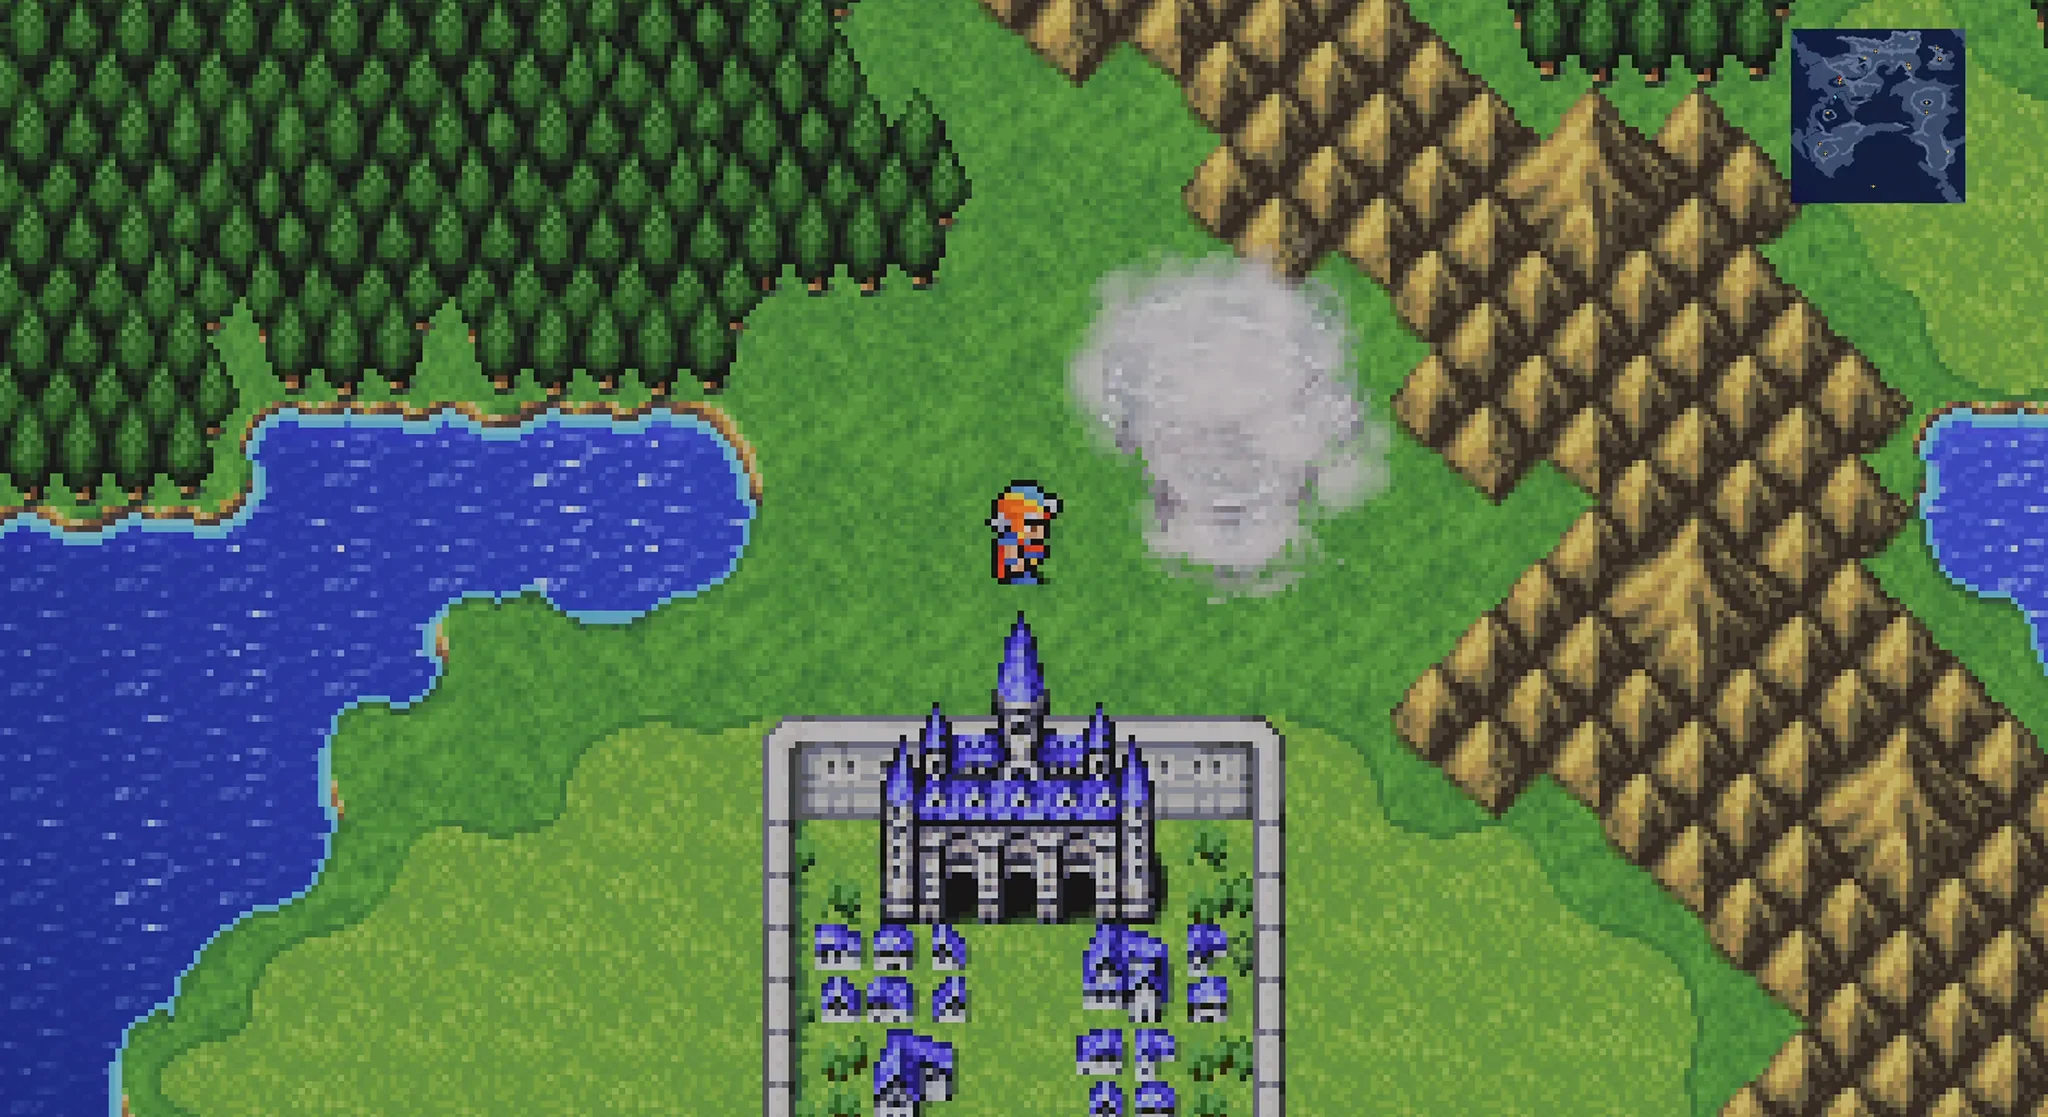
On your way back to Castle Fynn you may notice a Cyclone just to the north of Fynn, ignore it for now and head for the castle to speak with the princess.
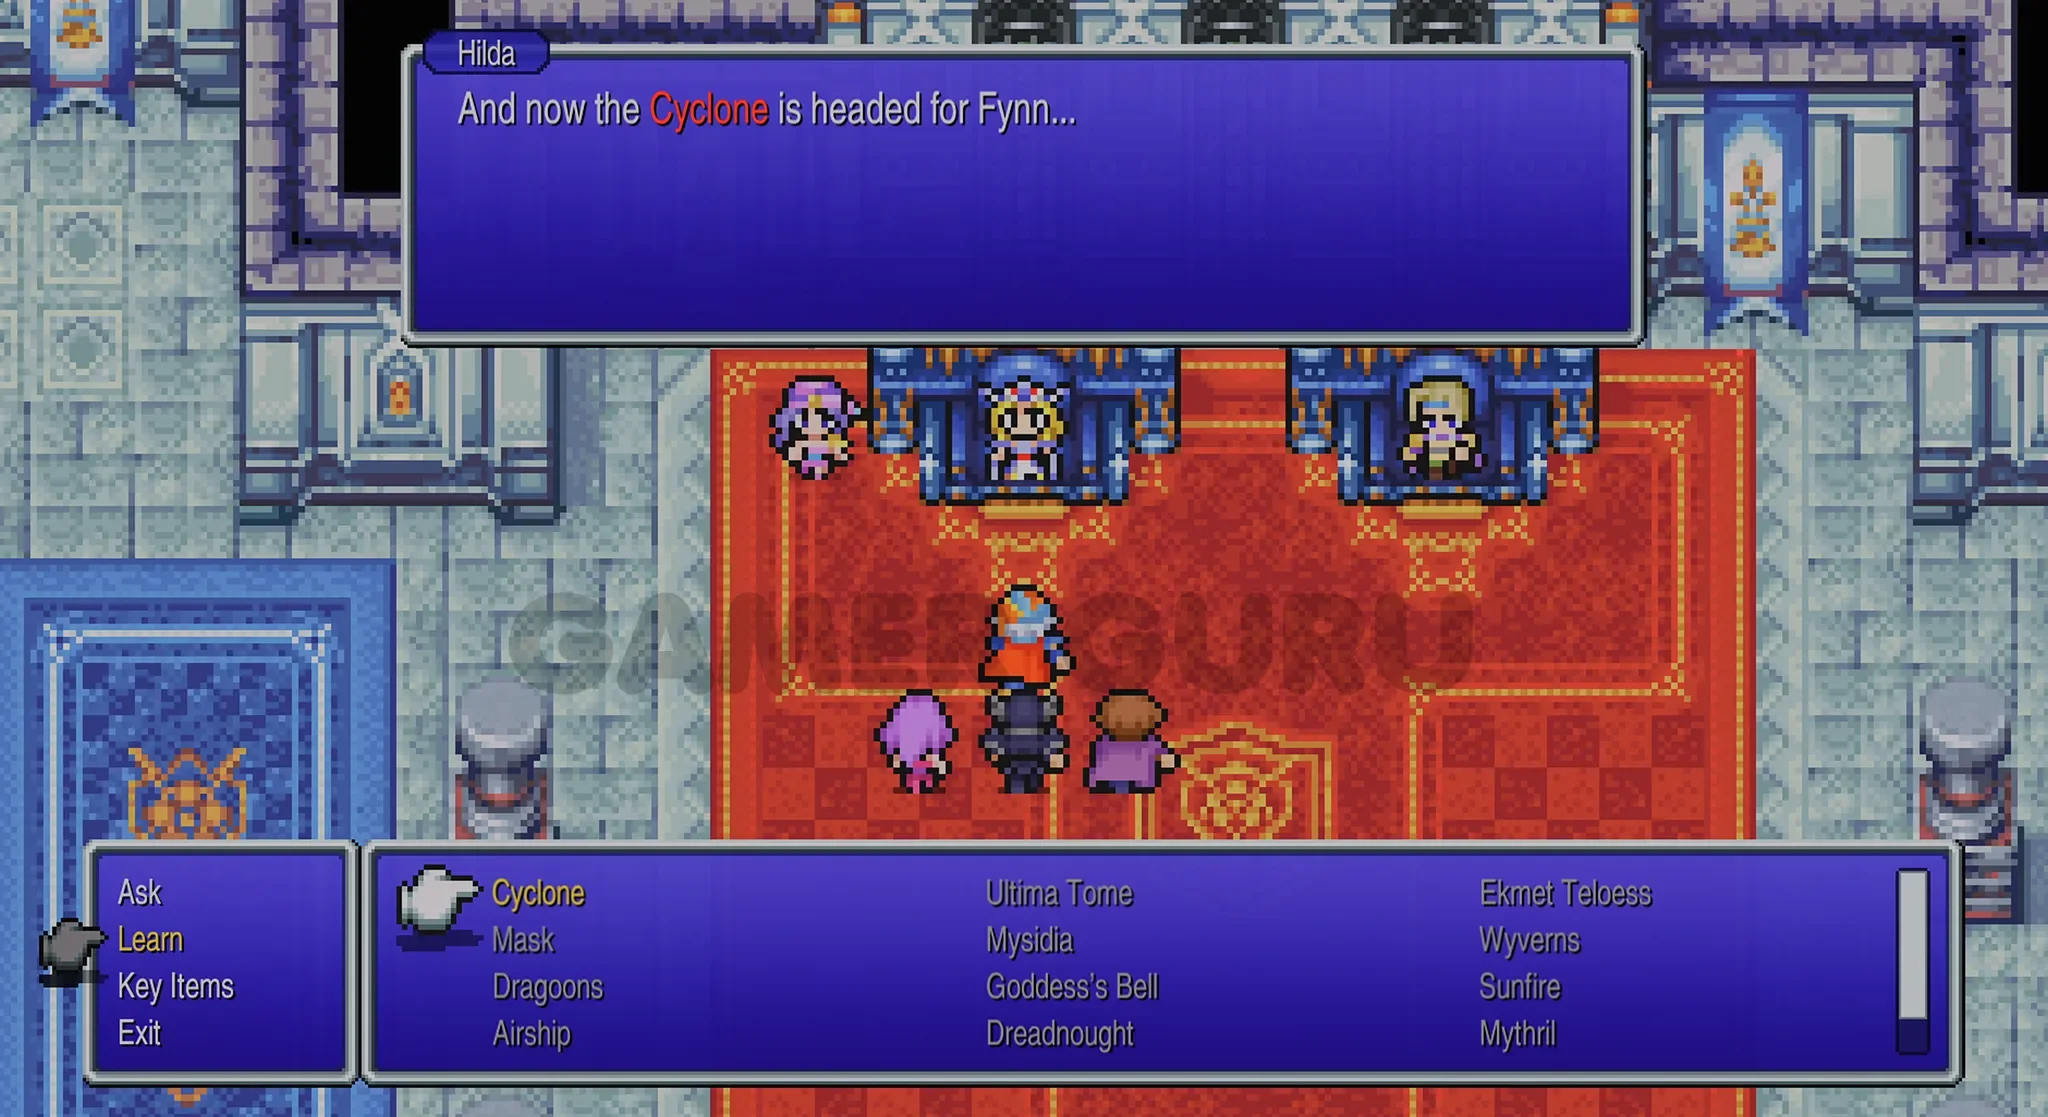
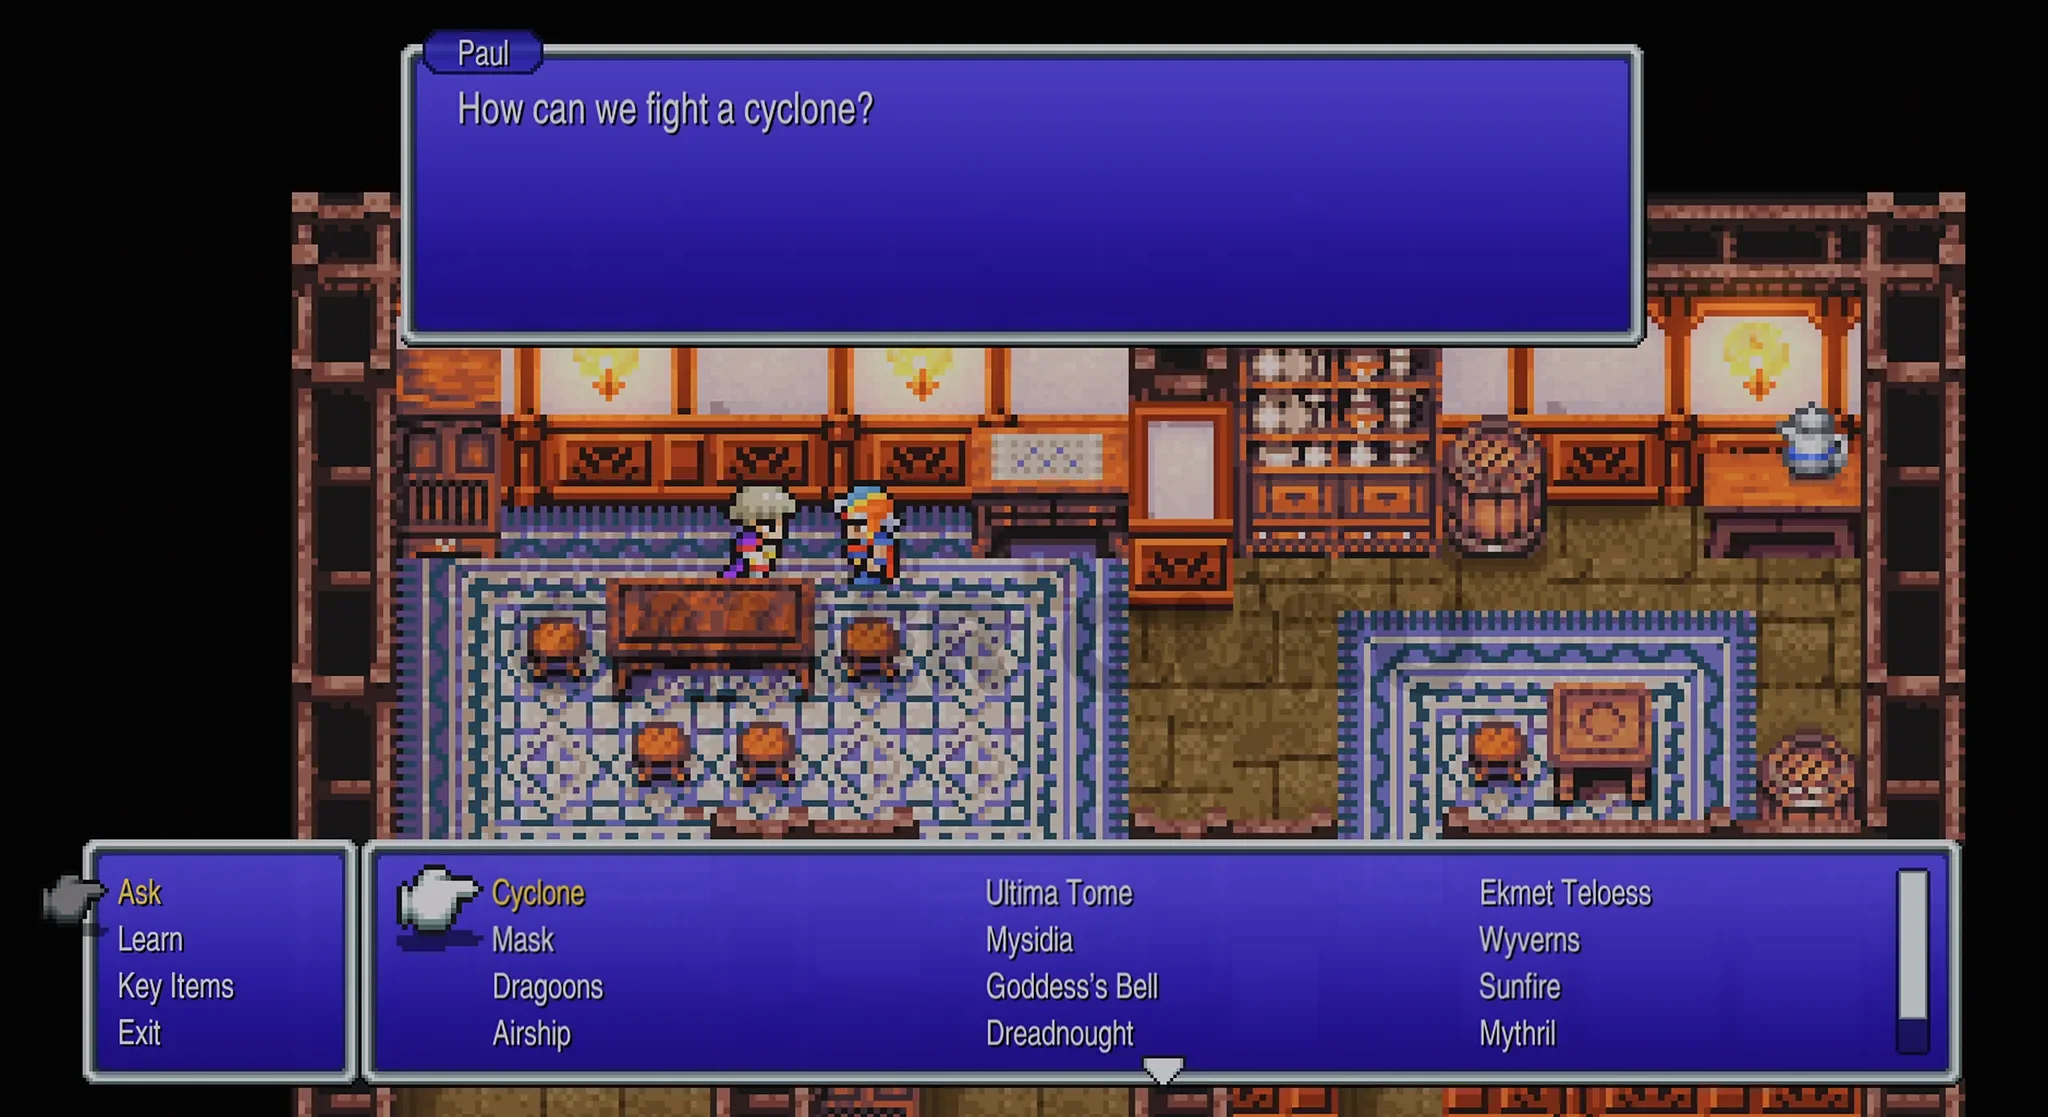
During this conversation with Hilda we can Learn the “Cyclone” password.
(The “Cyclone” Password is missable so make sure you Learn it here!)
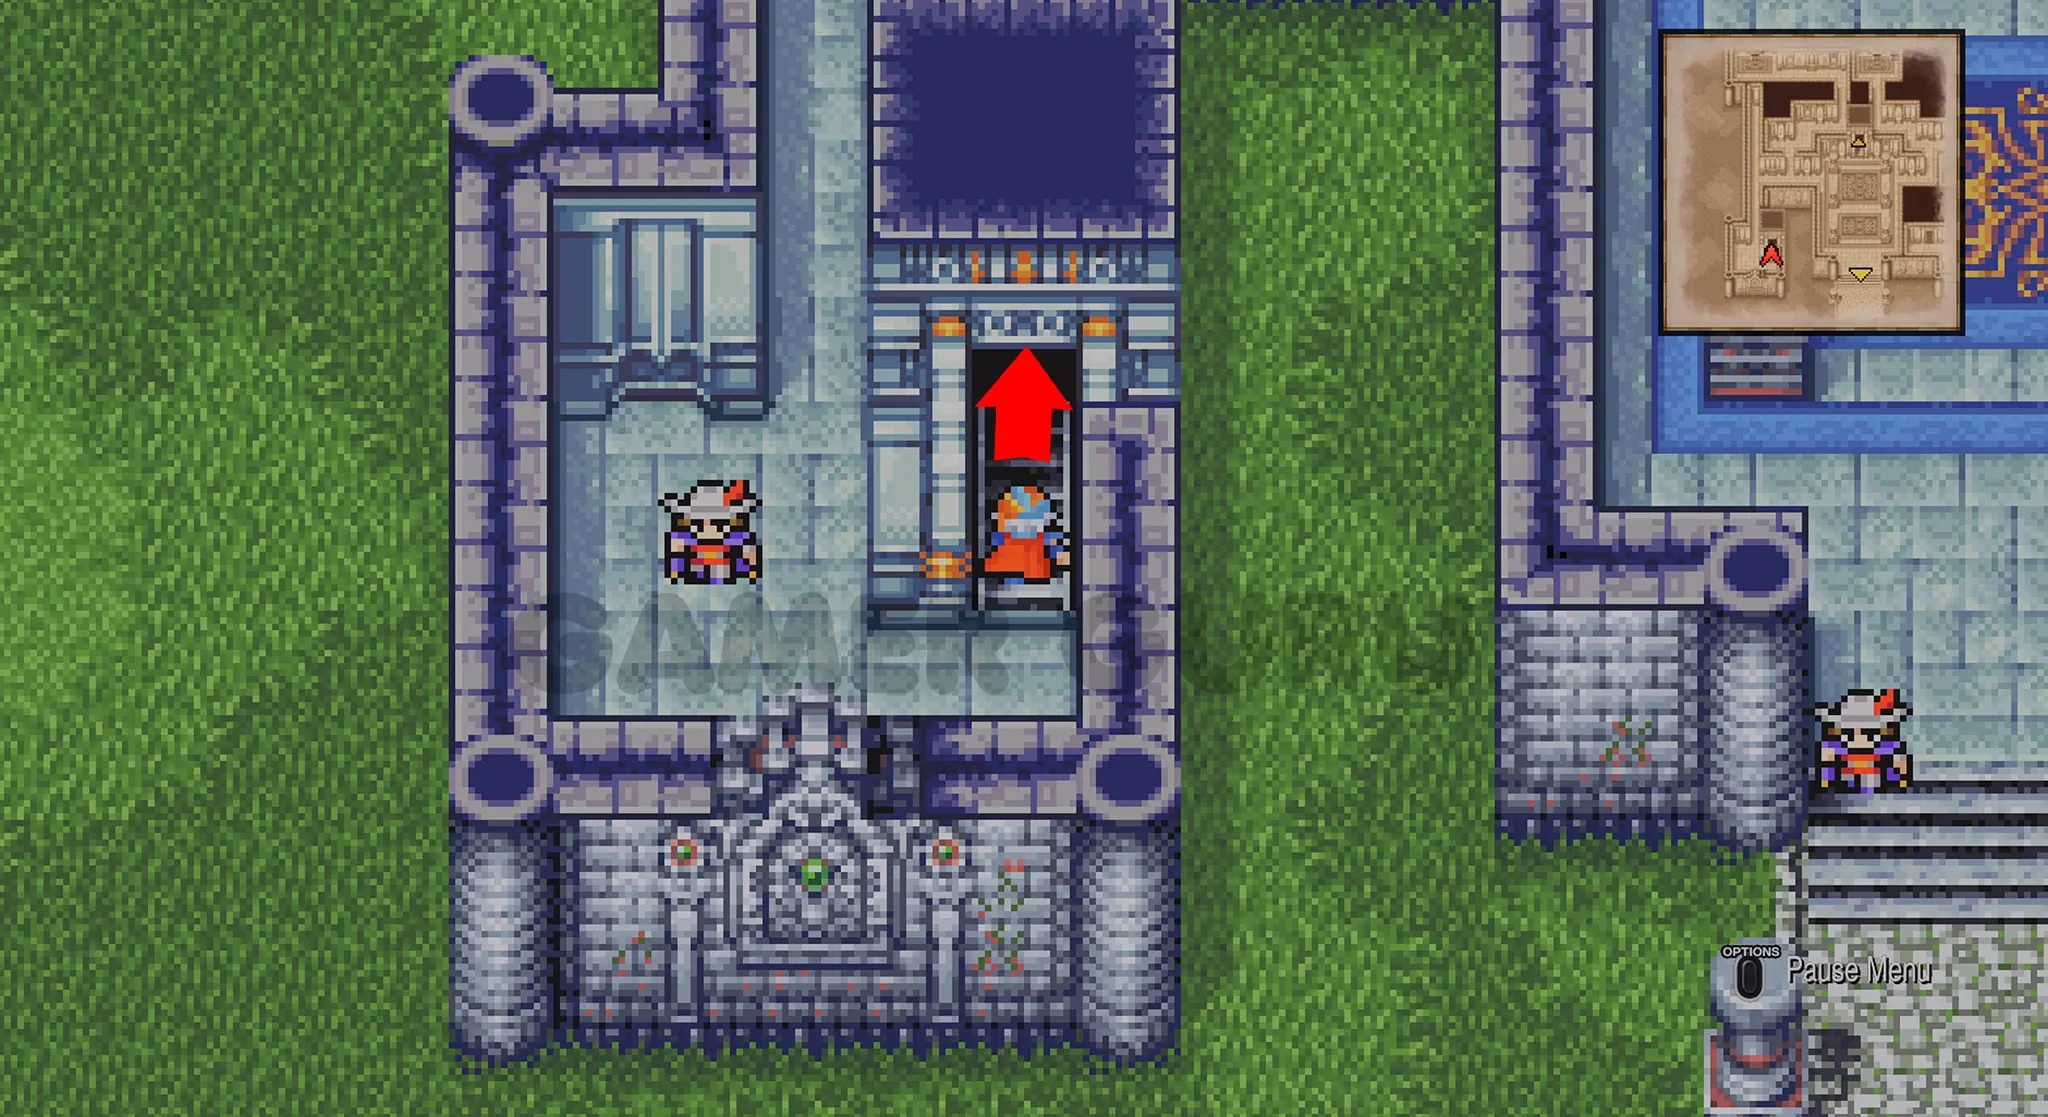
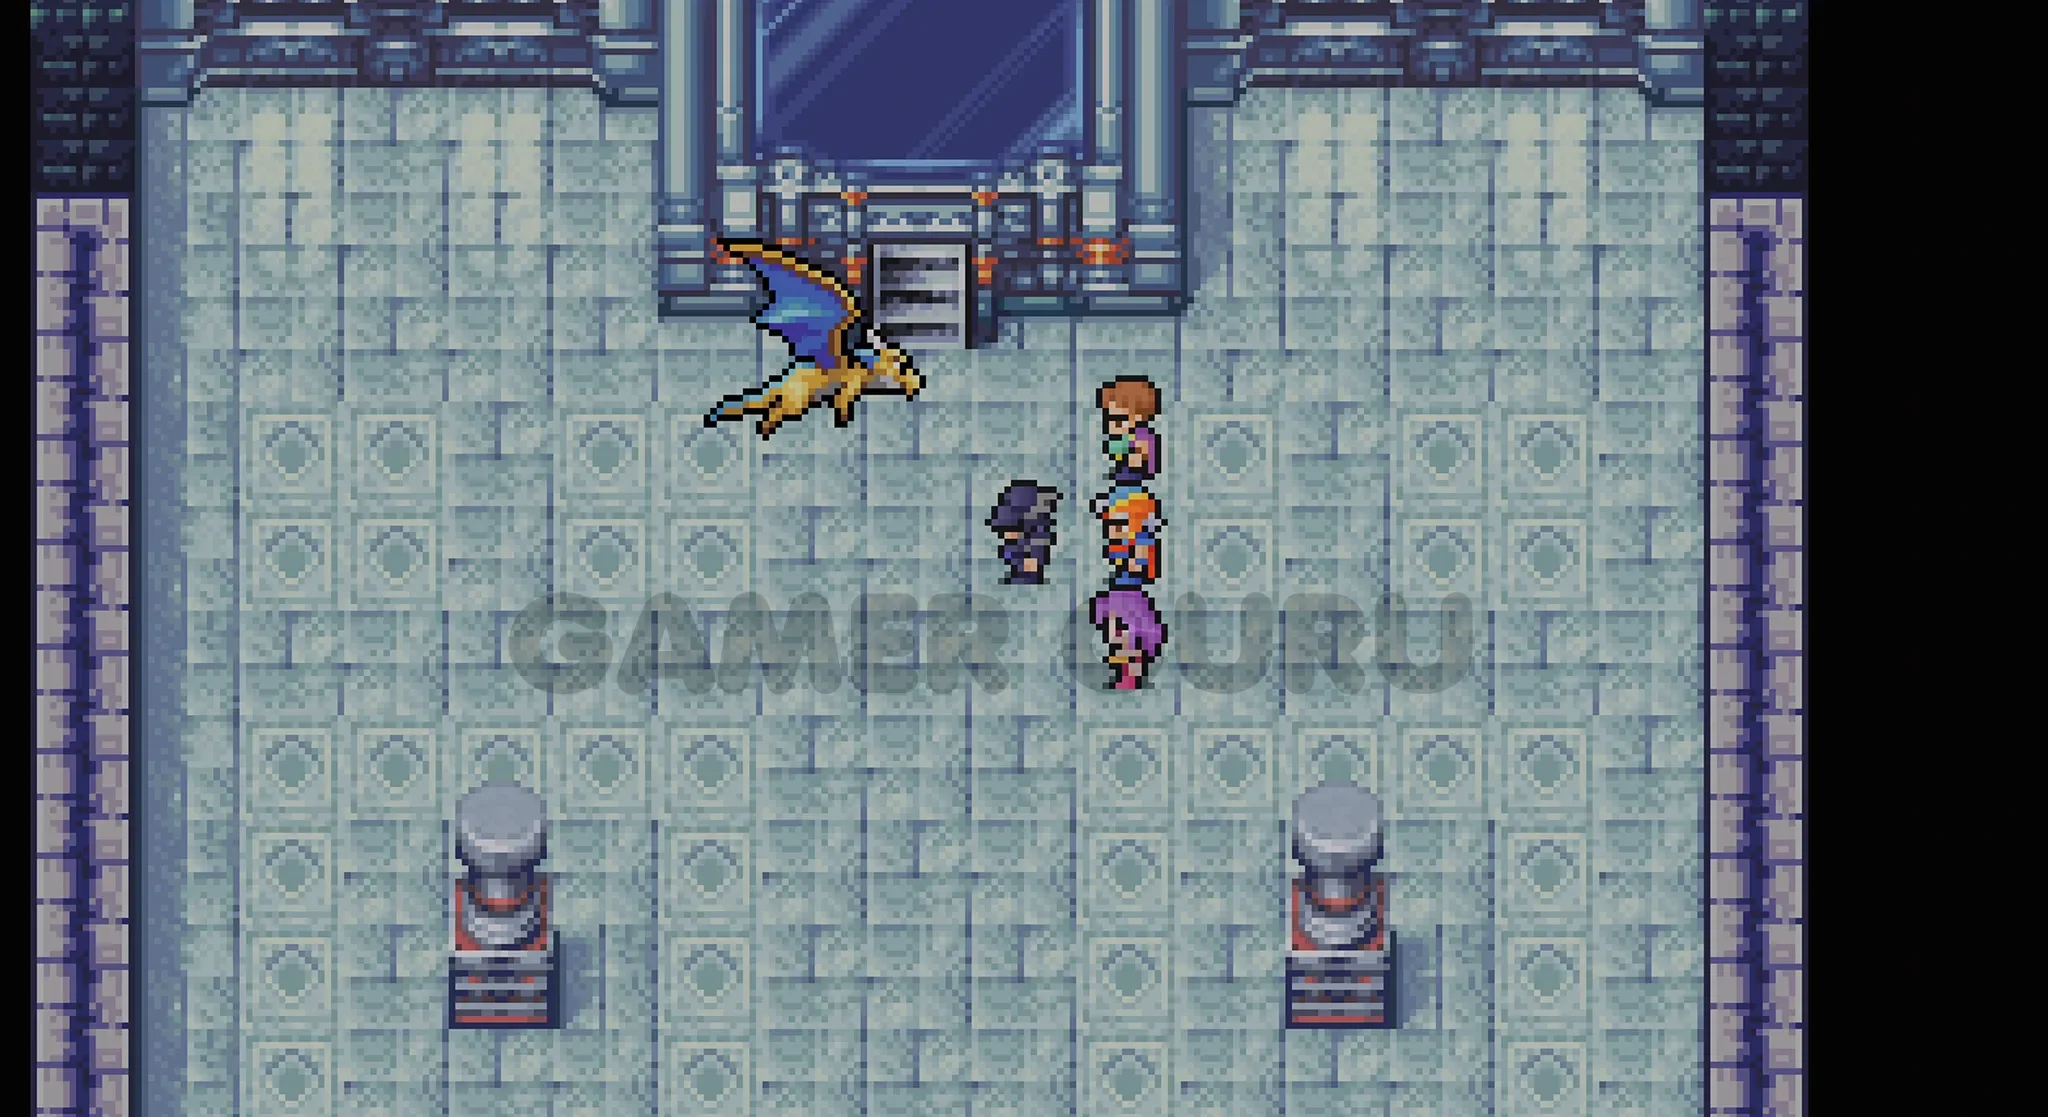
Once you have learnt it, go to the Mirror Room in the castle, to find it just go to 1F then go up the stairs at the bottom left of the screen, then in the next room , continue going up on the left hand side until you reach a room with a giant mirror.

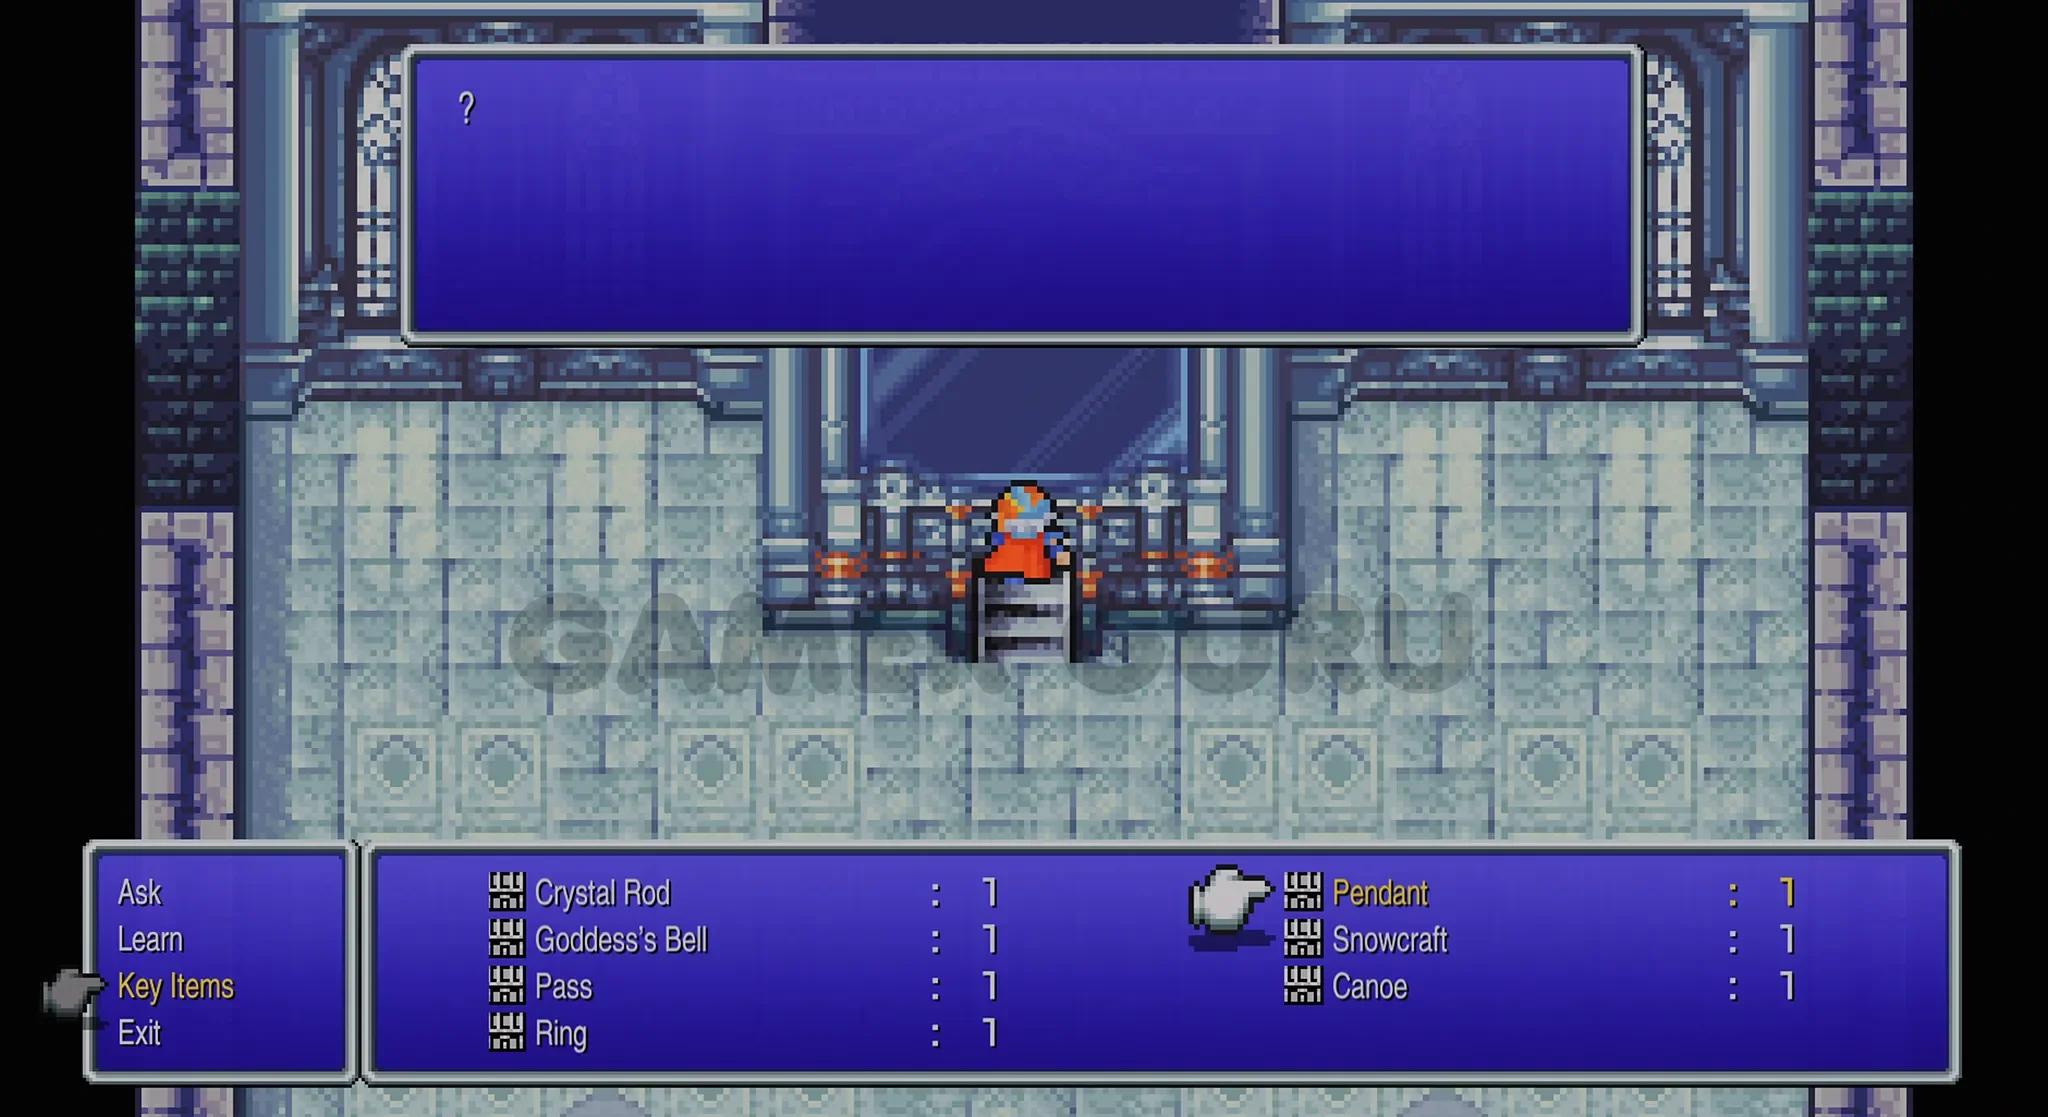
Interact with the mirror and choose Key Items > Pendant, this will sart a cutscene where the Wyvern Egg will hatch into a Wyvern.
 "Birth of a Wyvern" Trophy.
Missable Chests Warning!
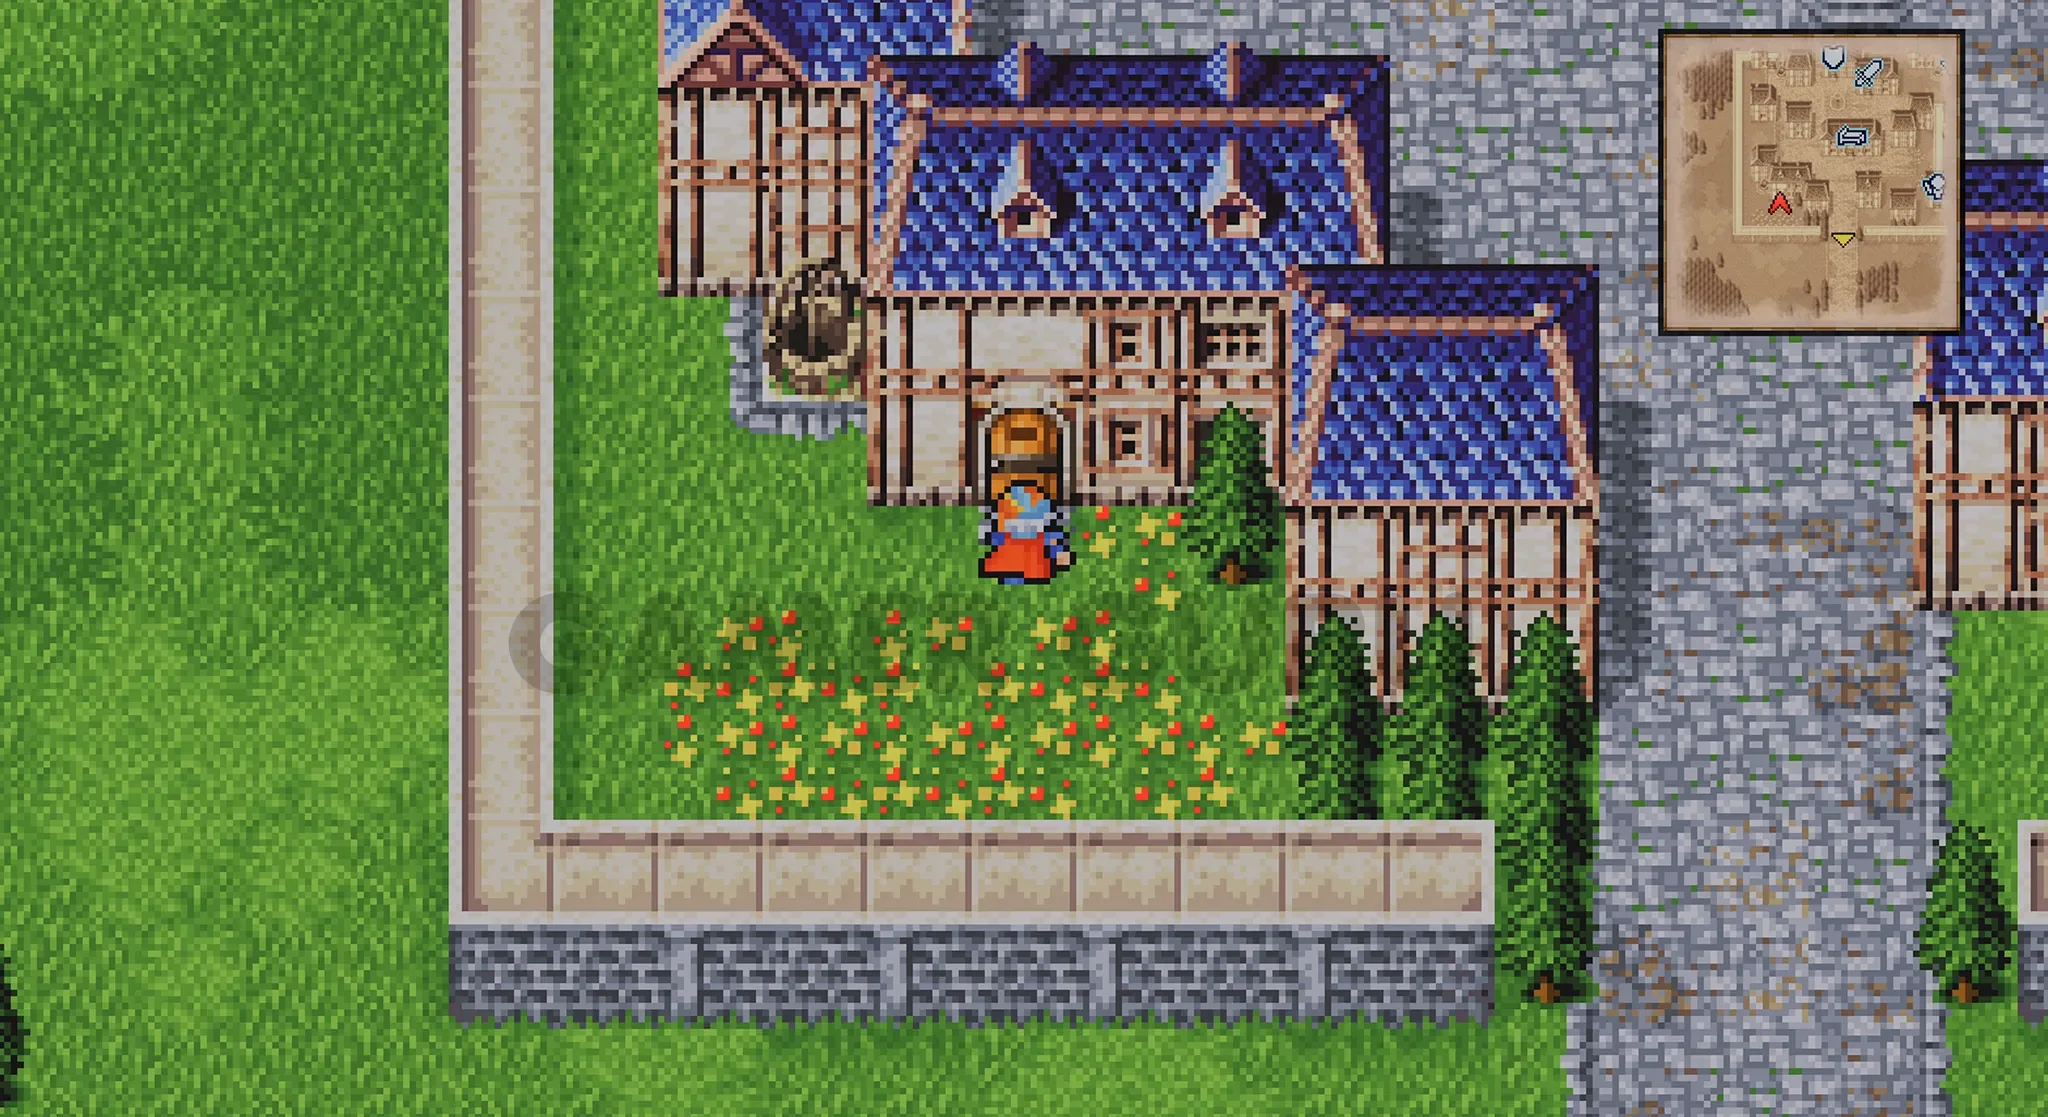
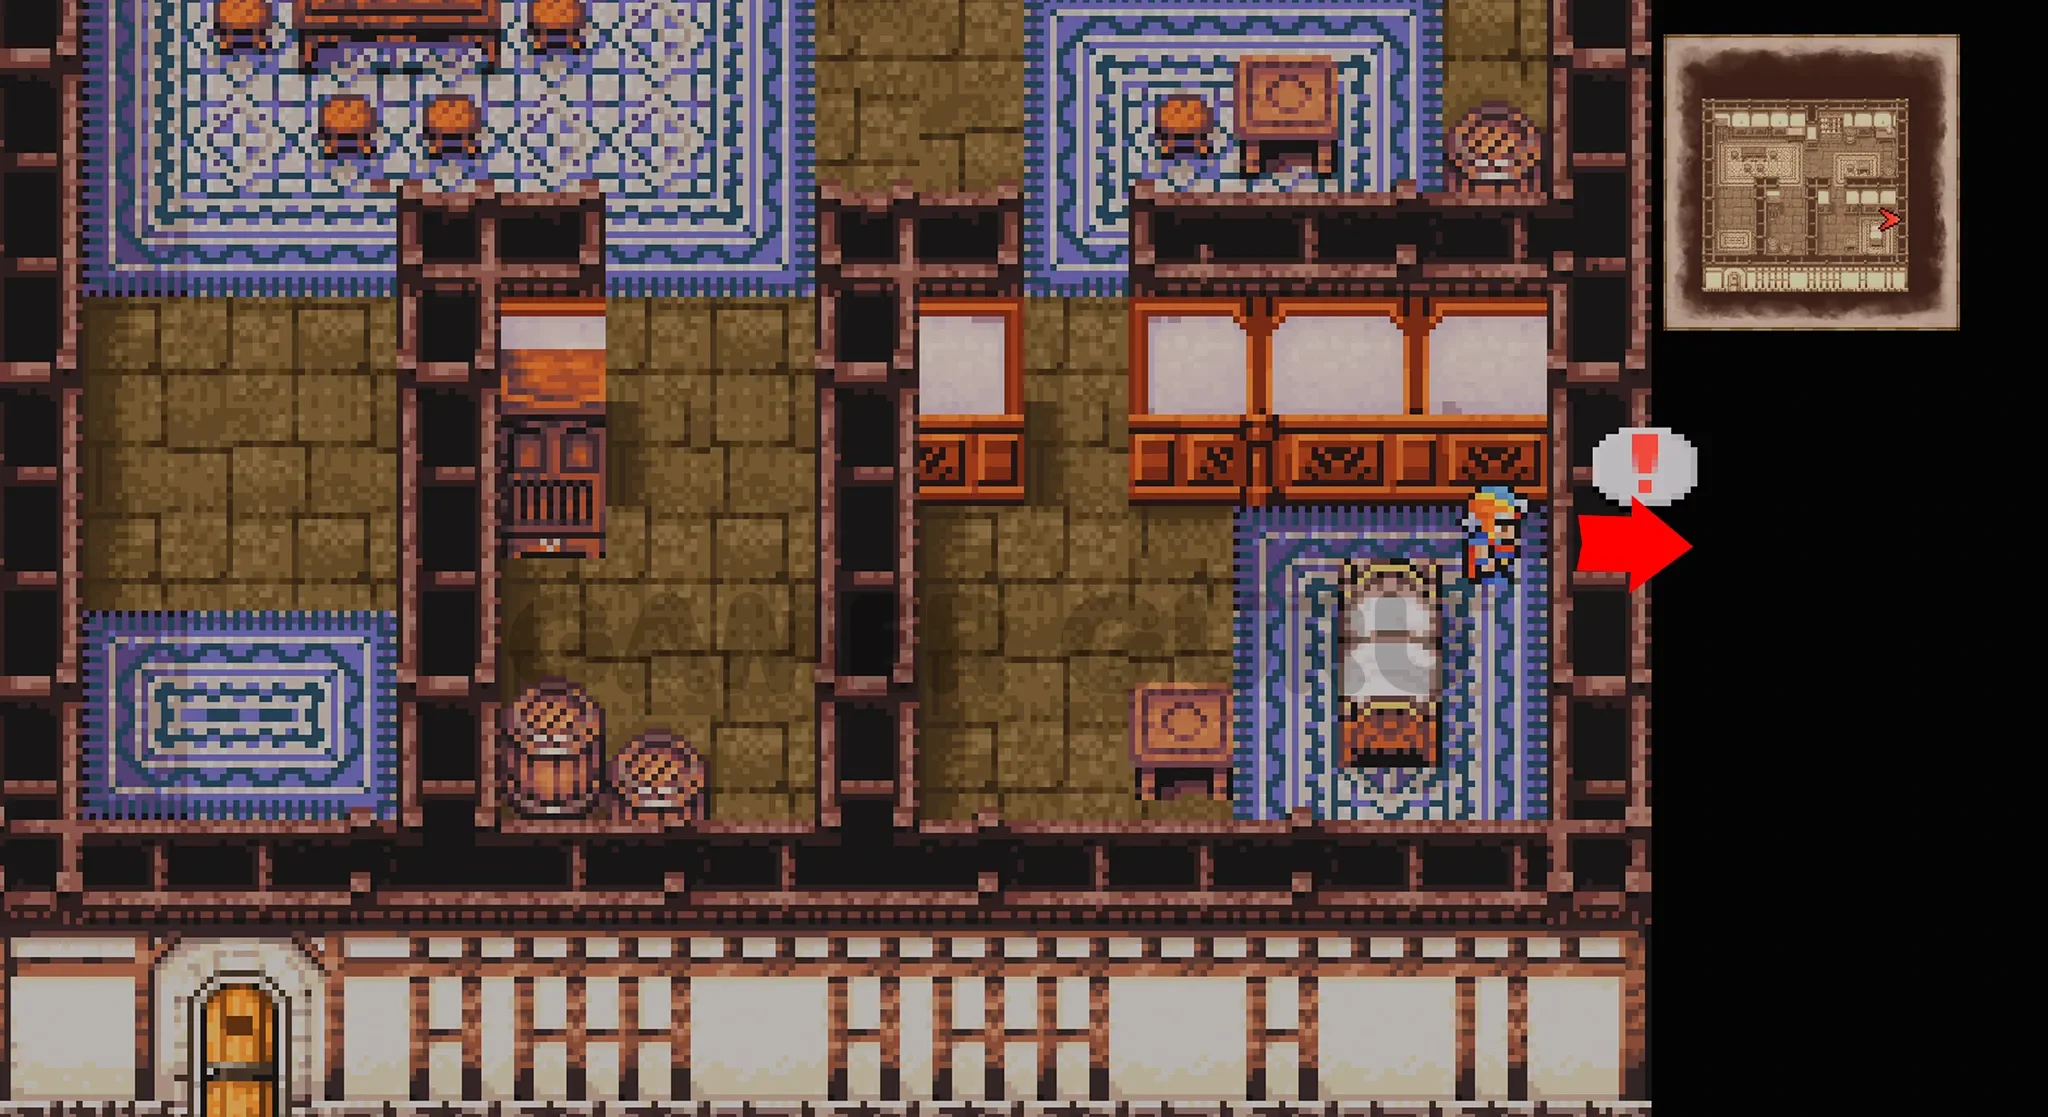
Once you have the Cyclone password, make sure to go to Paul’s house (the one at the bottom left in Fynn) and mention the Cyclone to him, he will reveal there is a secret room in his house, to the right of his bed.
Interact with the wall there to access the secret room that contains 8 chests, these are all missable so be sure to do this now!
Also one of these chests contains the Blood Sword.
You should now have all 11 Chests for the Fynn location.
Now that we have taken care of that it is finally time to exit Fynn and head towards the Cyclone Dungeon!
Cyclone Dungeon
The Cyclone Dungeon is another dungeon that will disappear as soon as we complete it, so make sure to pick up all 7 chests inside before you leave or they will be gone forever.
You don’t have to worry about Bestiary Entries as all enemies that can be found in the Cyclone can also be found in other regions.
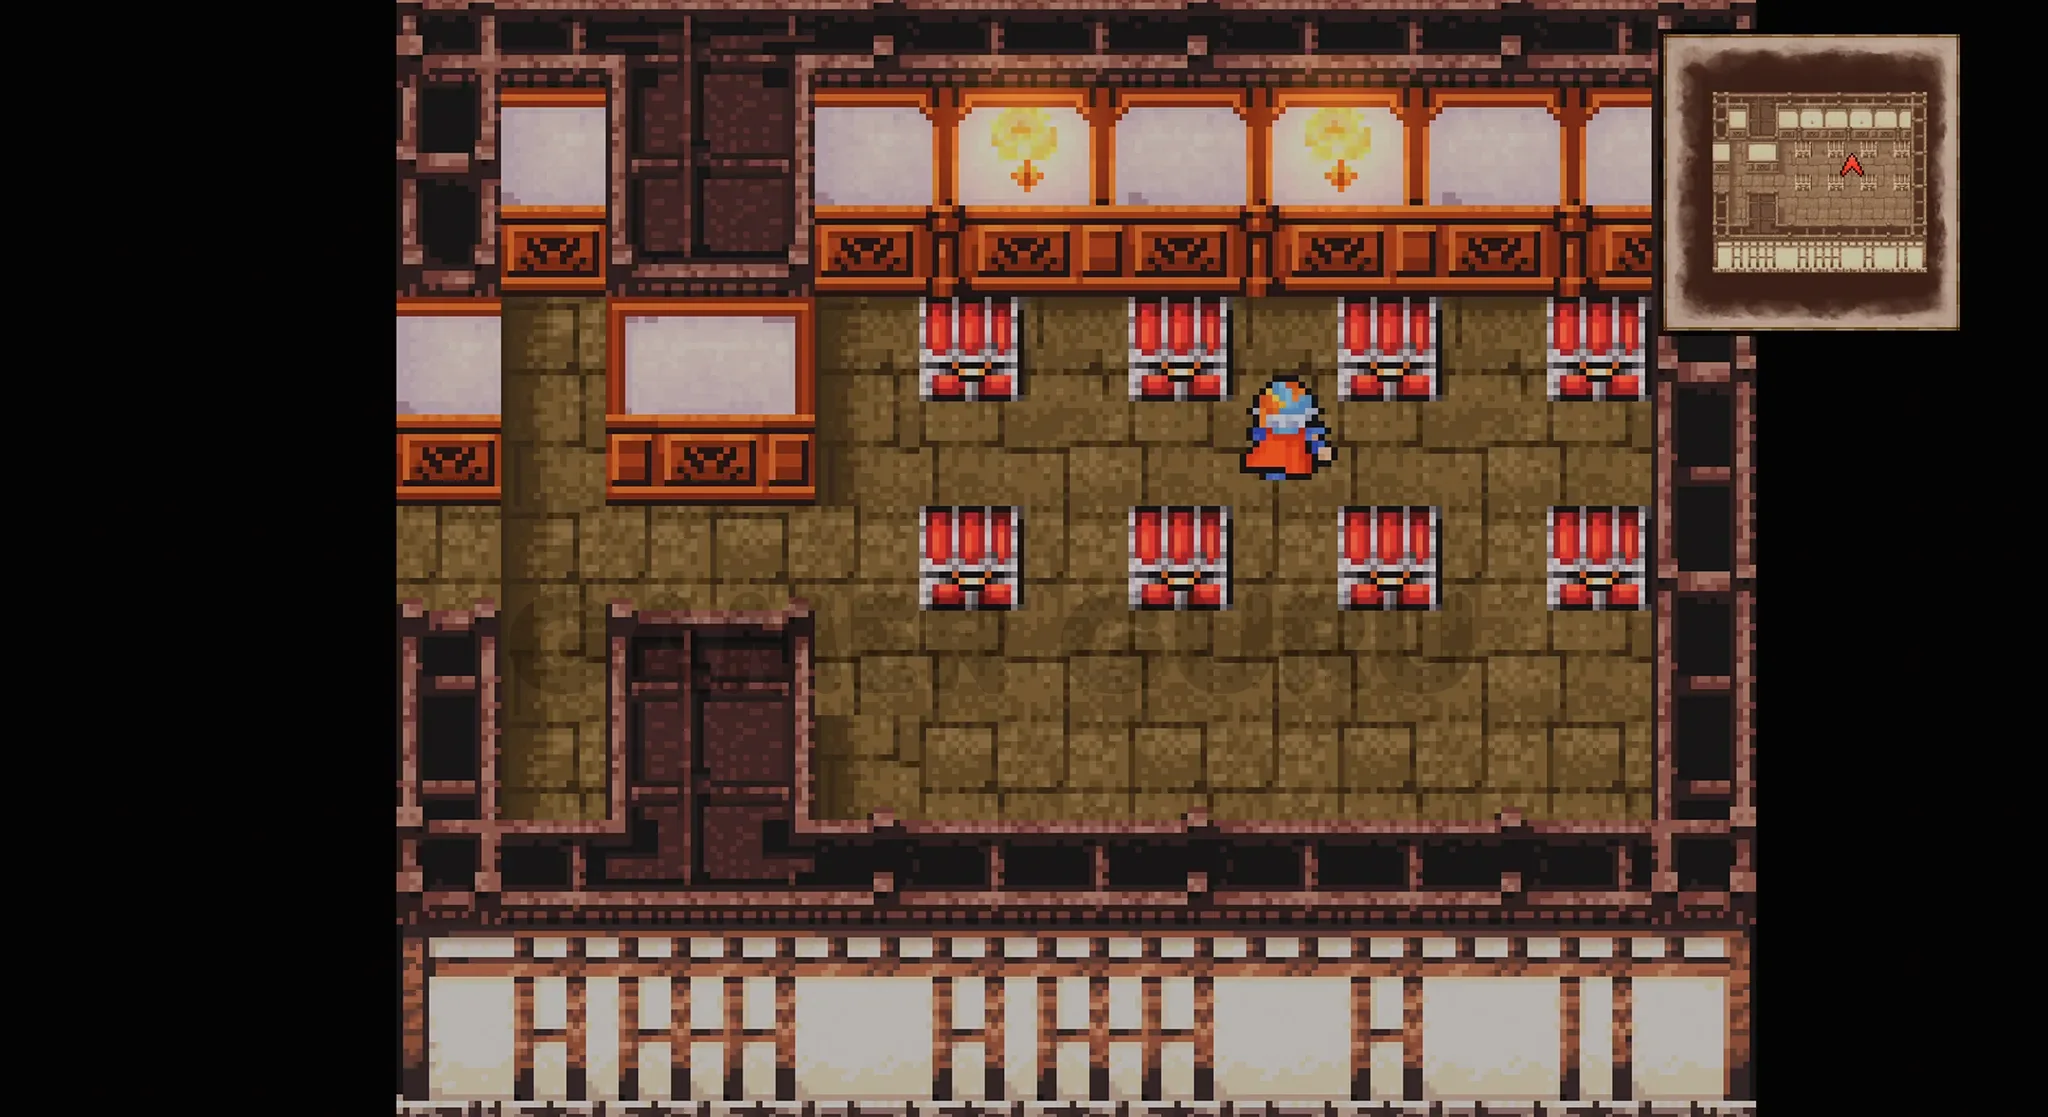
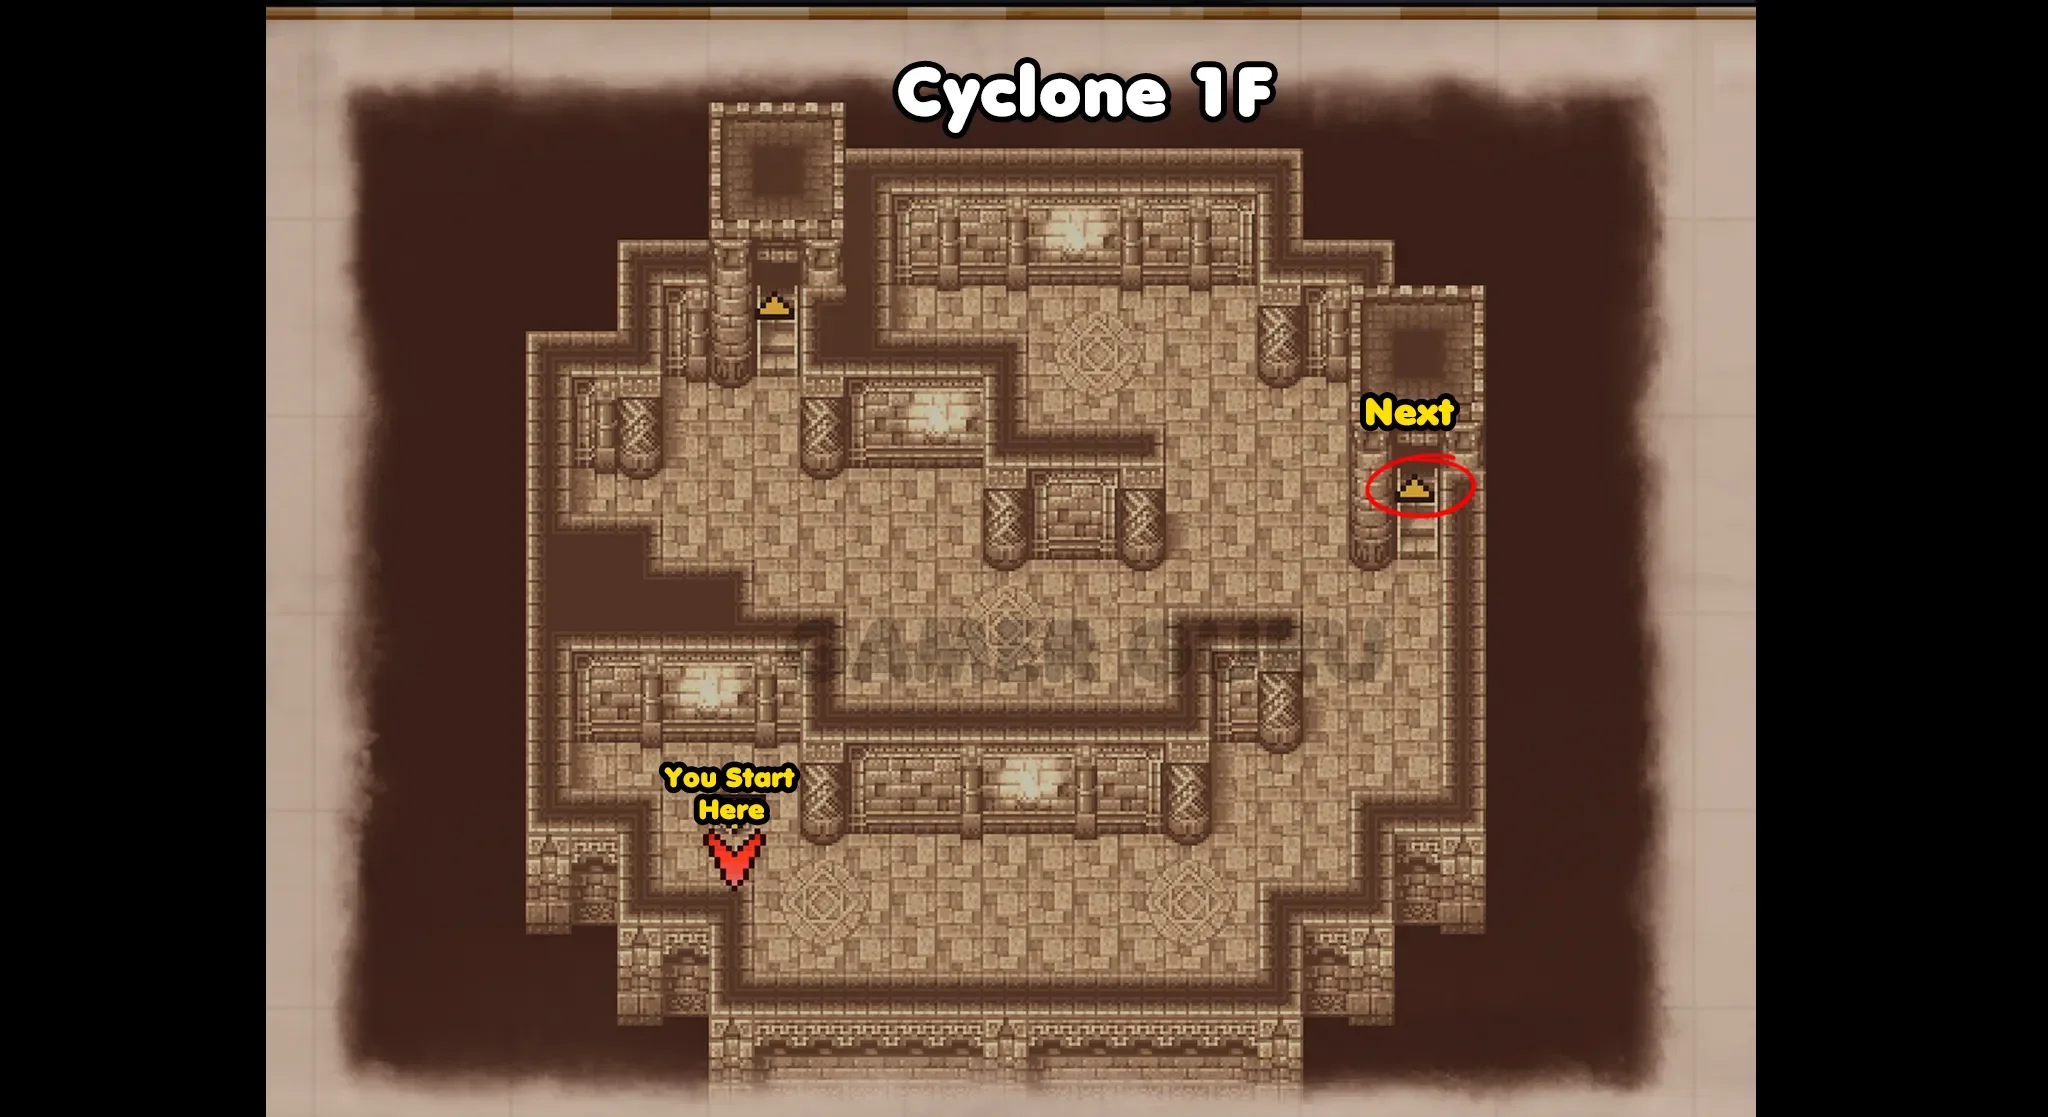
1F
On the first floor there won’t actually be any chests, so for now you need to take the stairs on the right side of the room, this path will lead us to optional areas on both 2F and 3F to get a couple of chests.
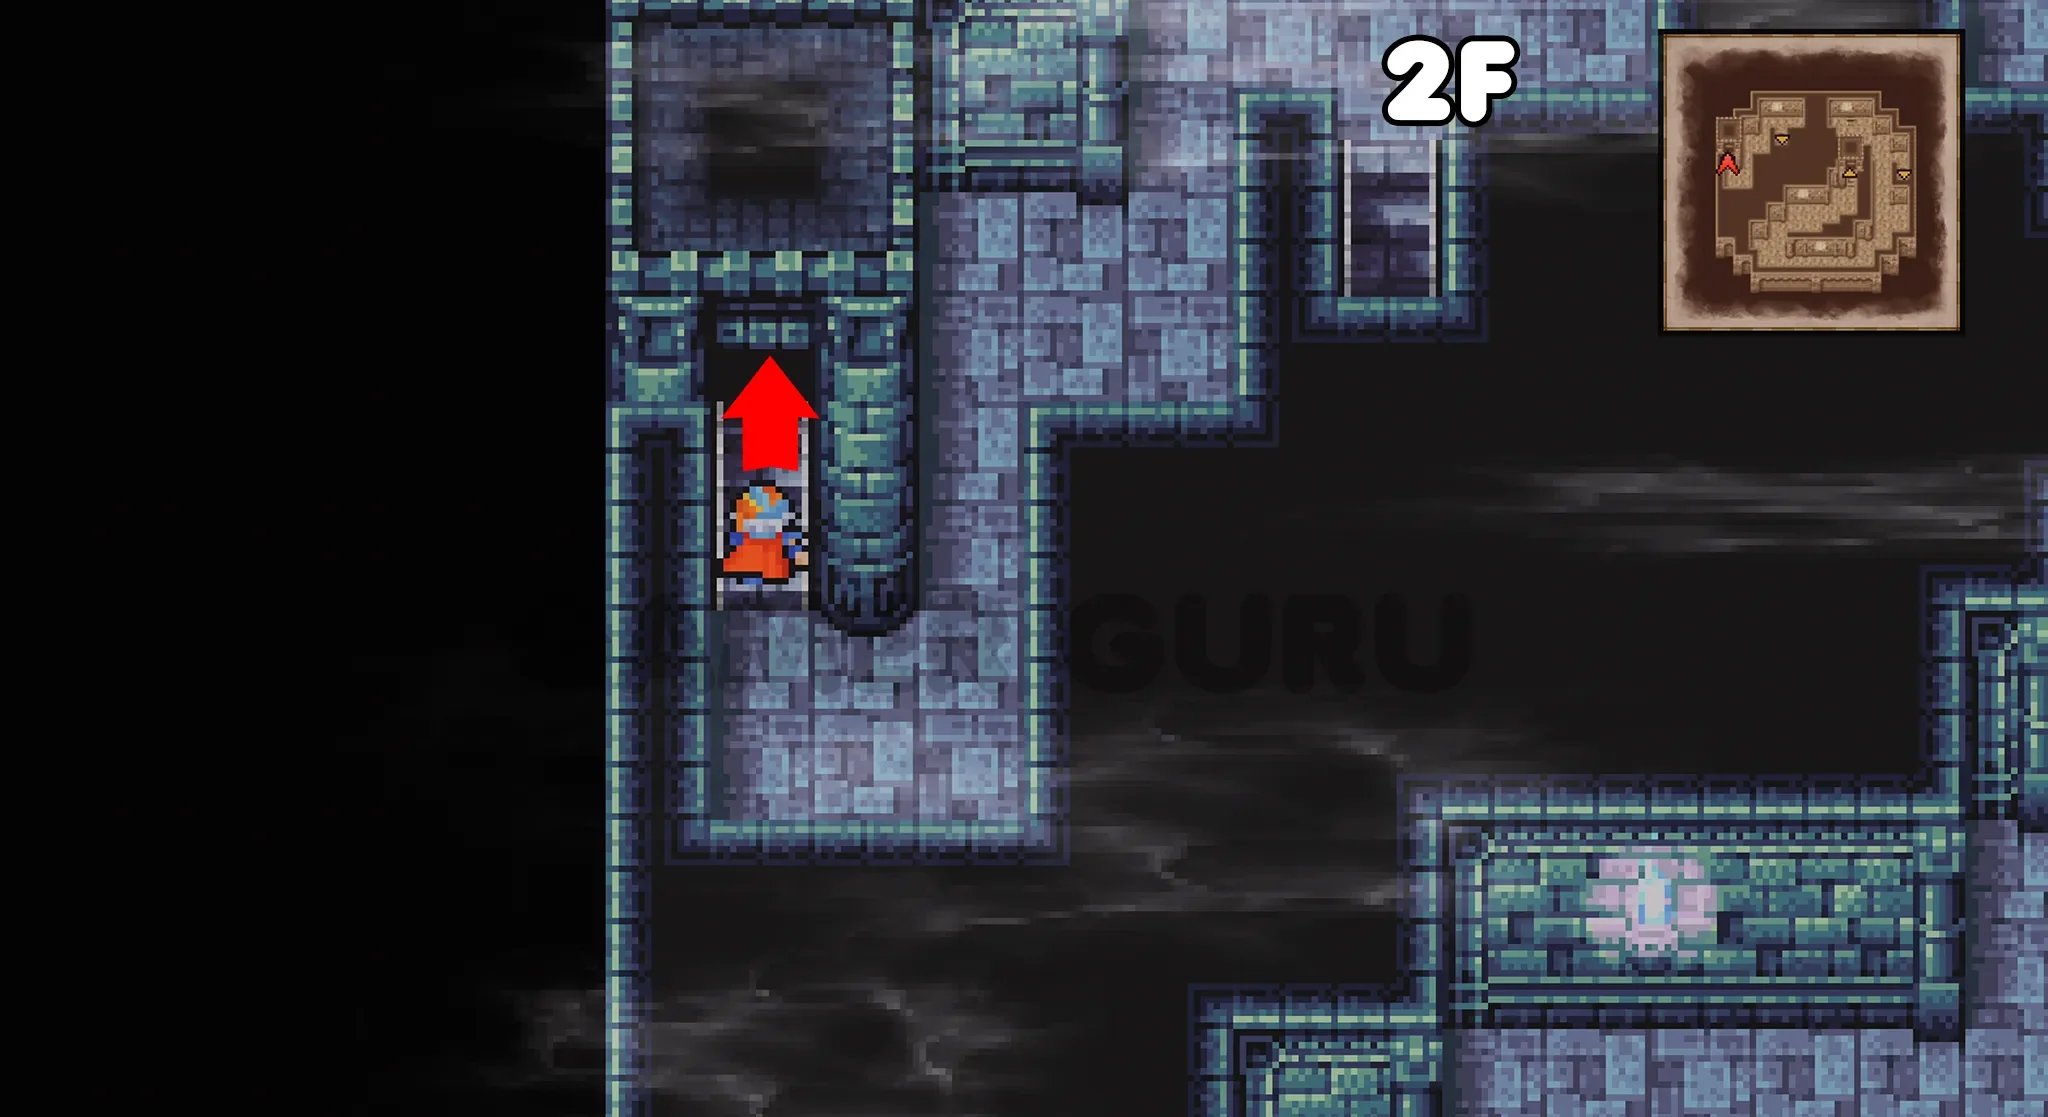
2F
Just after going up the stairs you will see a chest slightly above you to the left, this chest contains a Ripper.

After opening the chest, continue this path to go up the other stairs in this room to the optional area of 3F.
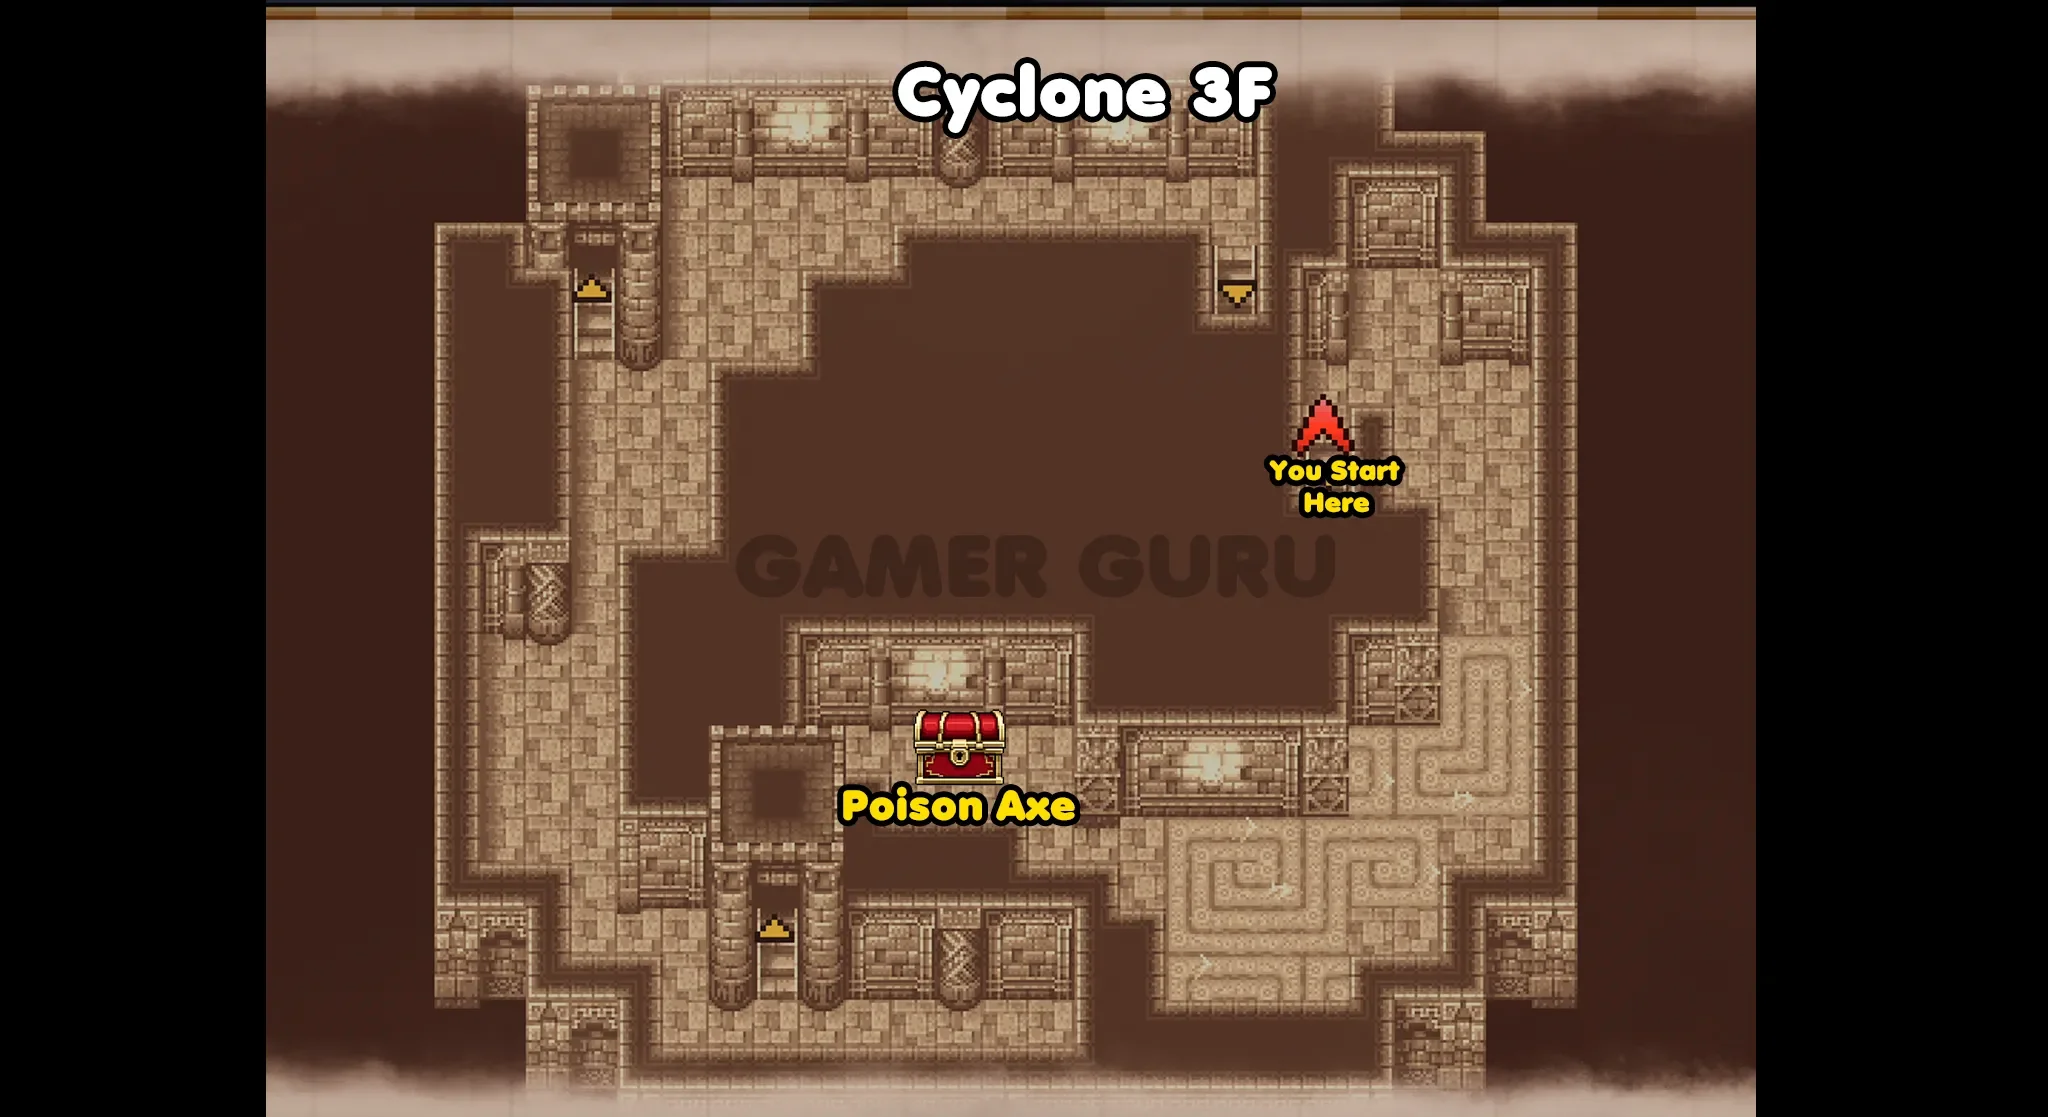
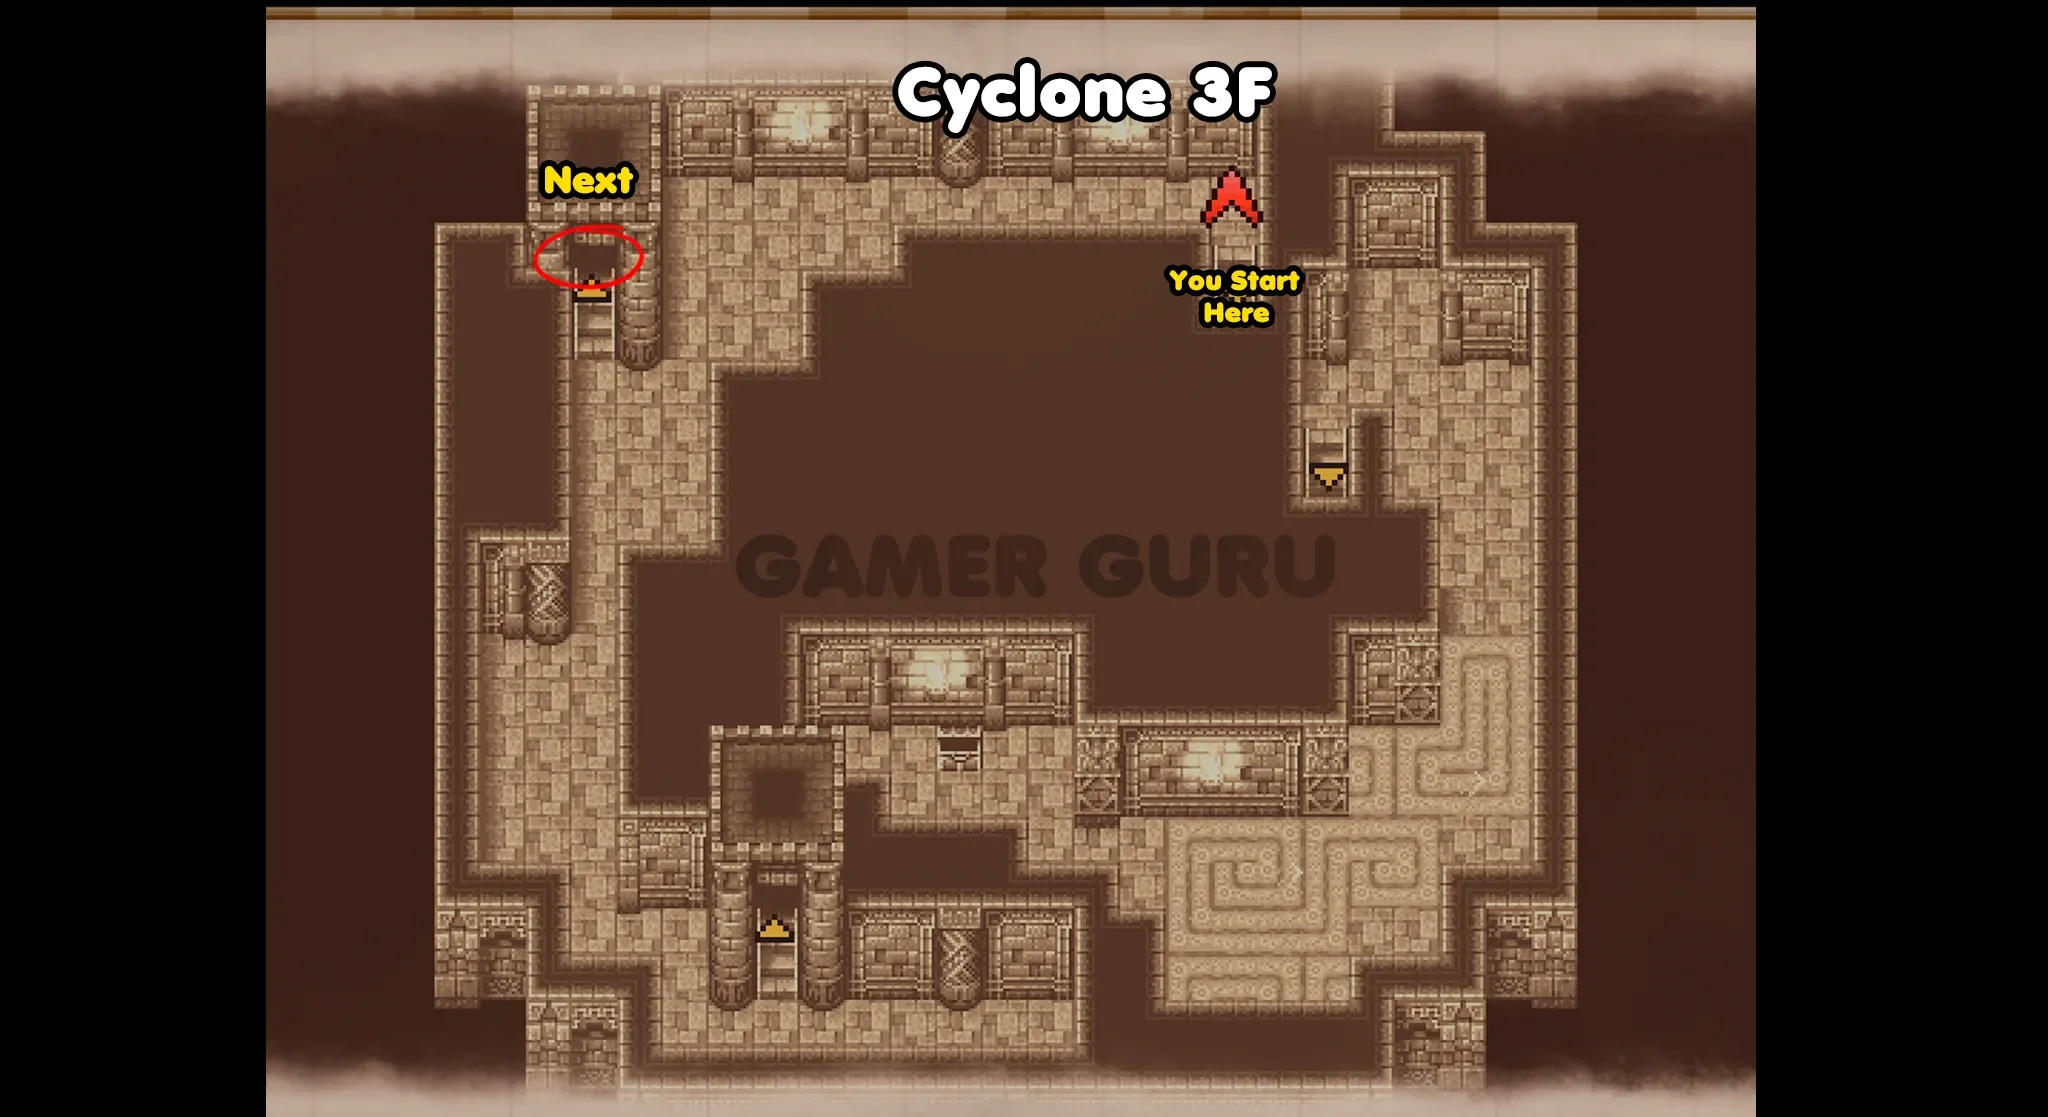
3F
You will now be in a section of 3F that has 1 chest and a dead end. Open the chest, it contains a Poison Axe.
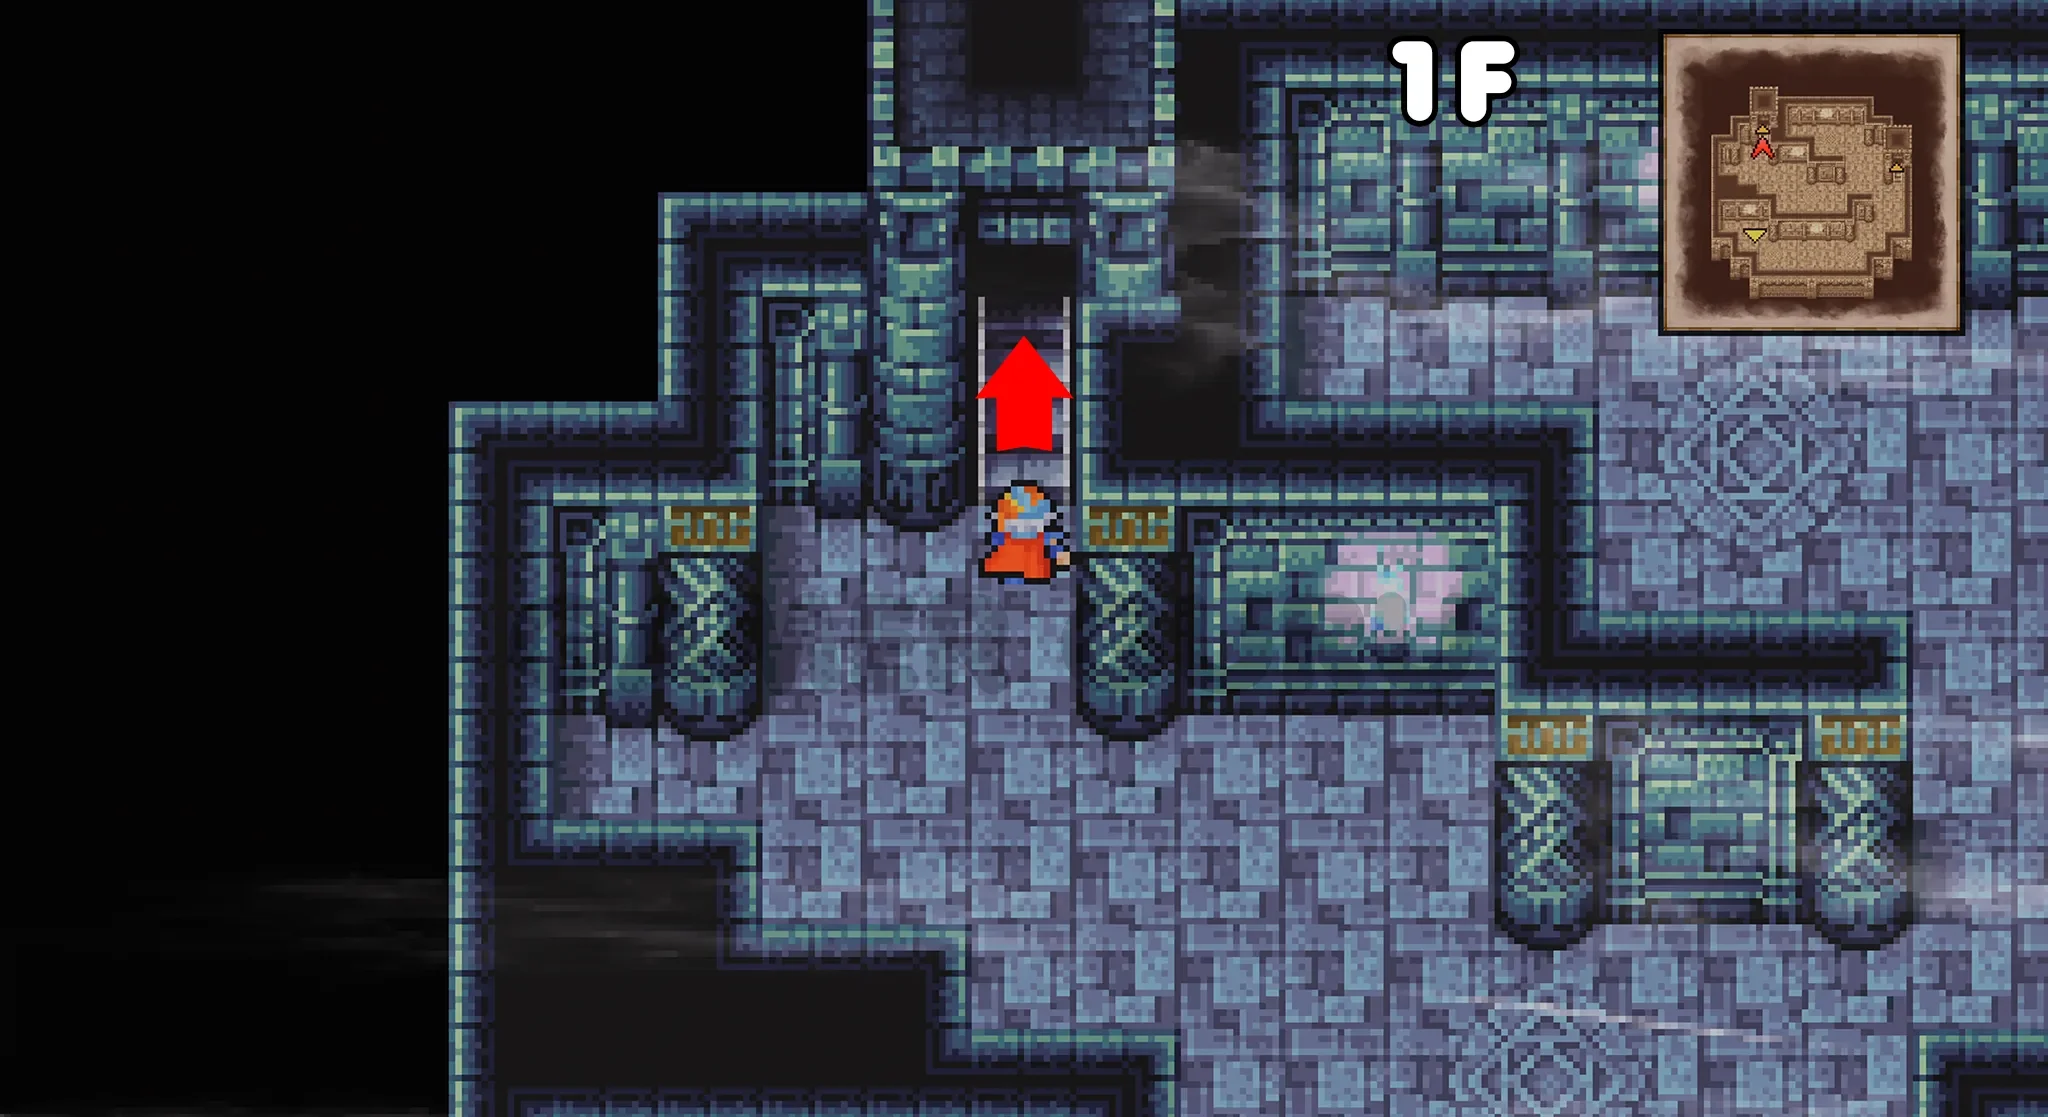
You now need to return back down the stairs all the way to 1F.
This time in 1F take the stairs on the left to reach the main path of 2F.
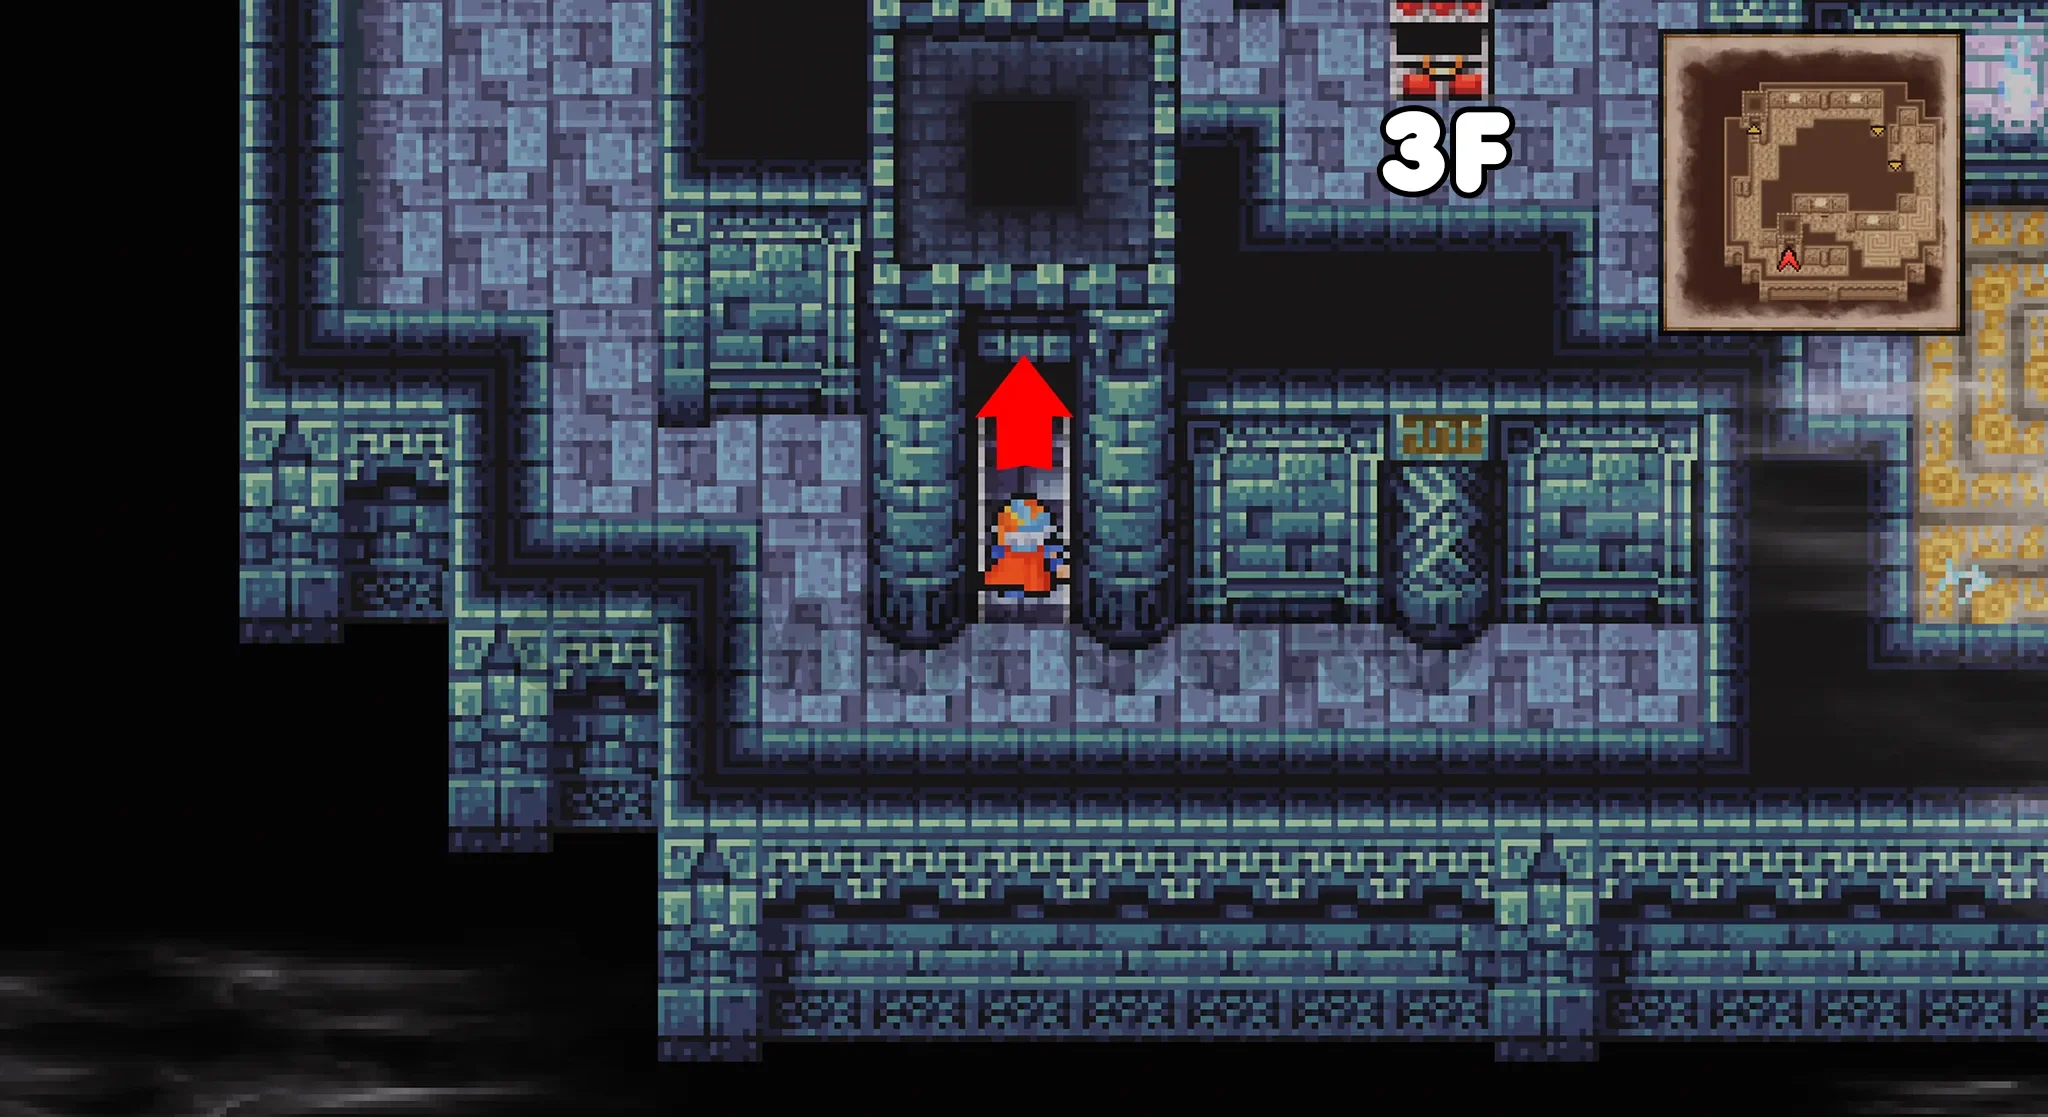
In this section there aren’t any chests, so just keep going up the only other stairs there are in this room to reach 3F.
When you reach this part of 3F there are two exits, one at the bottom and one on the left.
First go up the stairs on the left, this will lead to the part of 4F that has 2 more chests.
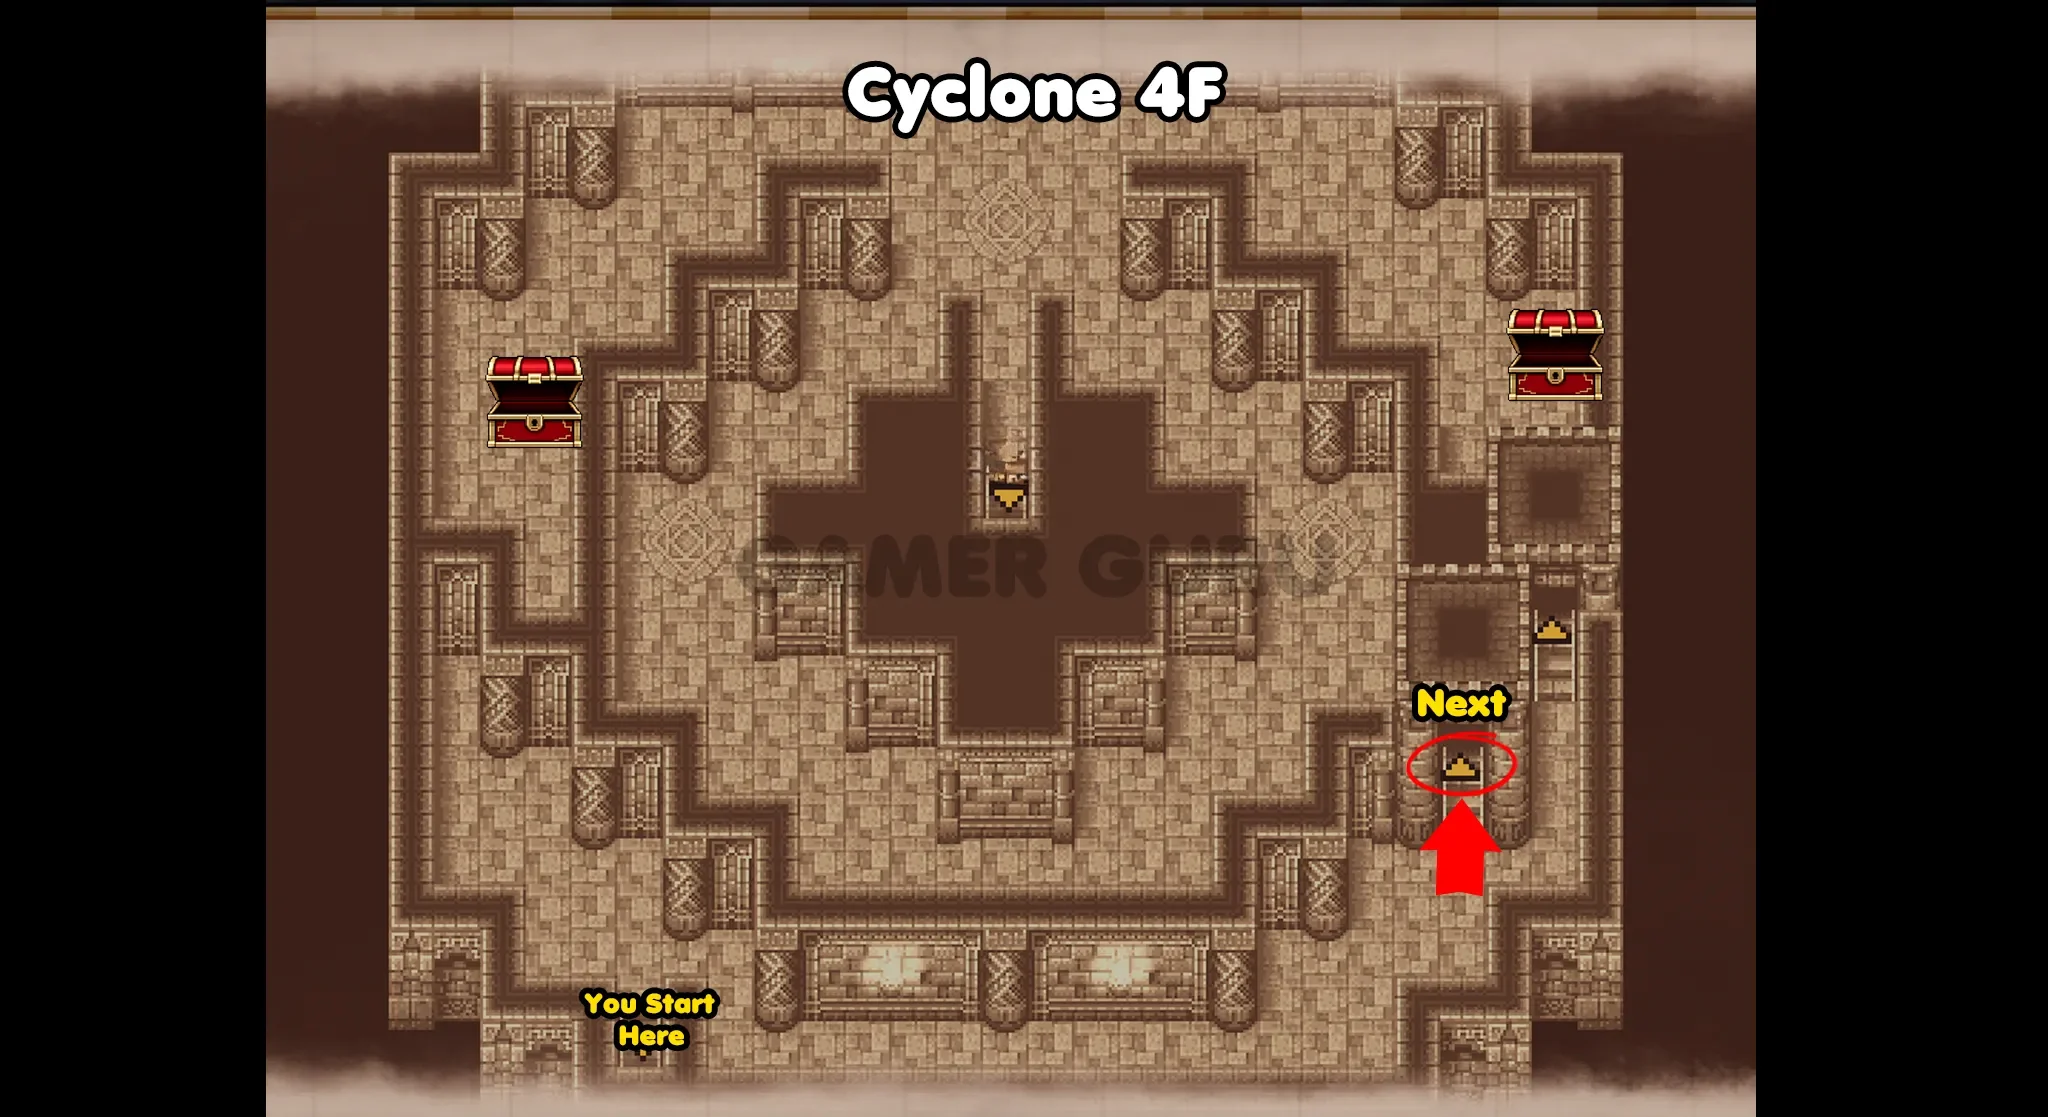
4F
You will now be in the upper part of 4F, in this room you can find 2 chests, one each side of the entrance. The one of the left side has Diamond Gloves and the one on the right has a Diamond Helm.
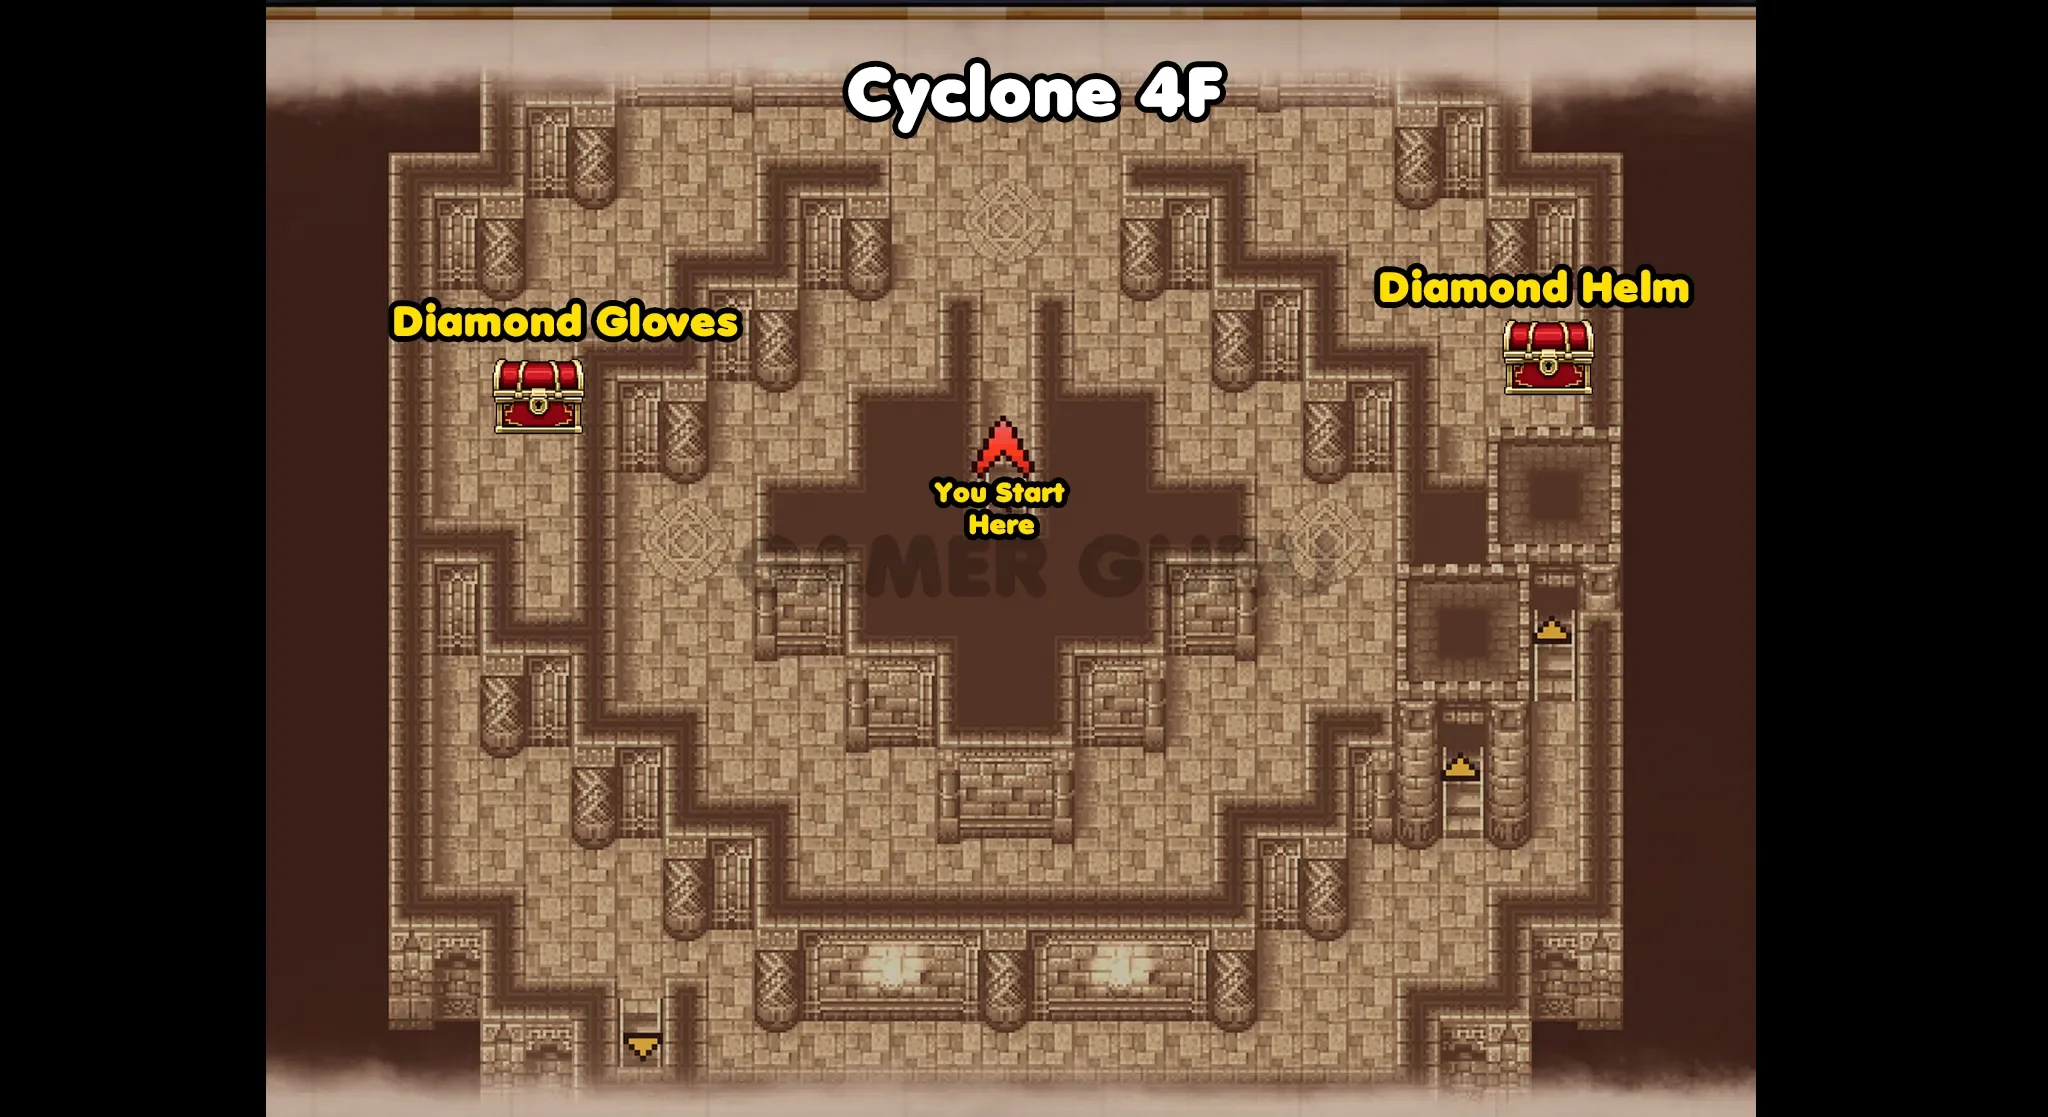
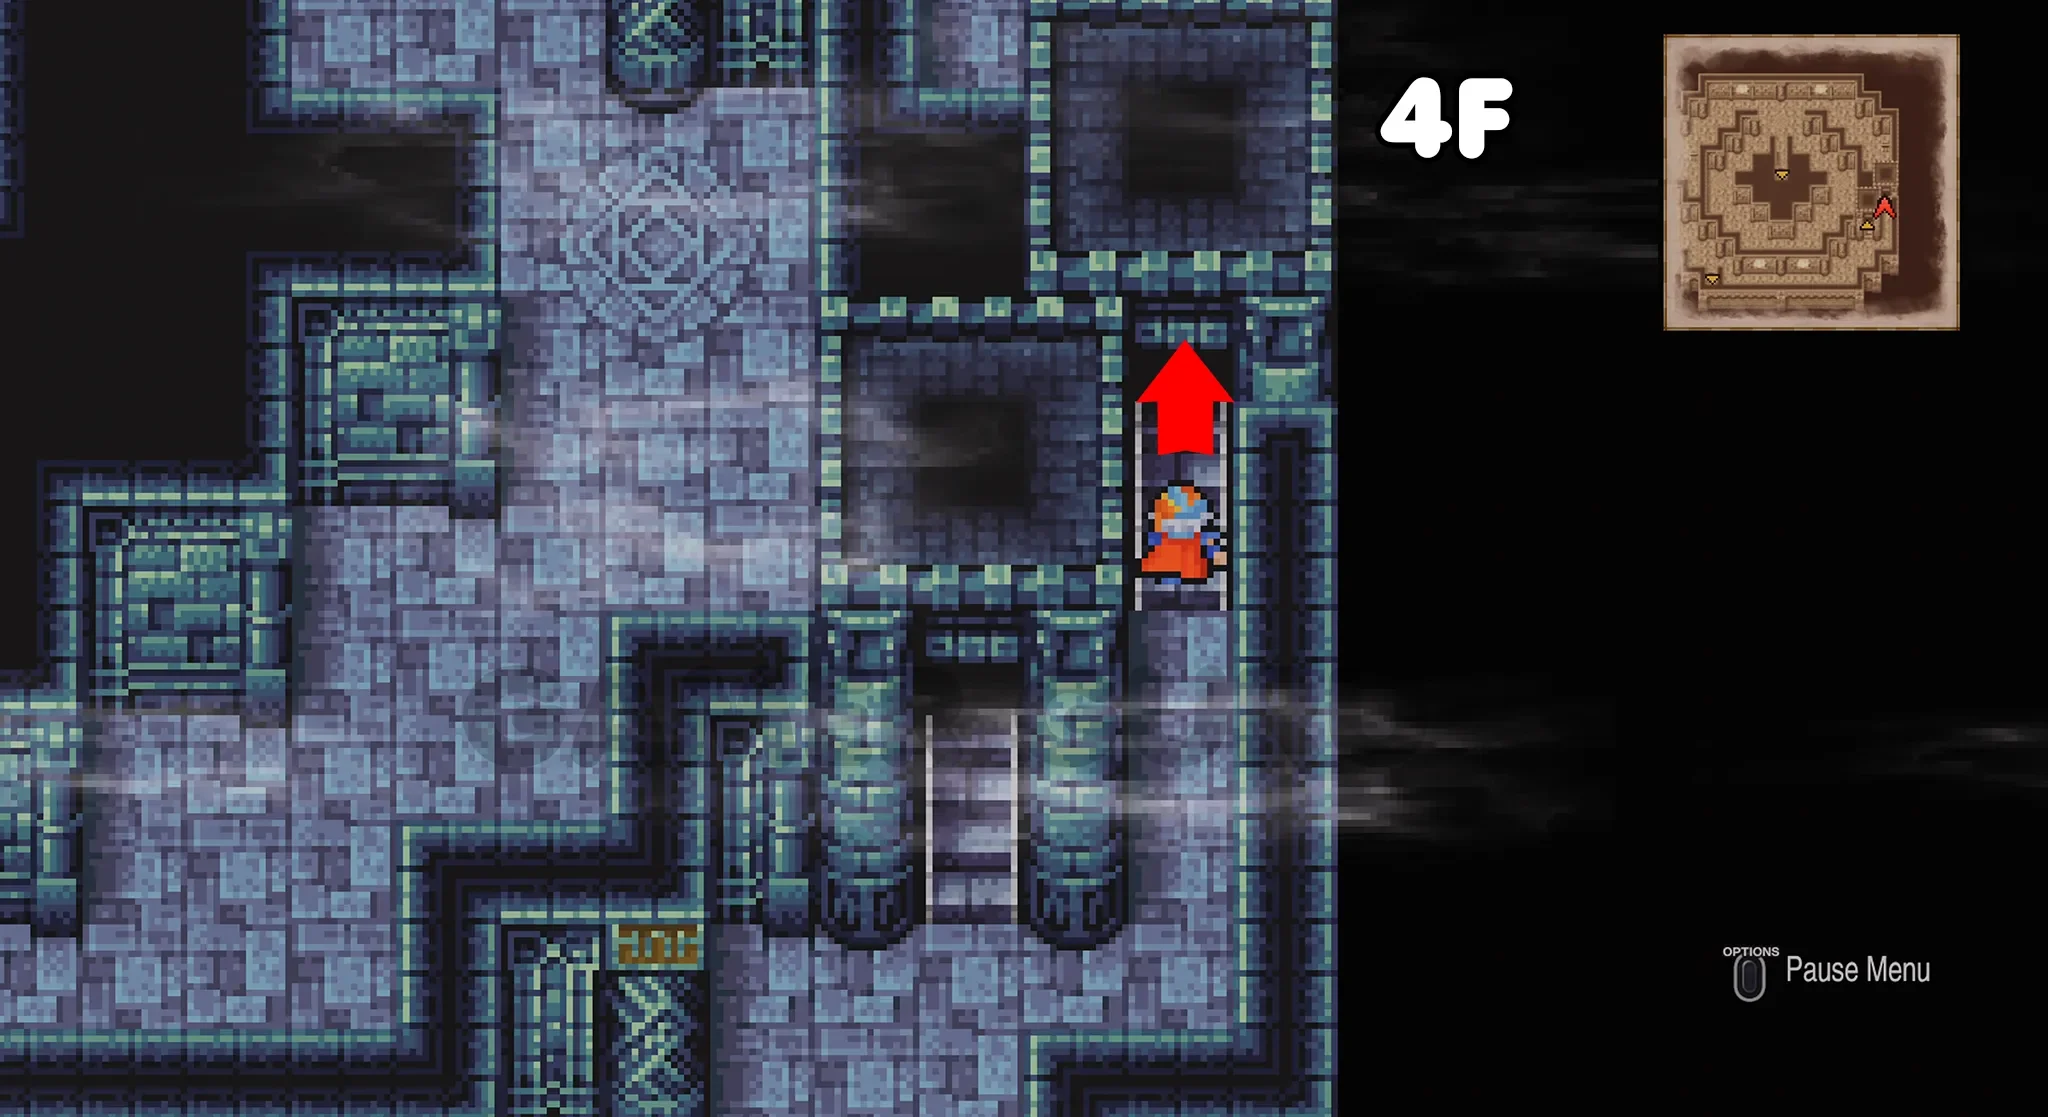
Once you have opened both chests, return back down to 3F, and this time take the stairs at the bottom of the room, this will take you to the lower part of 4F.
In the lower part of 4F you will see 2 doors on the right side of the room.
First take the left door, this will lead to the part of 5F that contains 2 chests.
5F
As we mentioned, in this optional side of 5F you will be able to find 2 more chests, the one closer to the middle contains a Defender and the one at the bottom left has a Diamond Armor but it will be an ambush so be prepared!
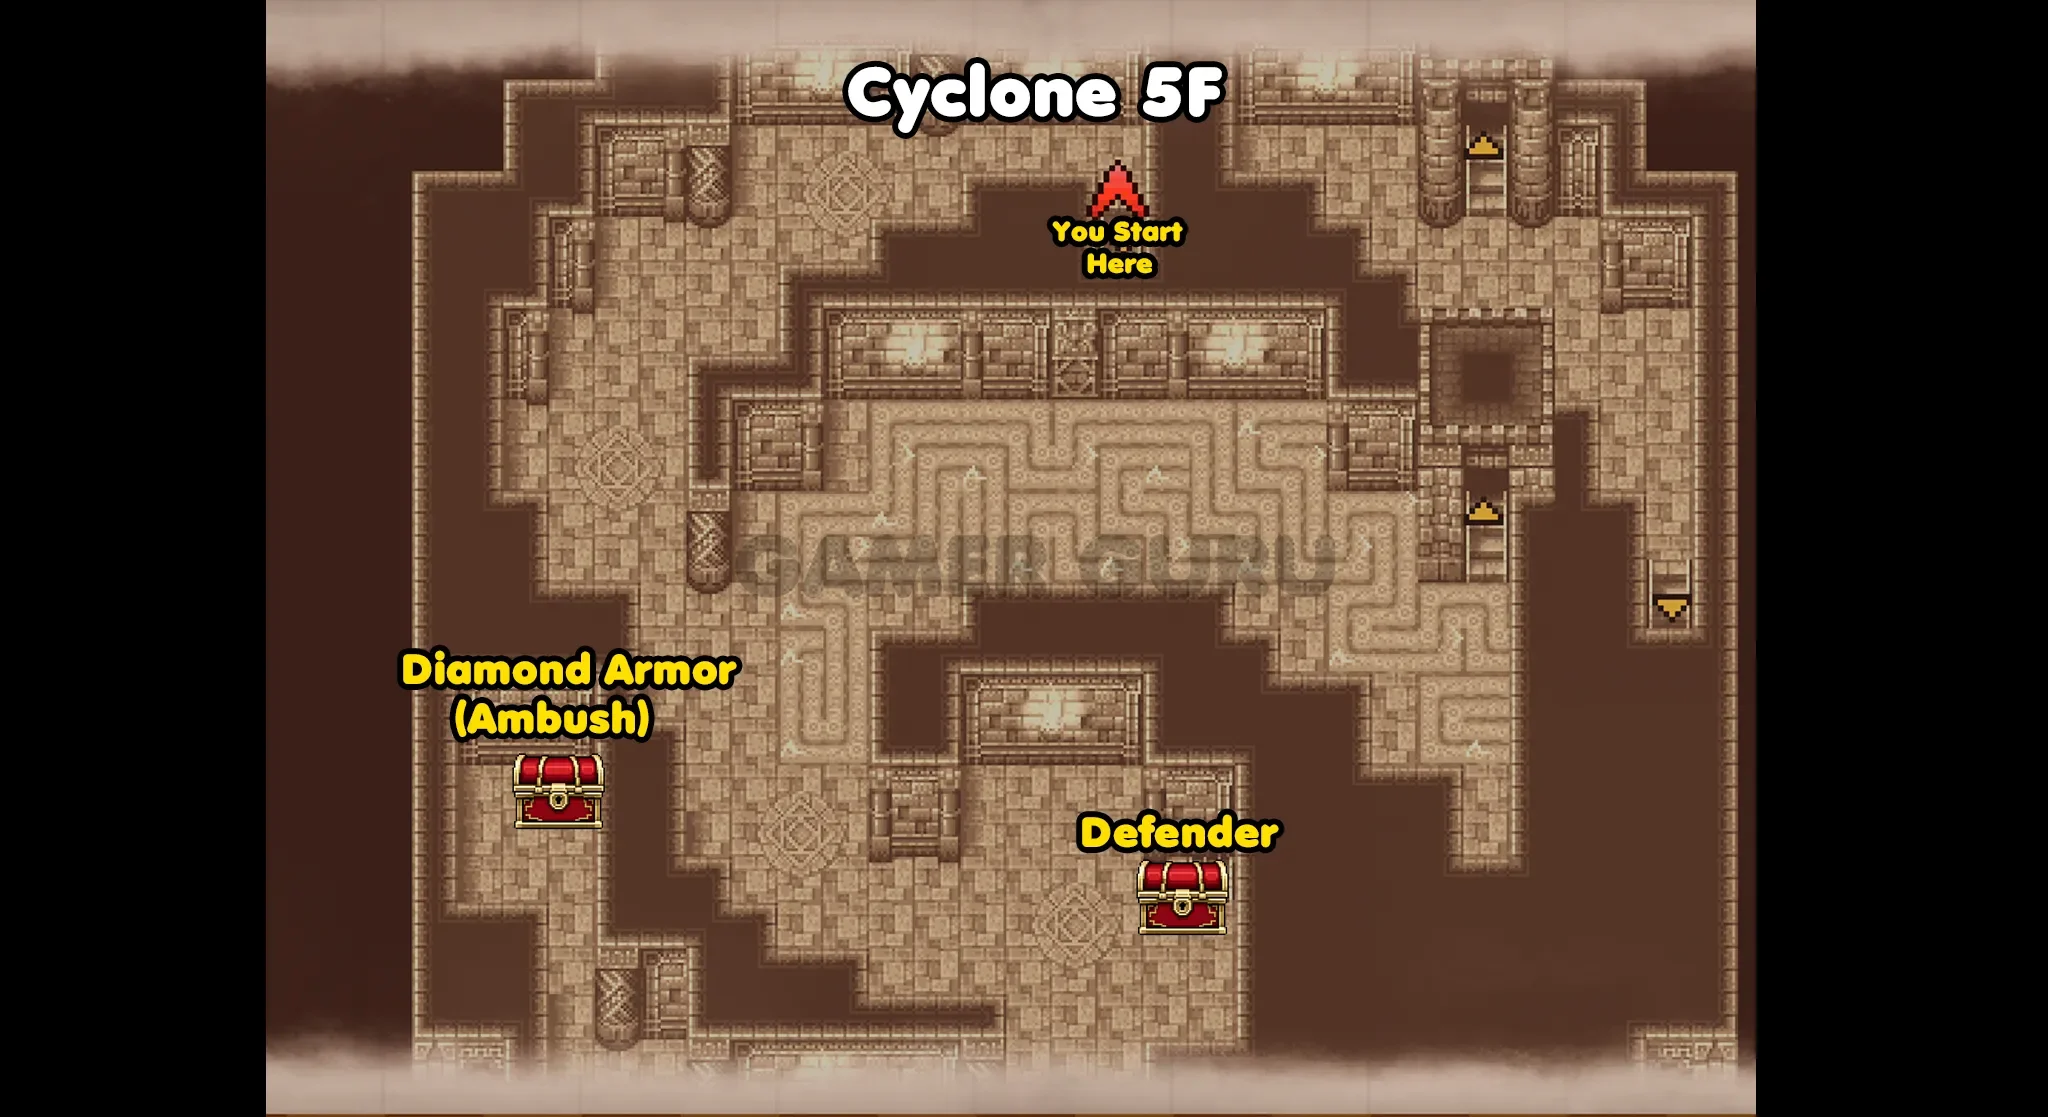
There is nothing else on this path, so turn back and return to 4F, this time take the door on the right in 4F instead.
Continue on this linear path until you reach 6F.
6F
This final room before the boss room is going to have 1 last chest, it can be found directly before the boss door, at the top right of the room.
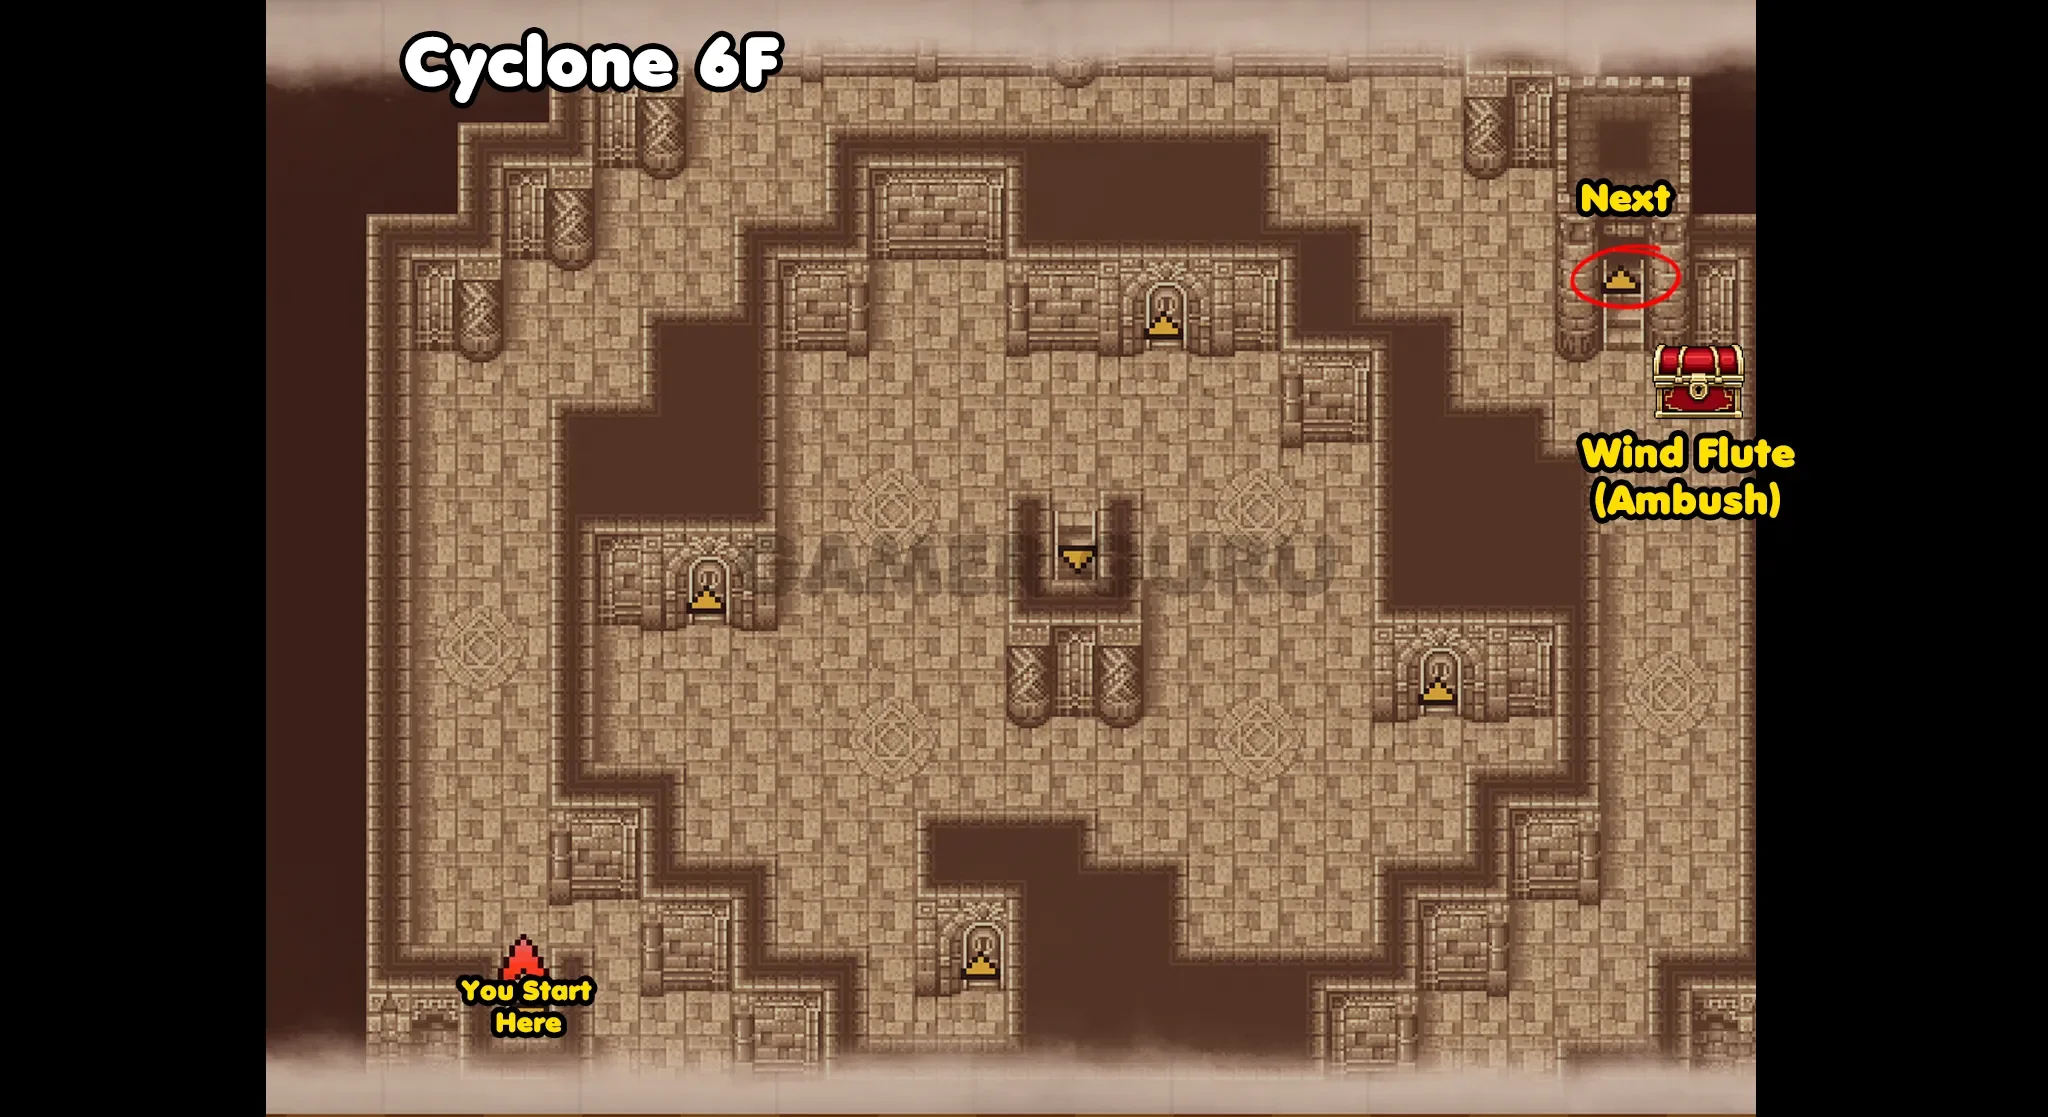
Be careful as this chest will also have a quite powerful ambush, so heal up before the fight!
Once you defeat the ambush you will get the Wind Flute from the chest.
The door directly above the chest will leads to the Boss Fight, so before going in, double check in your map menu to make sure that you have all 7 chests in this dungeon as you will not be able to return ever again.
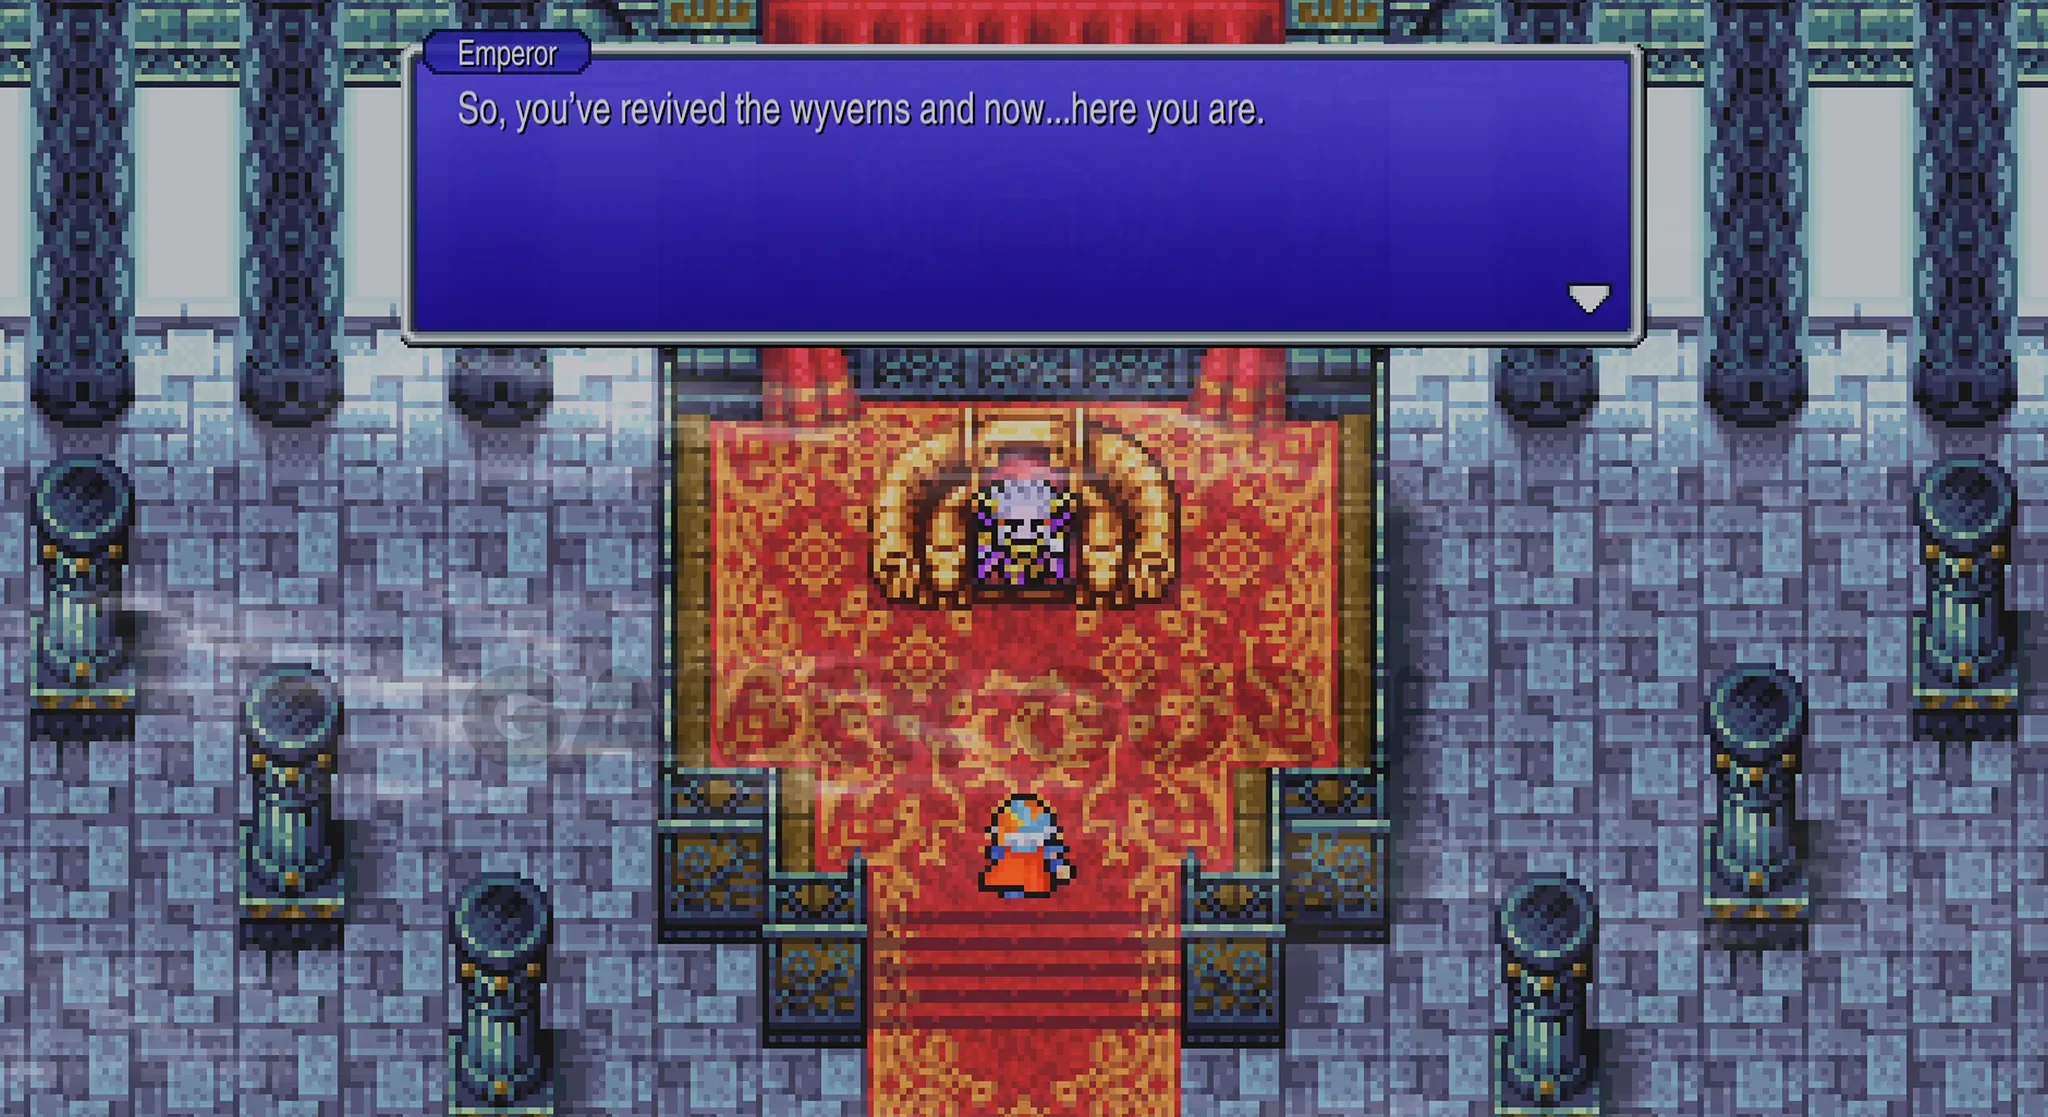
Emperor Boss Fight
Before starting the boss fight I recommend you equip the Blood Sword we got from the missable chest in Paul’s basement. It is very good for this fight as it has life steal on basic attacks.
When you approach the Emperor, you will get attacked by two waves of Royal Guards before the actual boss fight.
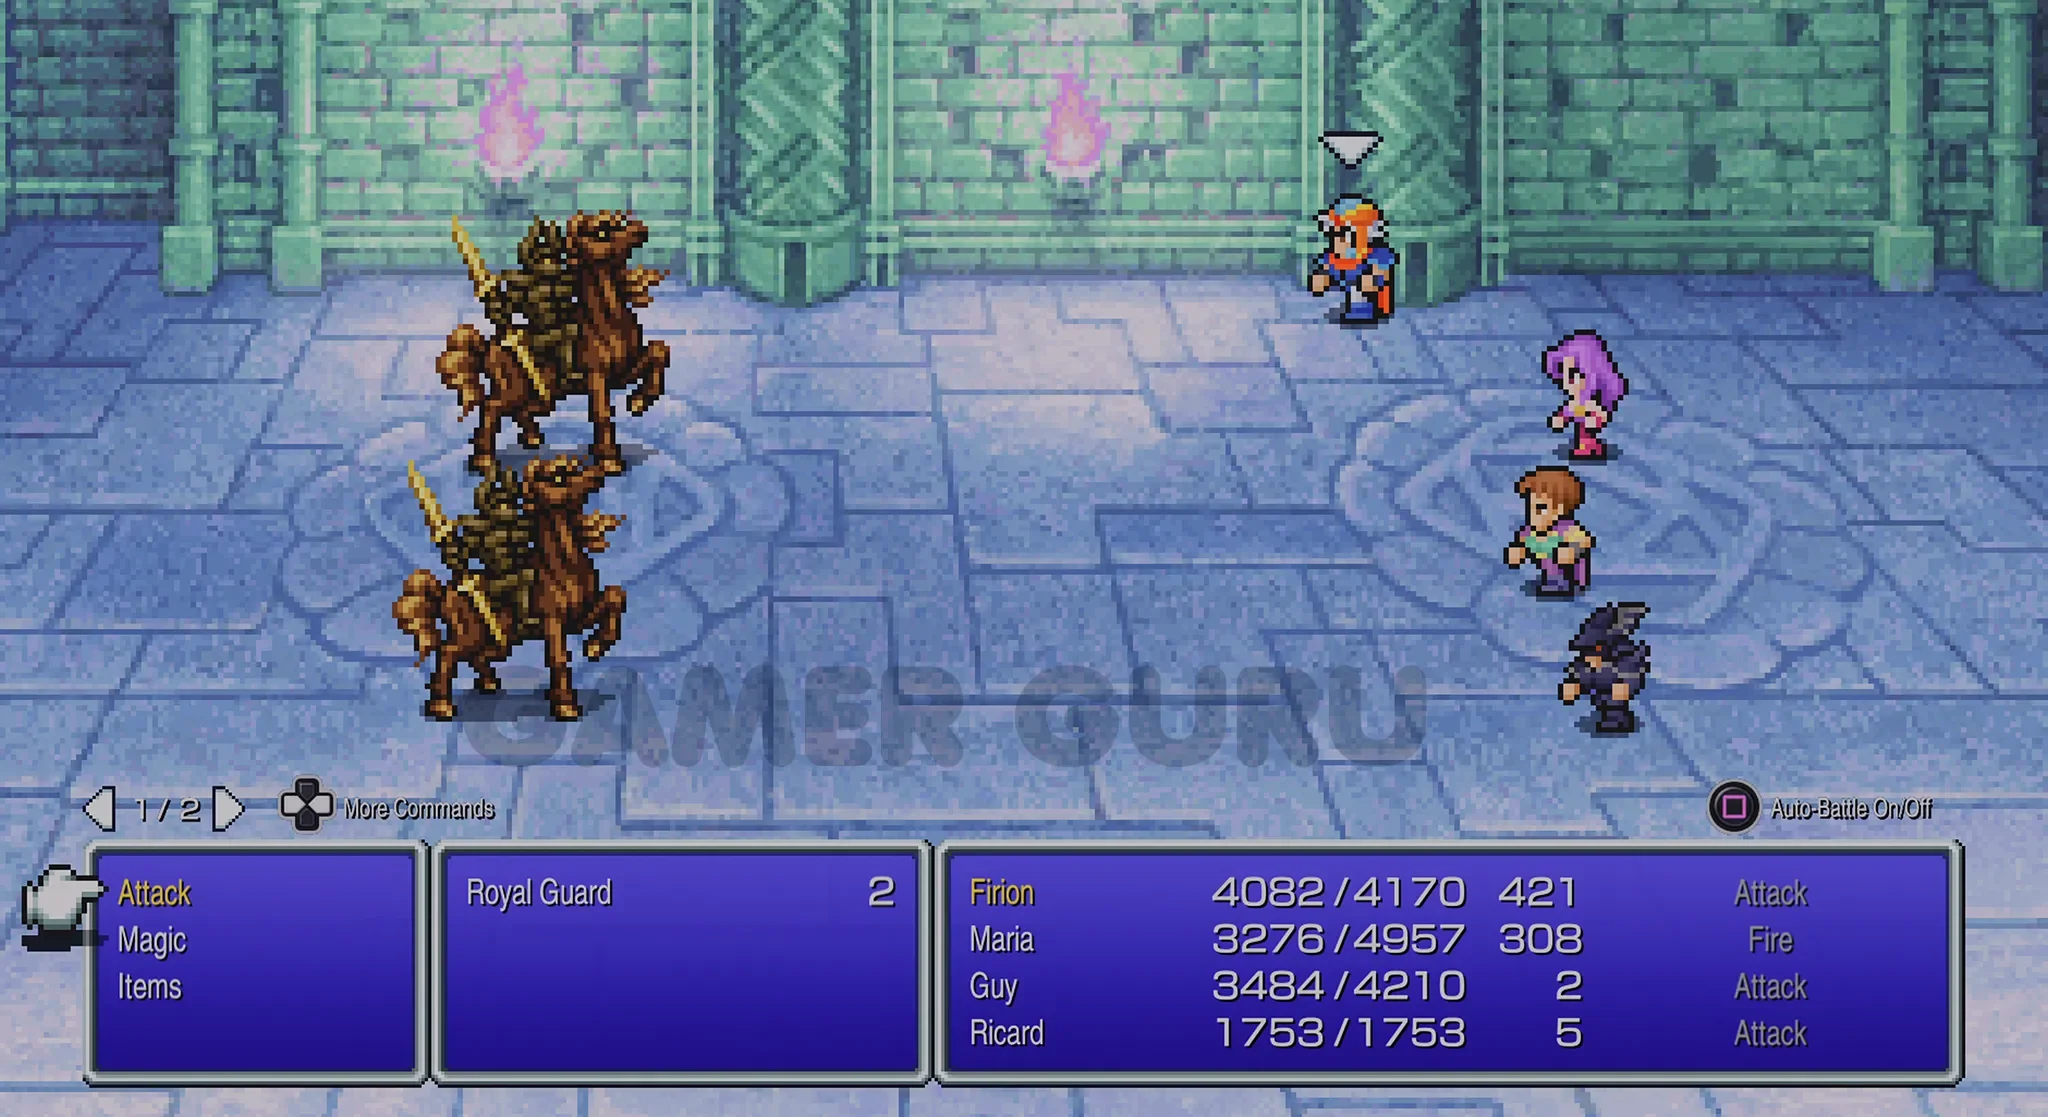
Once you defeat the Royal Guards, you will be put straight into the fight against the Emperor, he will be accompanied by a Wood Golem and 2 more Royal Guards.

He uses Thunder X as well as some pretty powerful physical attacks so be sure to cast Shell and Protect as soon as possible.
After you defeat the Emperor you will appear back at Castle Fynn, celebrating your victory.
However shortly after you find out that Leon (the 4th member of your group that had to flee at the very start of the game), has become the new Emperor of Palamecia and is planning on attacking Fynn.
So our next objective will be to head to Castle Palamecia!
"New Palamecia" Trophy for reaching this far in the story.