
Final Fantasy 2 Pixel Remaster 100% Walkthrough - Mysidia & Tropical Island

Now that we have obtained the White Mask from Castle Fynn’s Basement, our next objective is to head over to Mysidia!
Mysidia
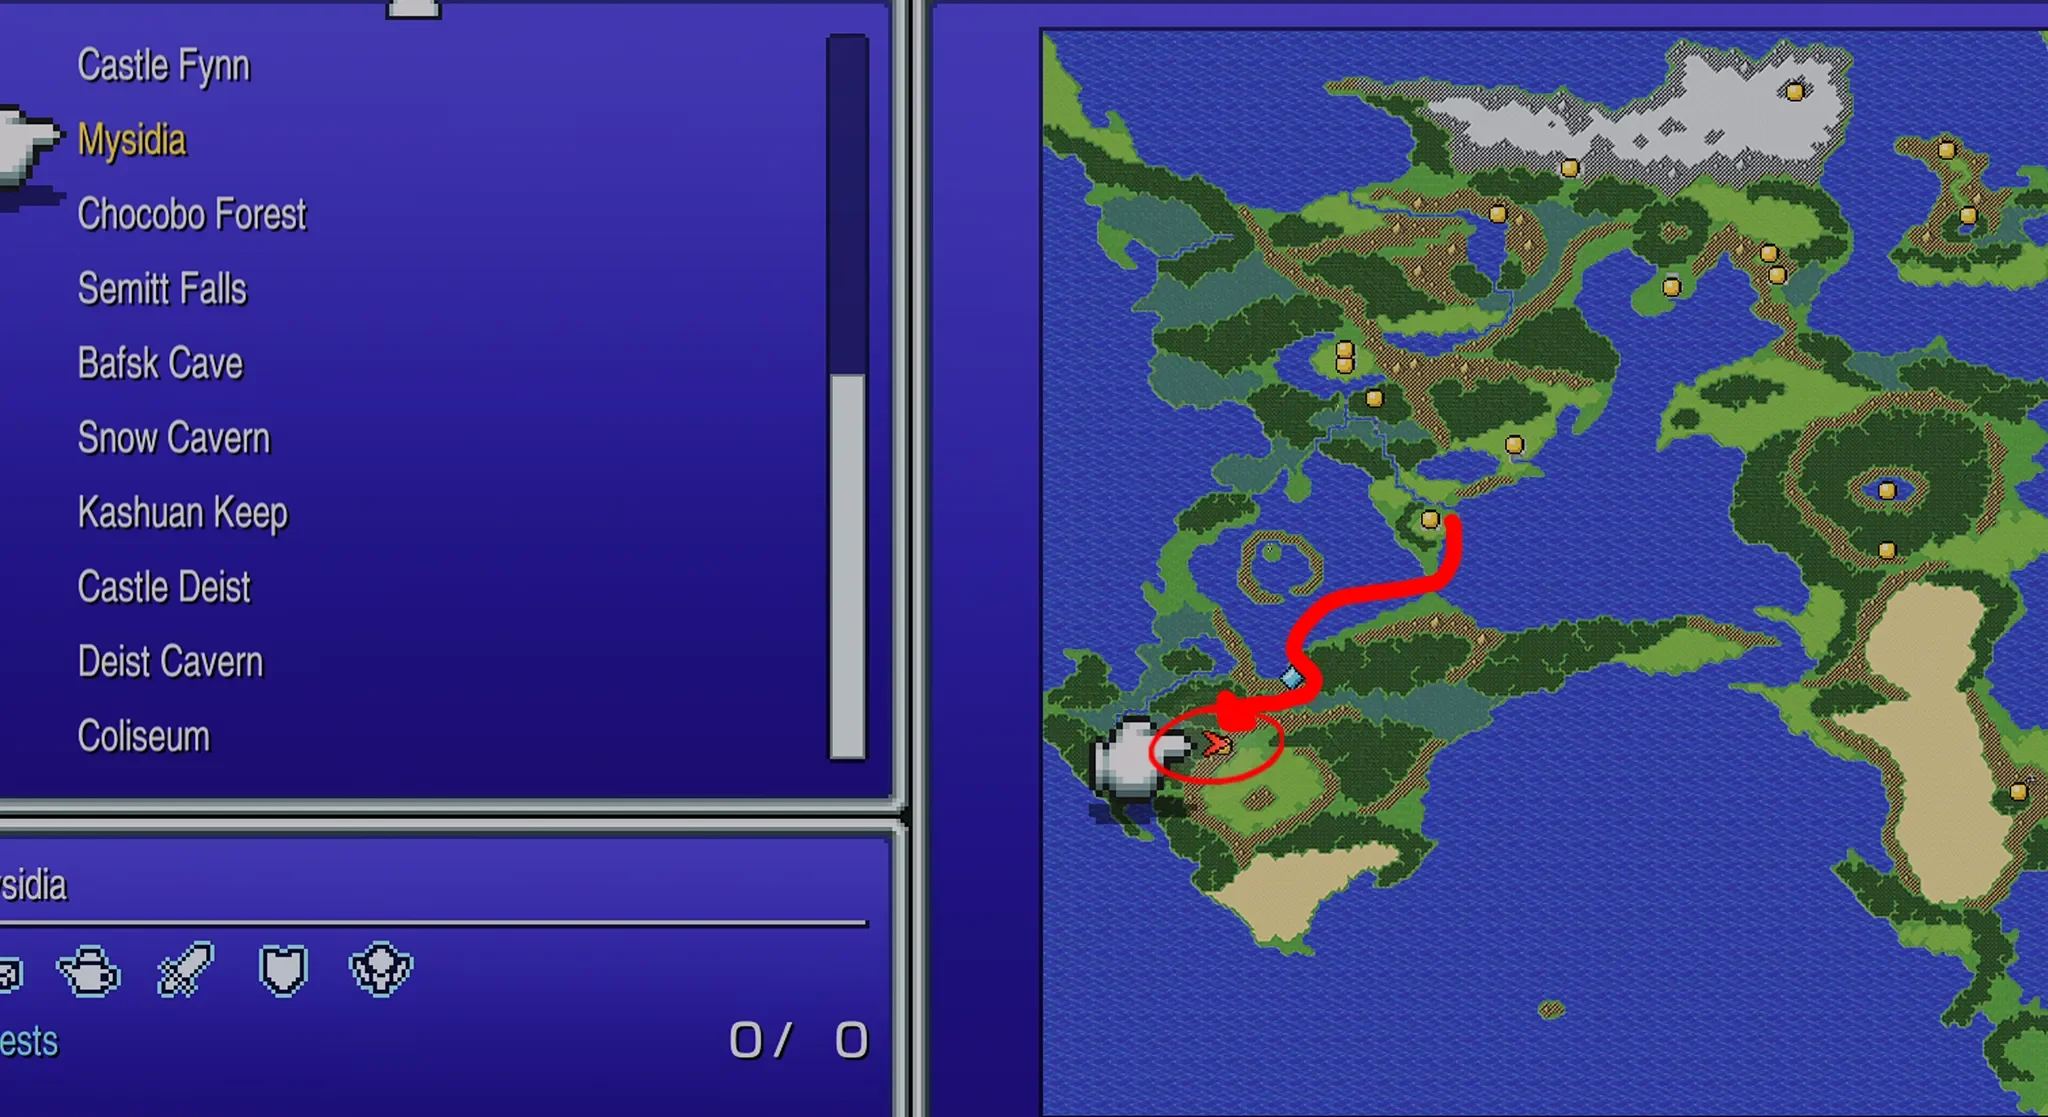
To reach Mysidia we need to return to our ship which you will have most likely left just outside Altair.
Once you are on your ship, sail towards the south-west until you reach a mountain range, just to the right of the mountains you should see some land where you can disembark, from there continue walking a bit further down to the south-west staying close to the mountains under you until you reach Mysidia.
On your way to Mysidia some of the enemies you will encounter in the overworld will be very powerful so come prepared.
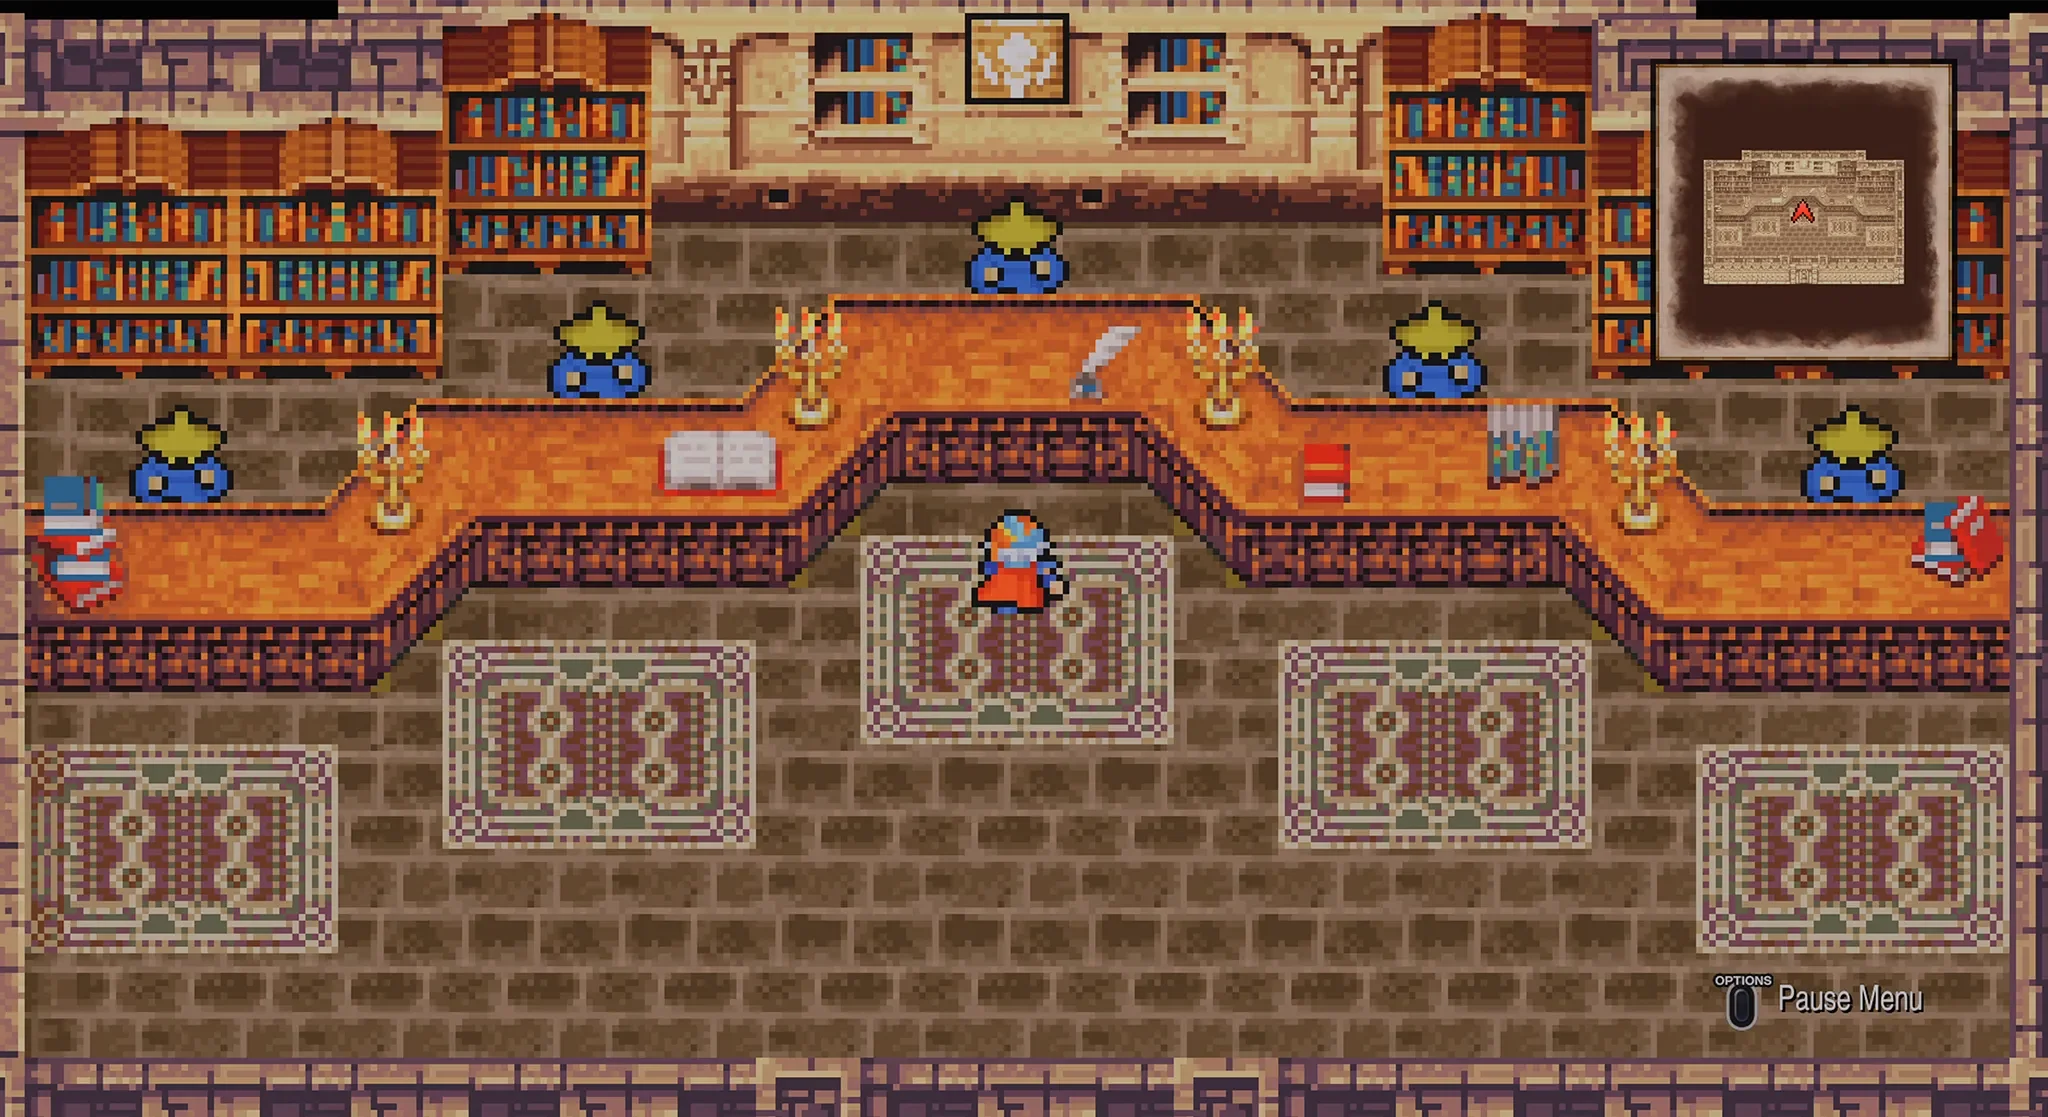
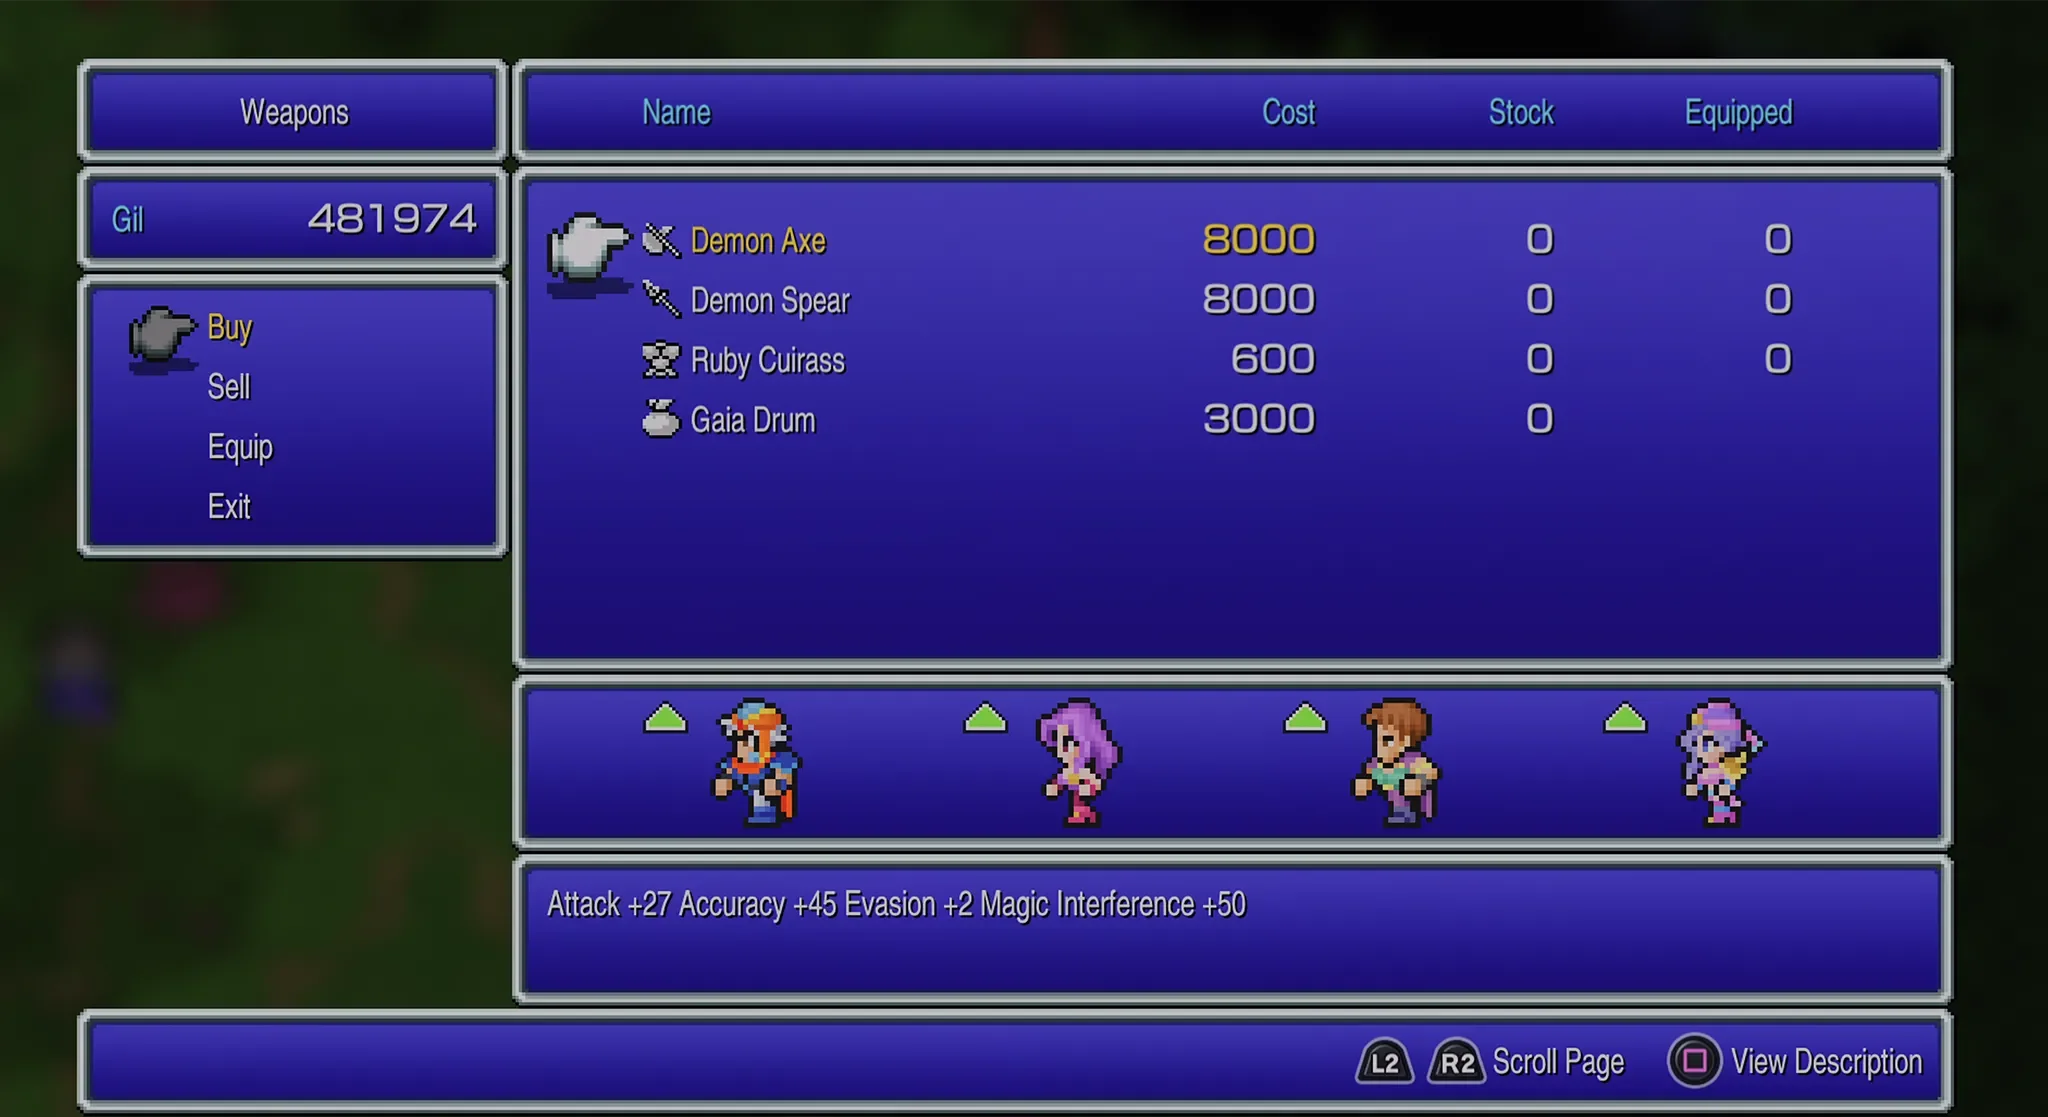
When you reach Mysidia I would recommend stopping by the Weapon Shop and the Magic Shop as they have some very useful items for sale.
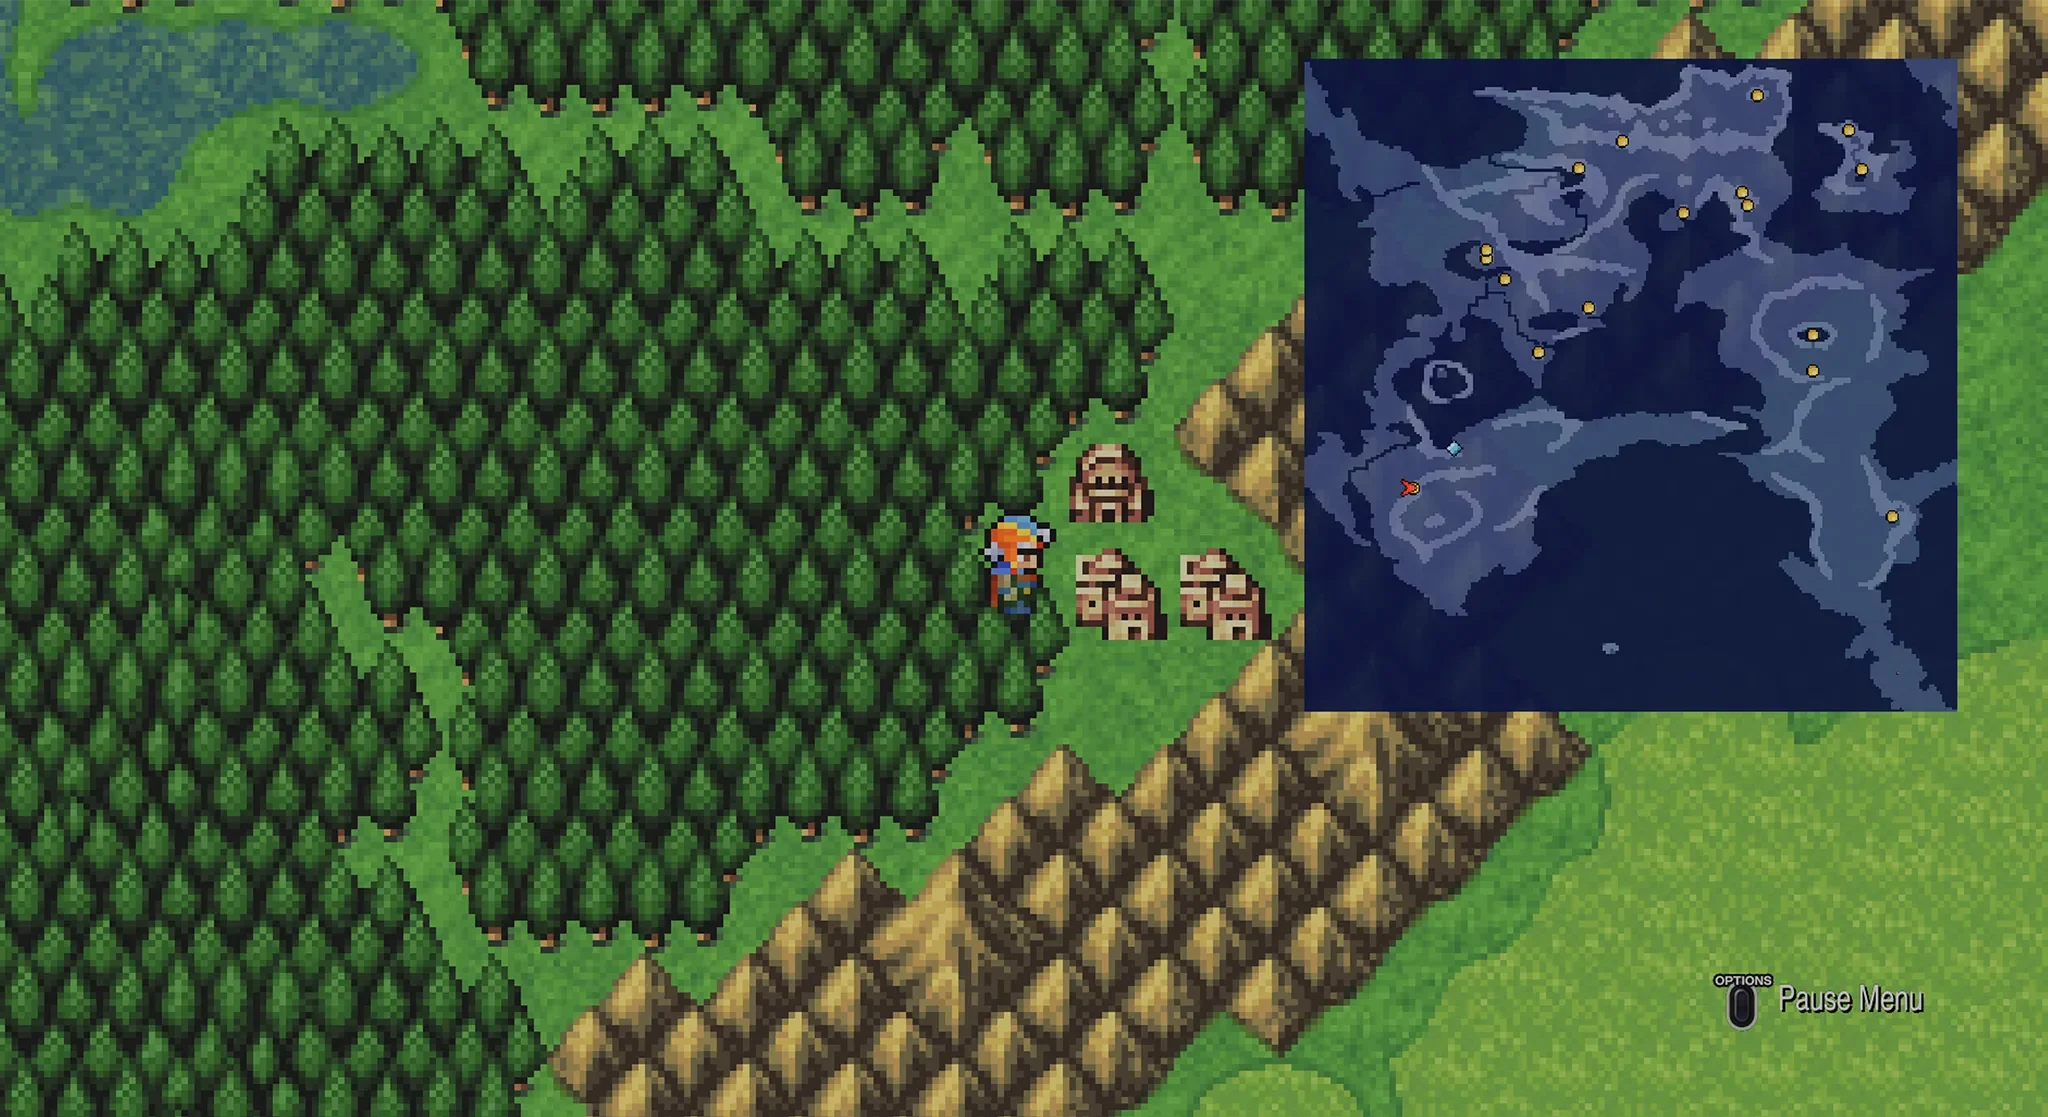
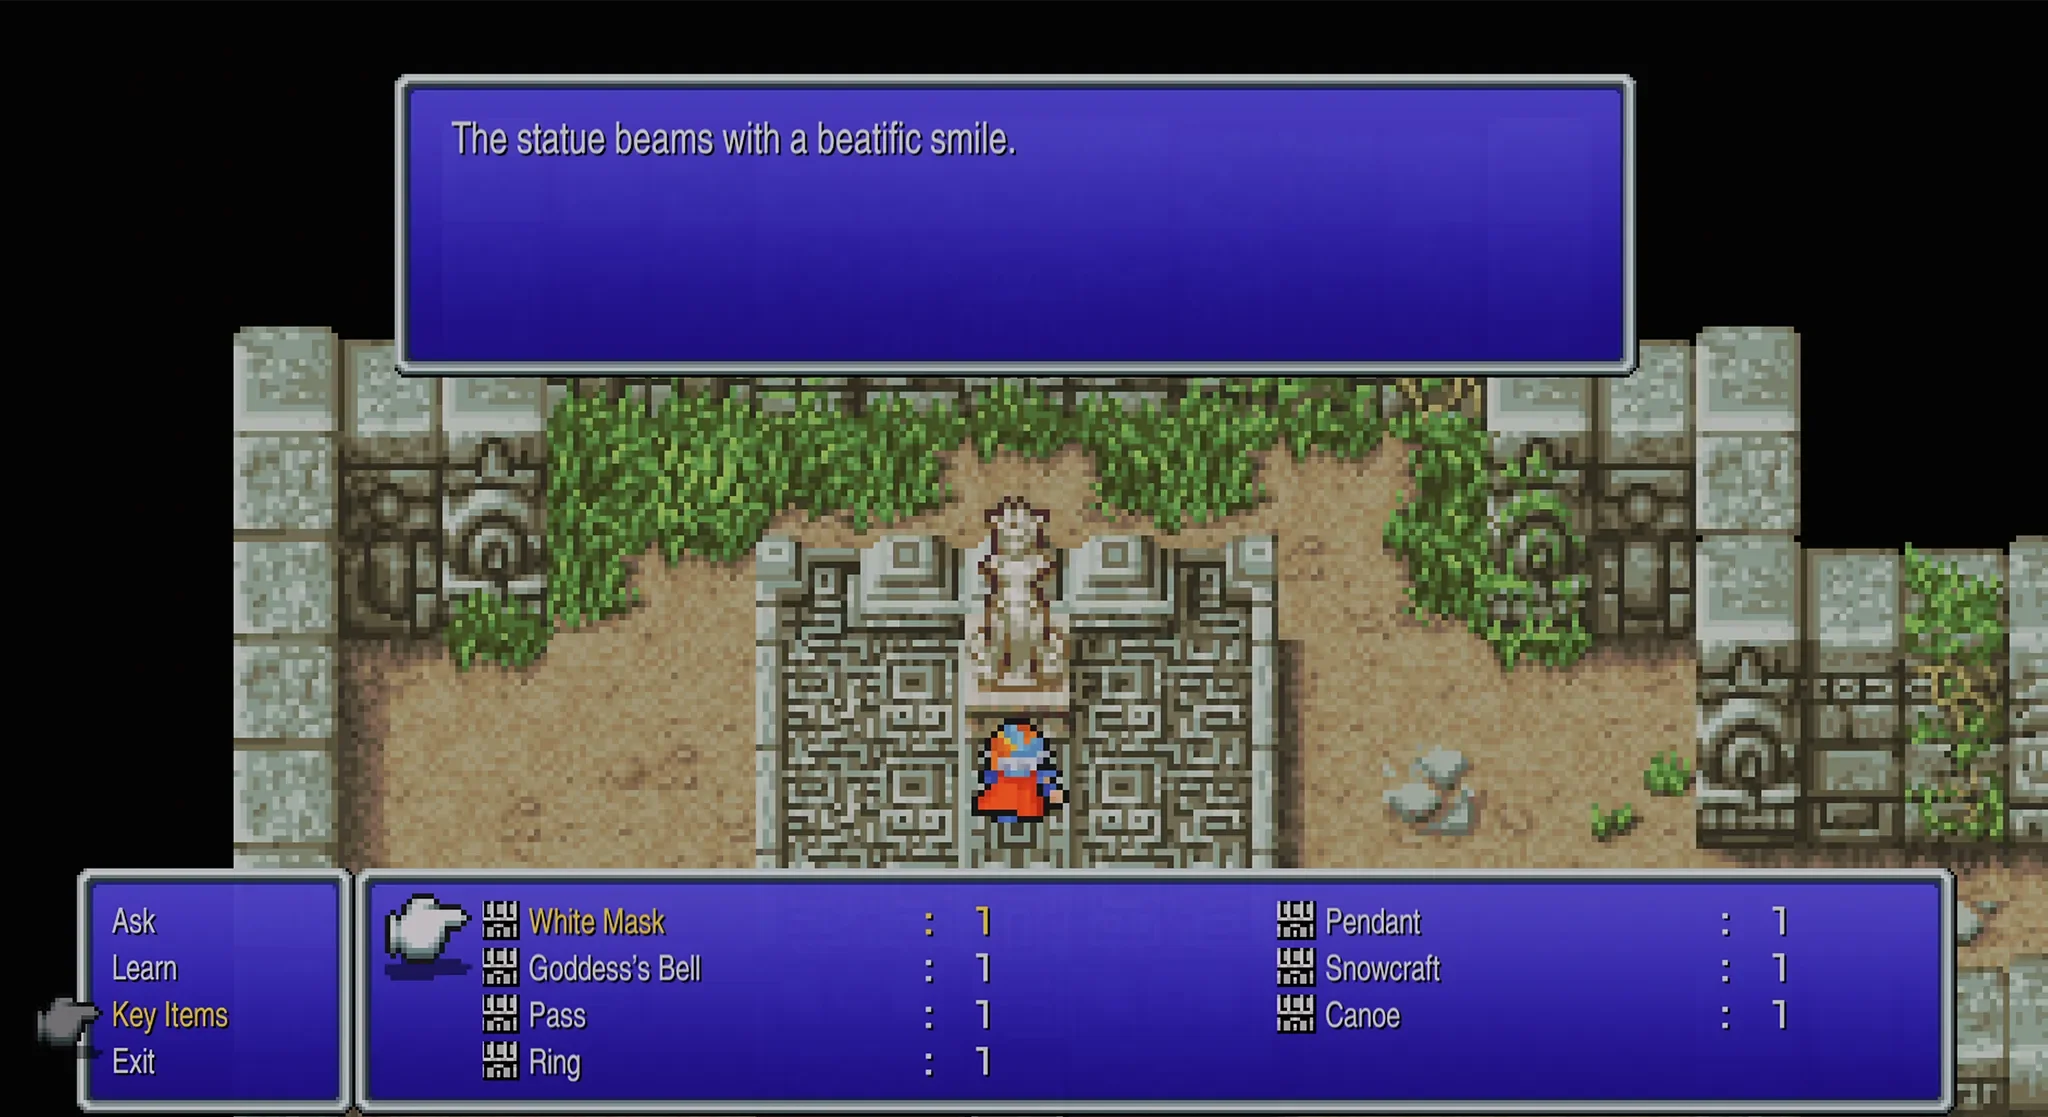
Once you have bought everything that you want, head to the south part of town to see some stairs that lead underground.
Go down these stairs to find a statue, interact with the statue and choose Key Items > White Mask.
That is all we have to do here for now, next we need to find the Black Mask which is on the Tropical Island, so we will be heading there next.
Tropical Island
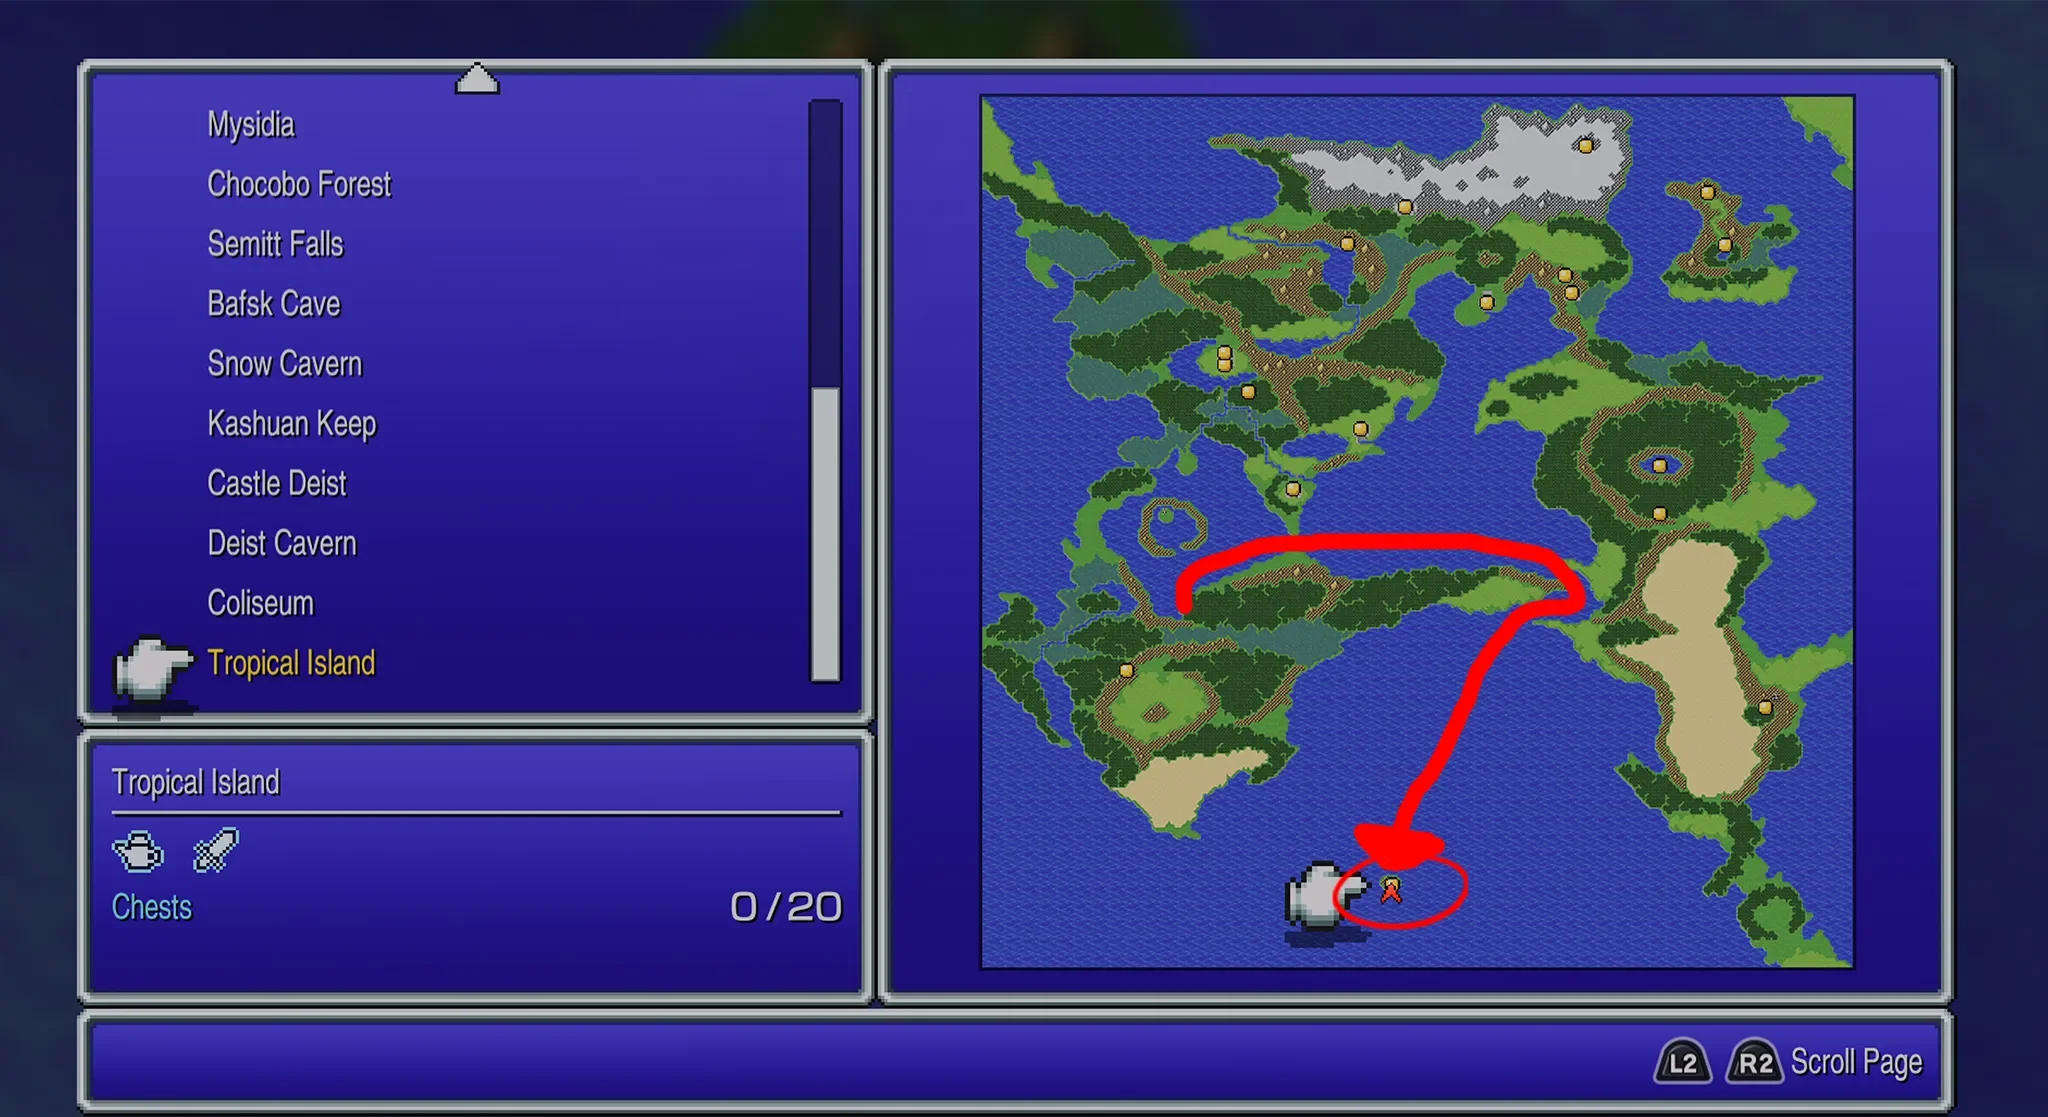
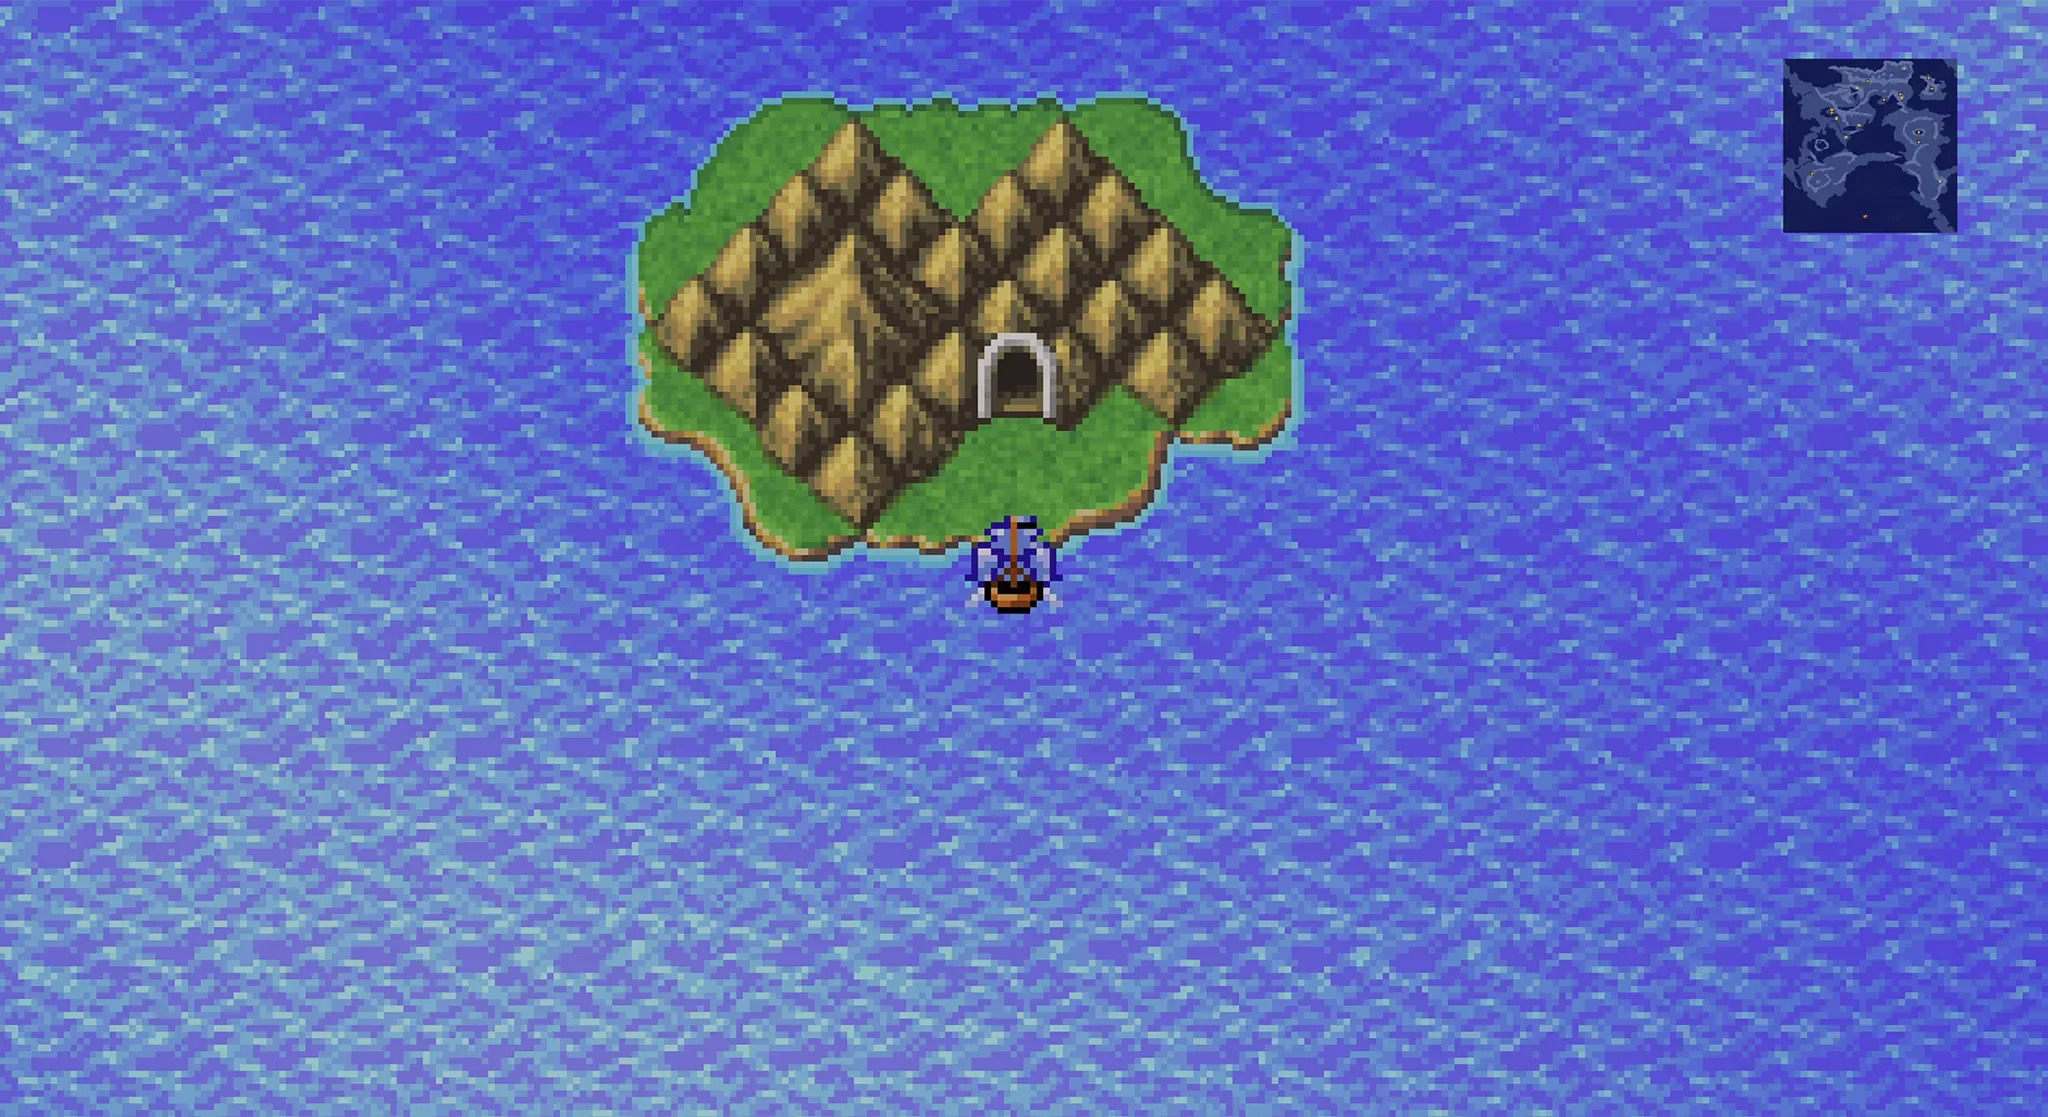
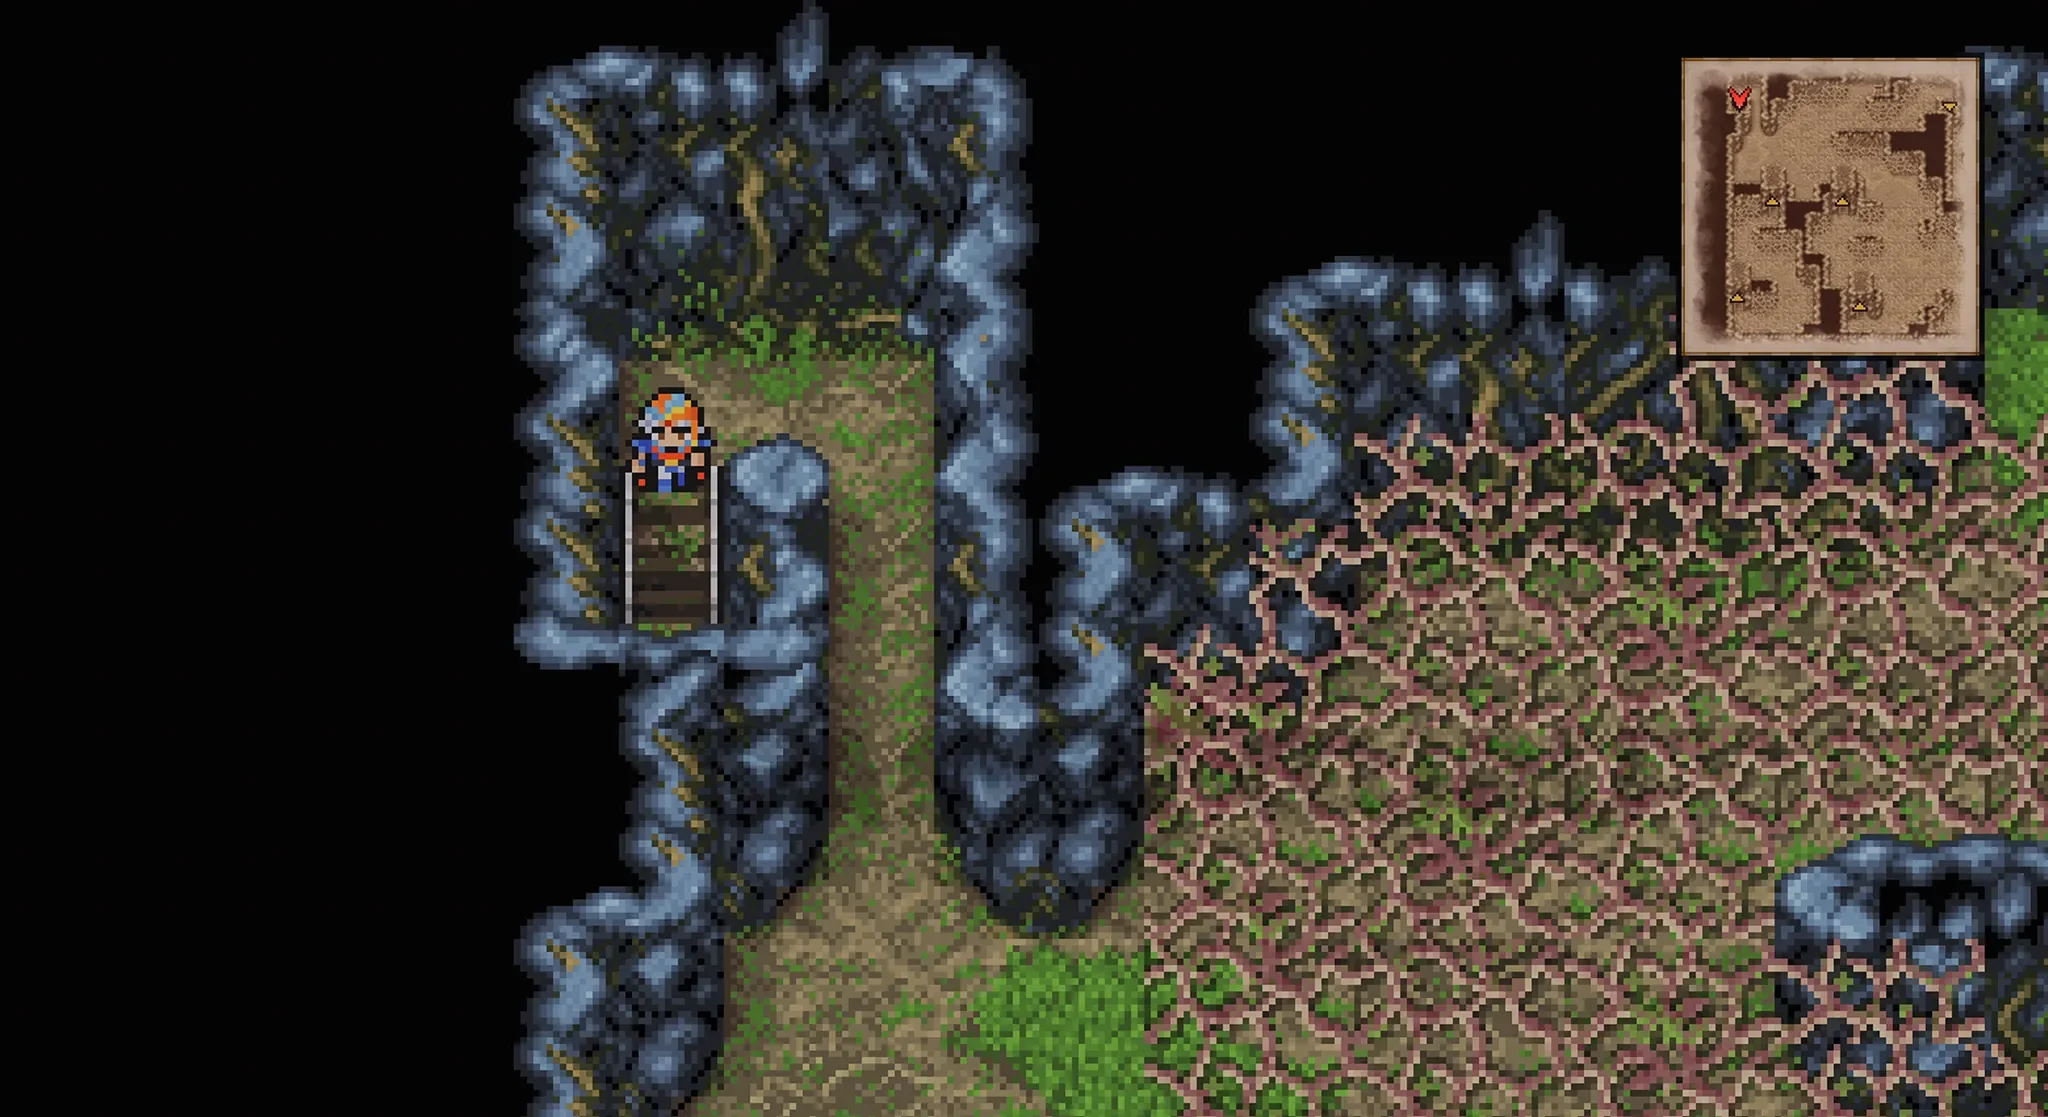
To find the Tropical Island we need to leave Mysidia and return to our ship, then sail to the small island you can see around the south part of the map.
B1
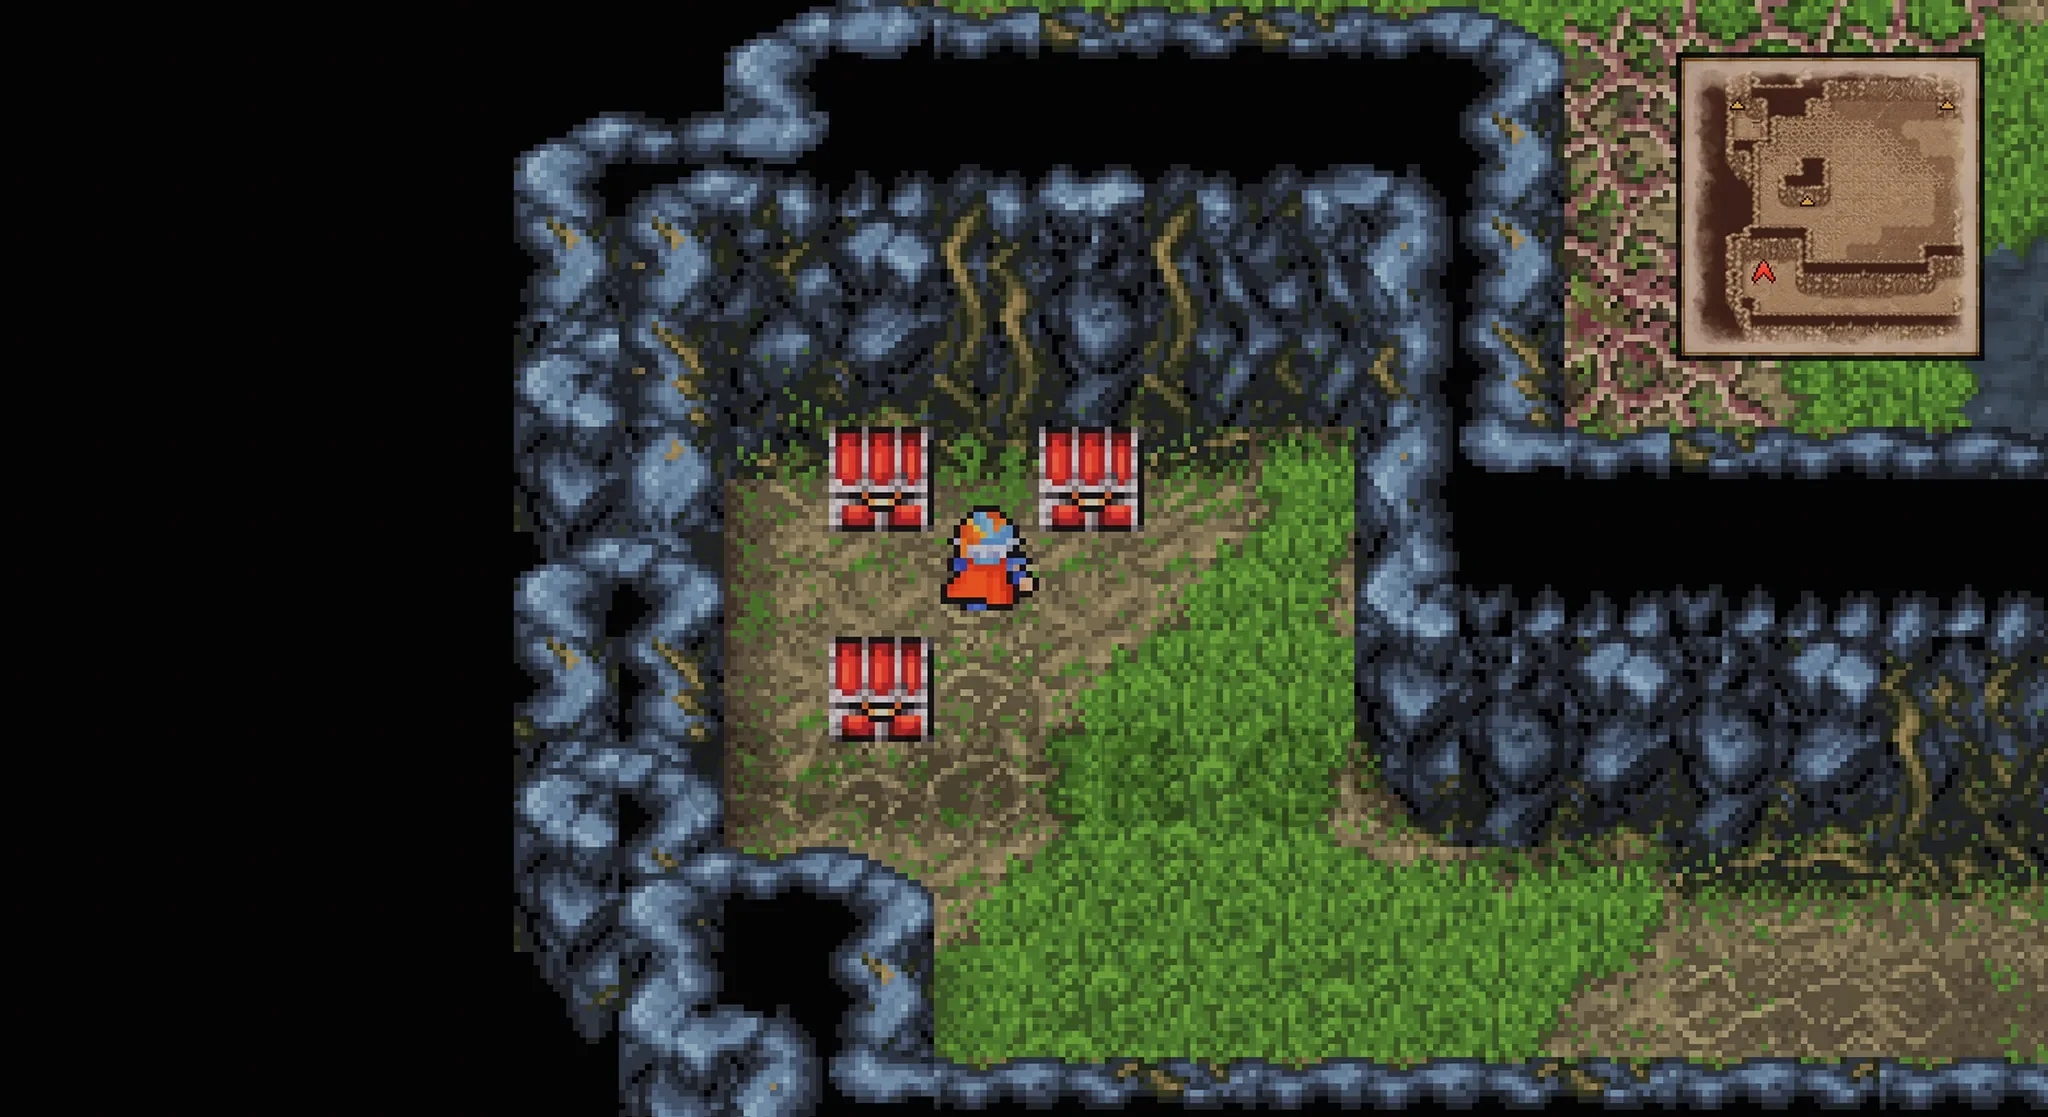
On B1 there are 5 chests for us to open, starting with the one all the way at the top, this one contains a Hi-Potion, then the chest just below this one also contains another Hi-Potion.
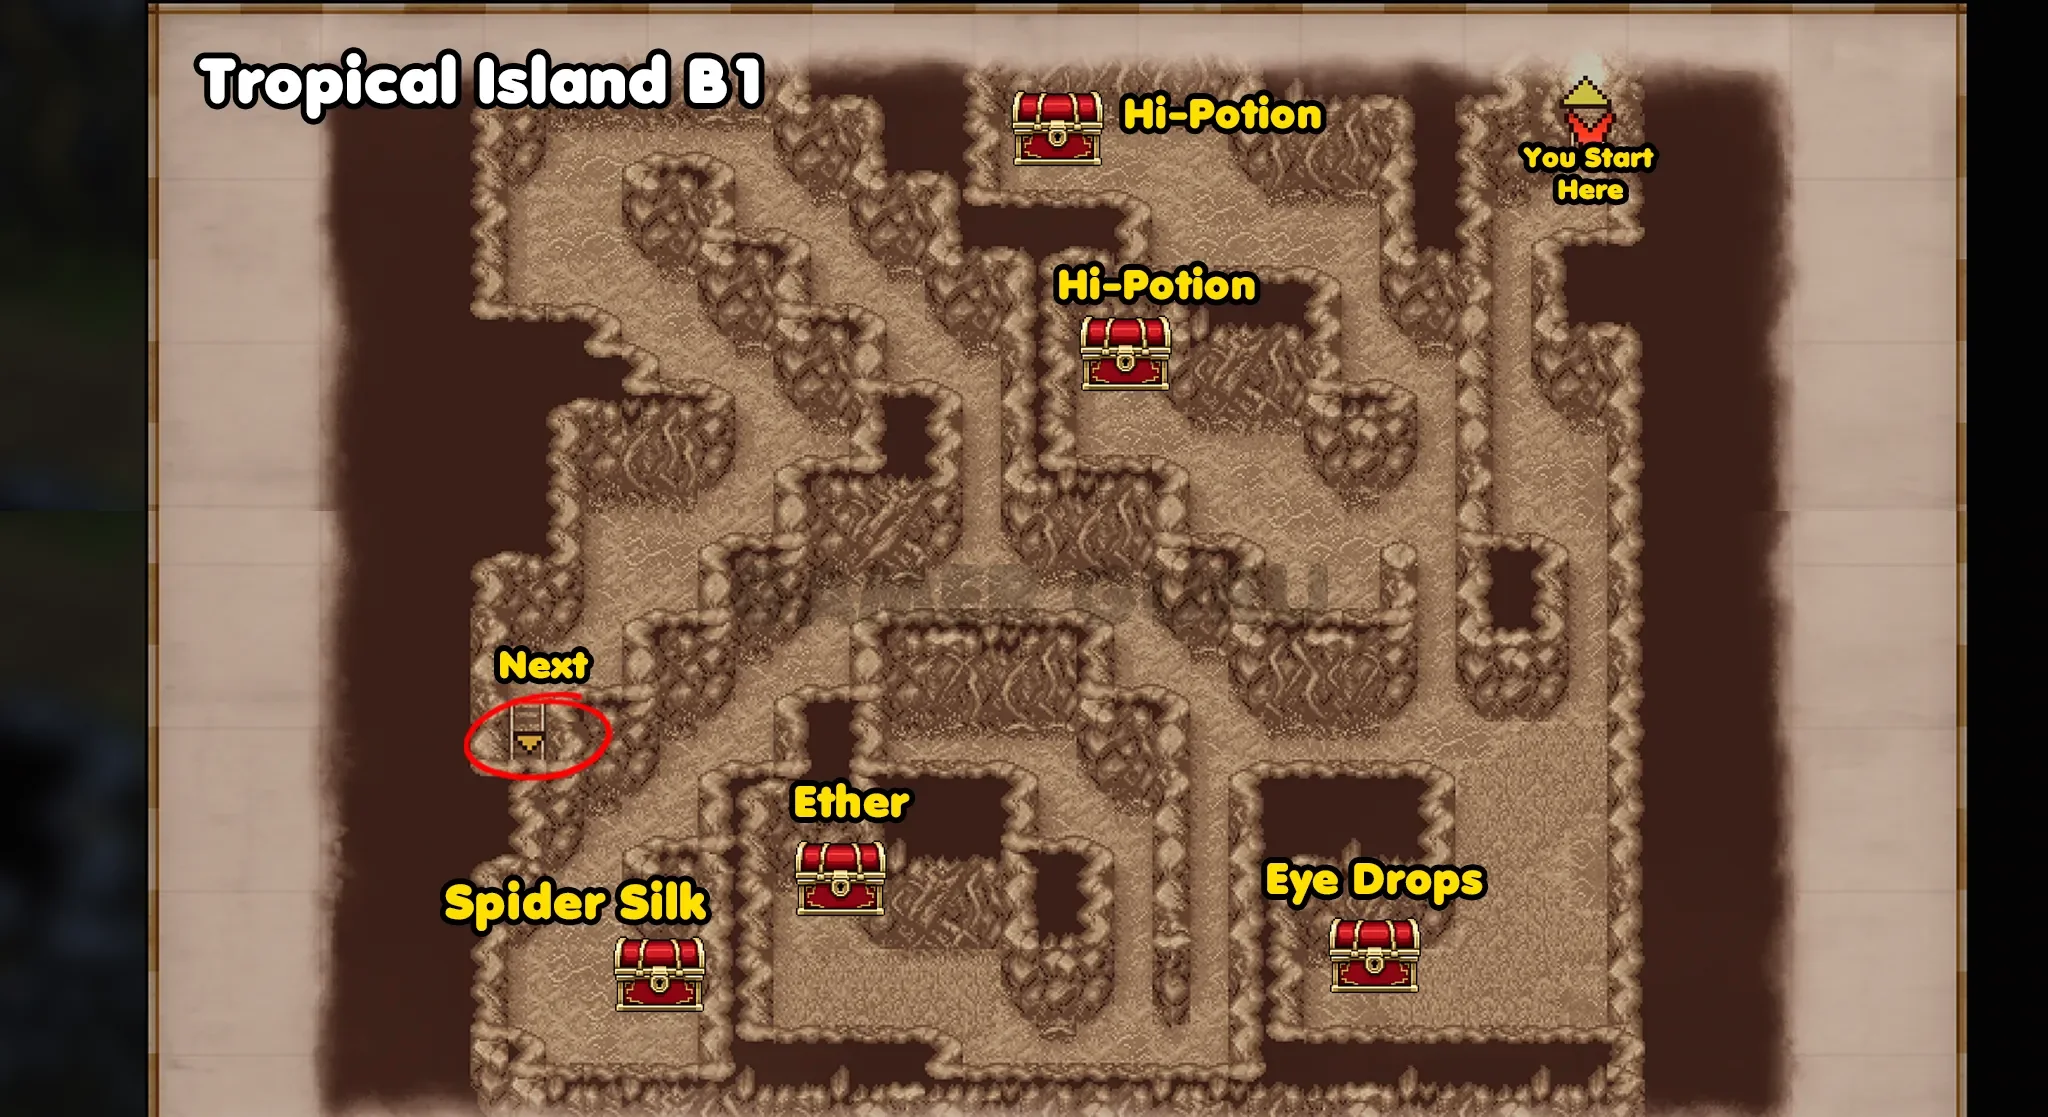
Then the 3 chests at the bottom of the room from right to left contain: Eye Drops, Ether and Spider Silk.
Once you have opened all 5 chests you can go down the stairs on the left side to reach B2.
B2
There are also 5 chests in B2.
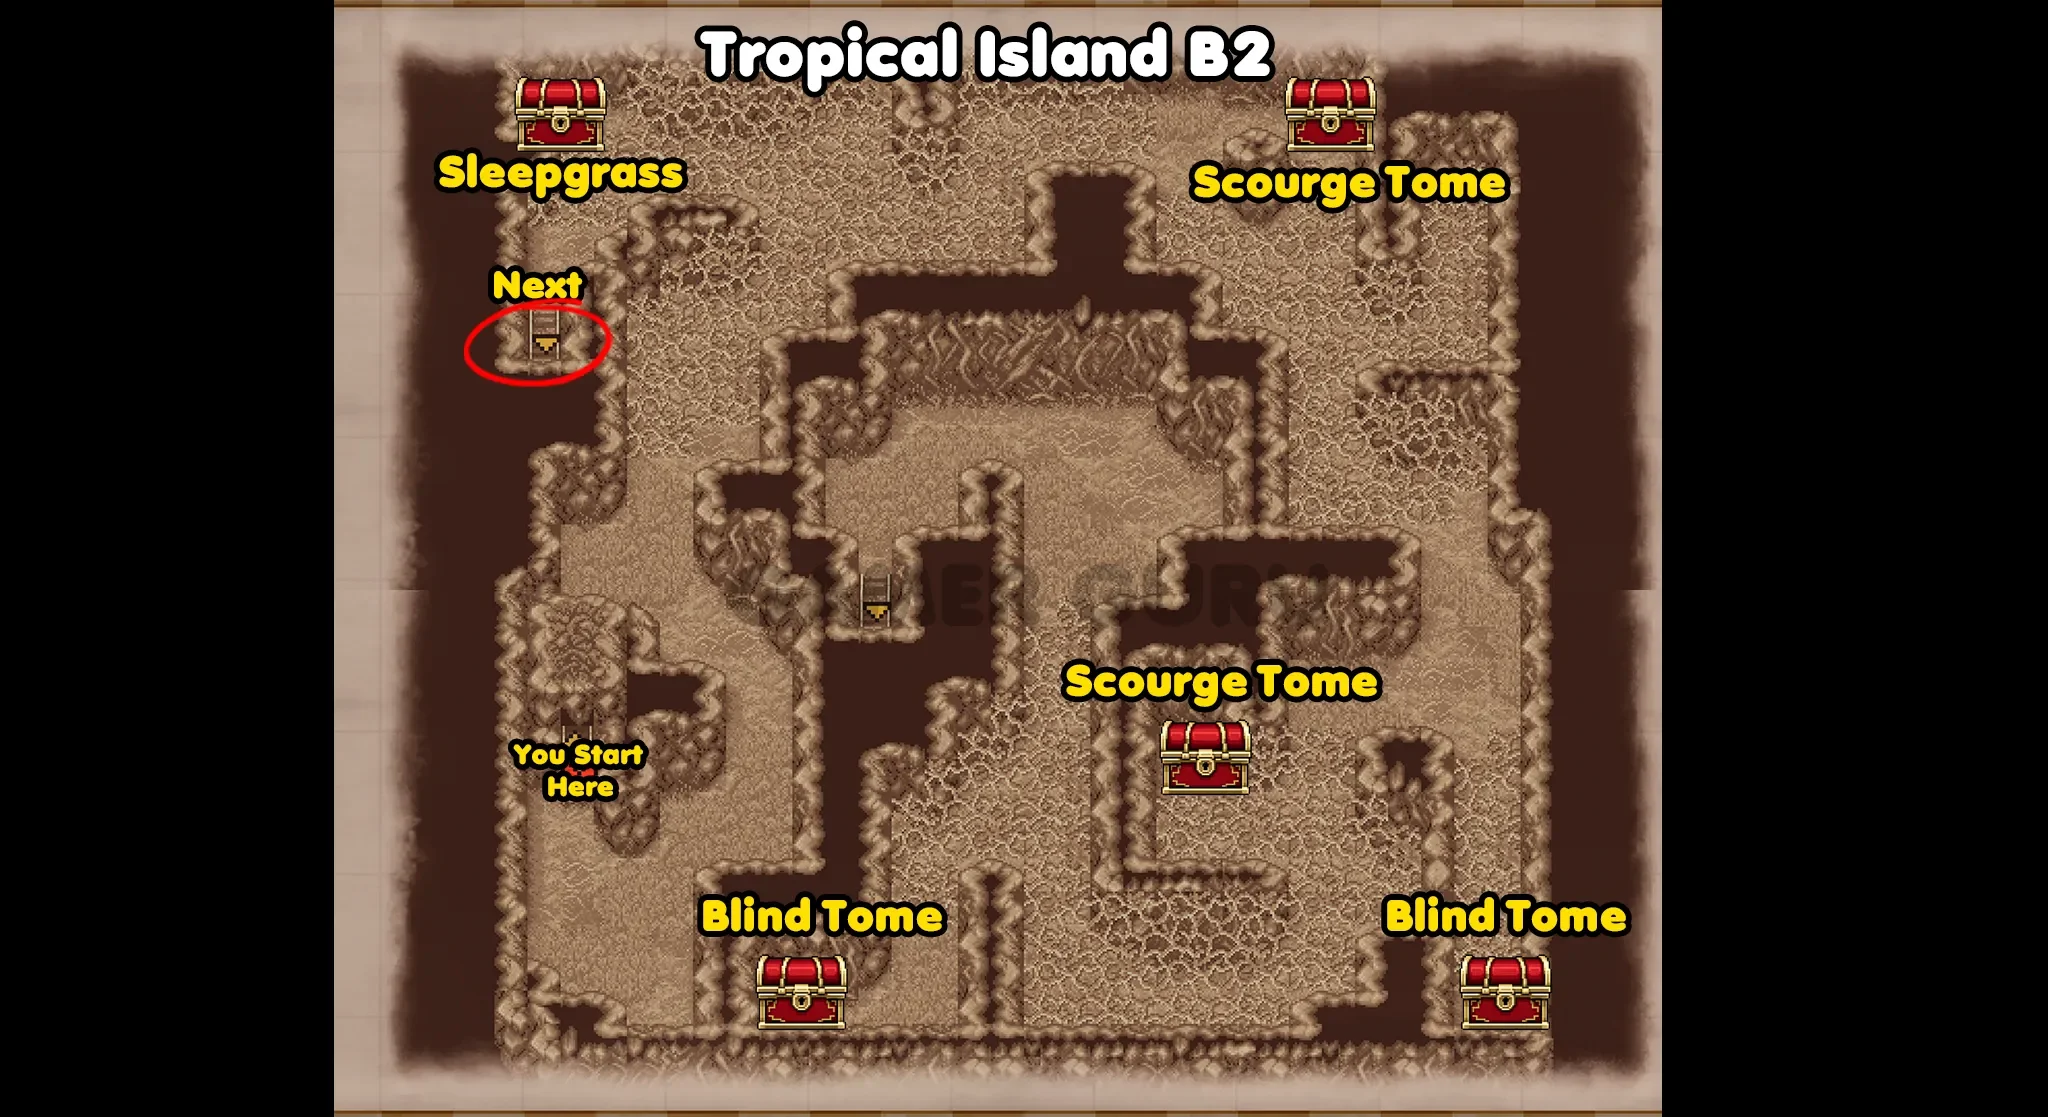
The 2 at the very bottom contain Blind Tomes, the other 2 on the right both have Scourge Tomes, and the one at the top left has Sleepgrass.
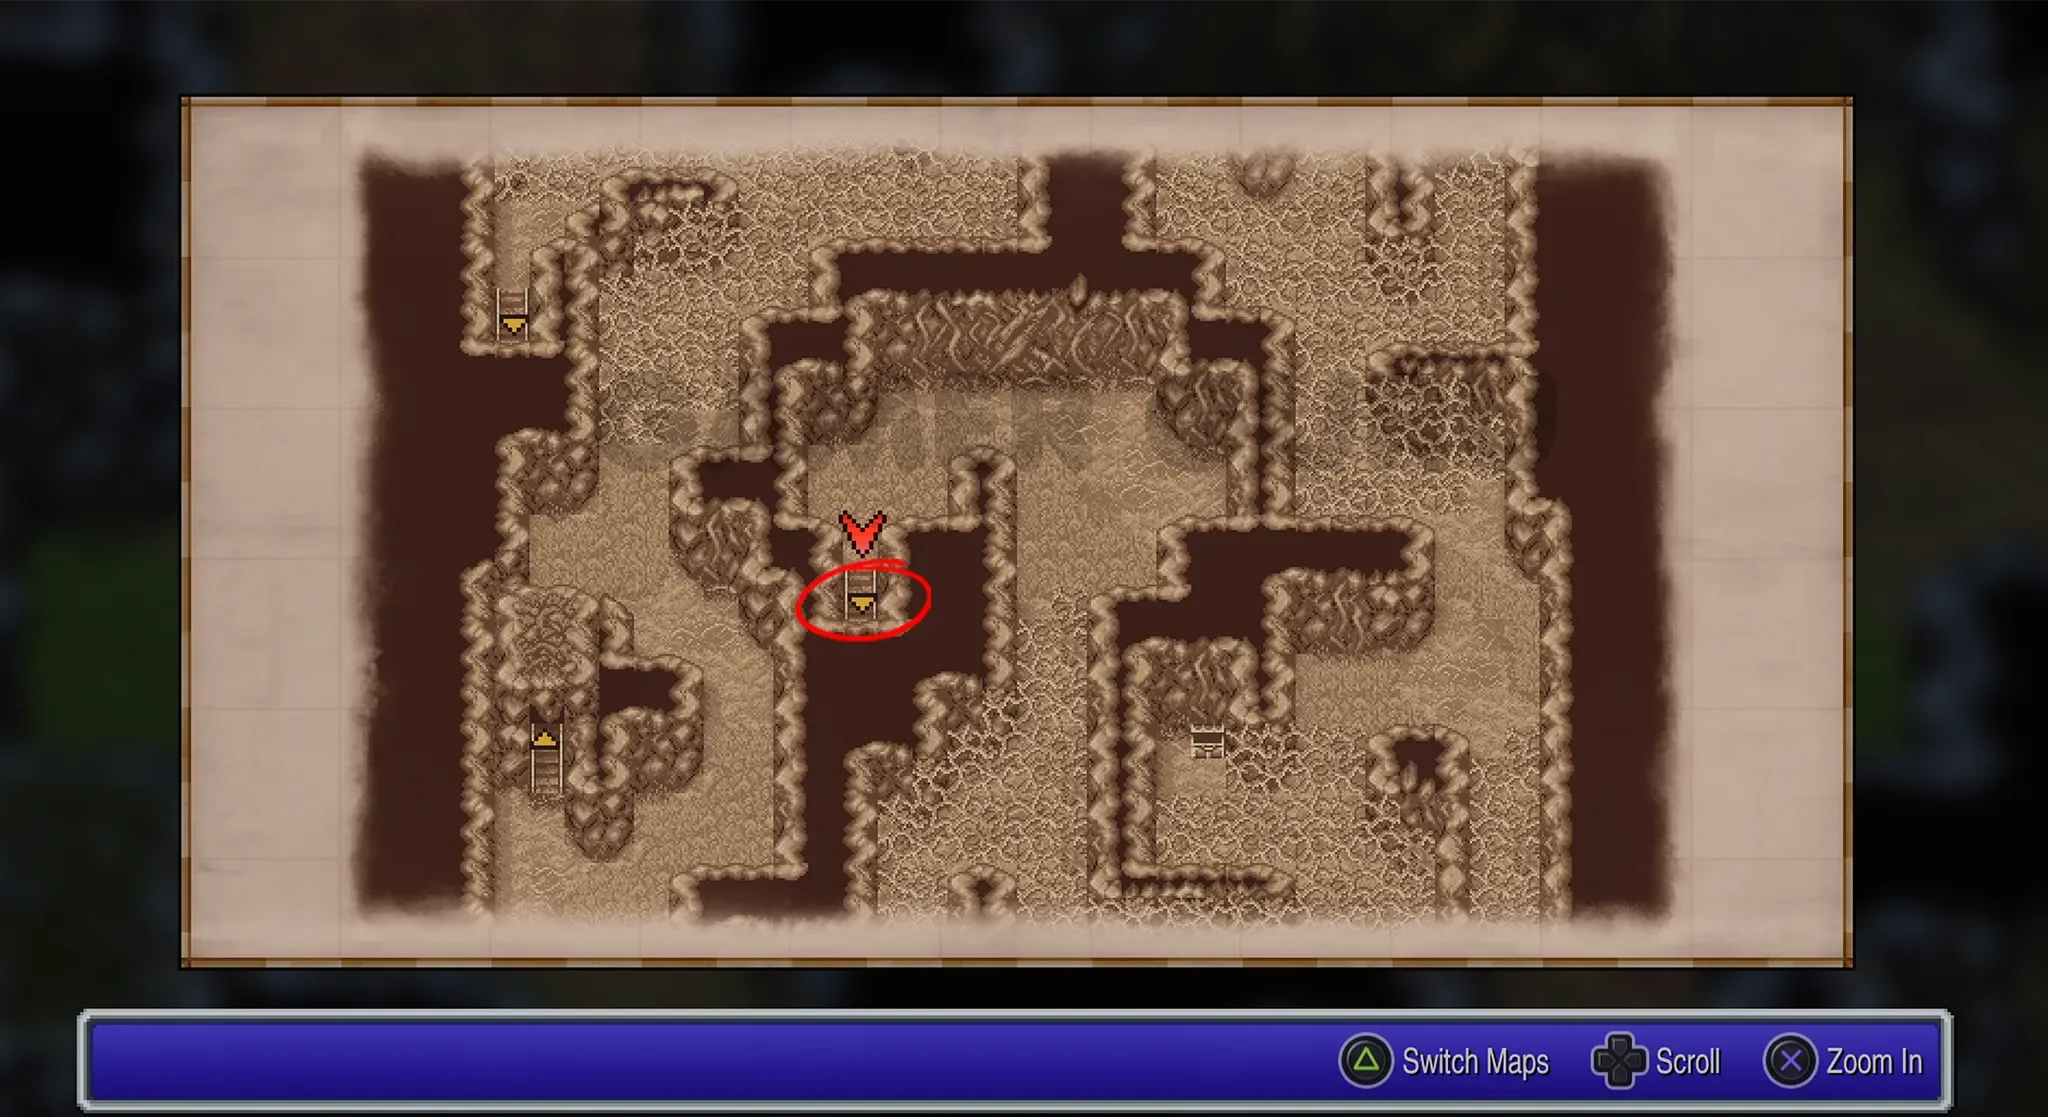
Now that you have all 5 chests from this floor you need to go down the stairs at the top left (the ones just below the Sleepgrass chest), this will lead to an optional area of B3 where there will be another chest.
B3
You will now be in the left section of B3, here there is only 1 chest you can reach, it is the one that contains the Spider Silk.
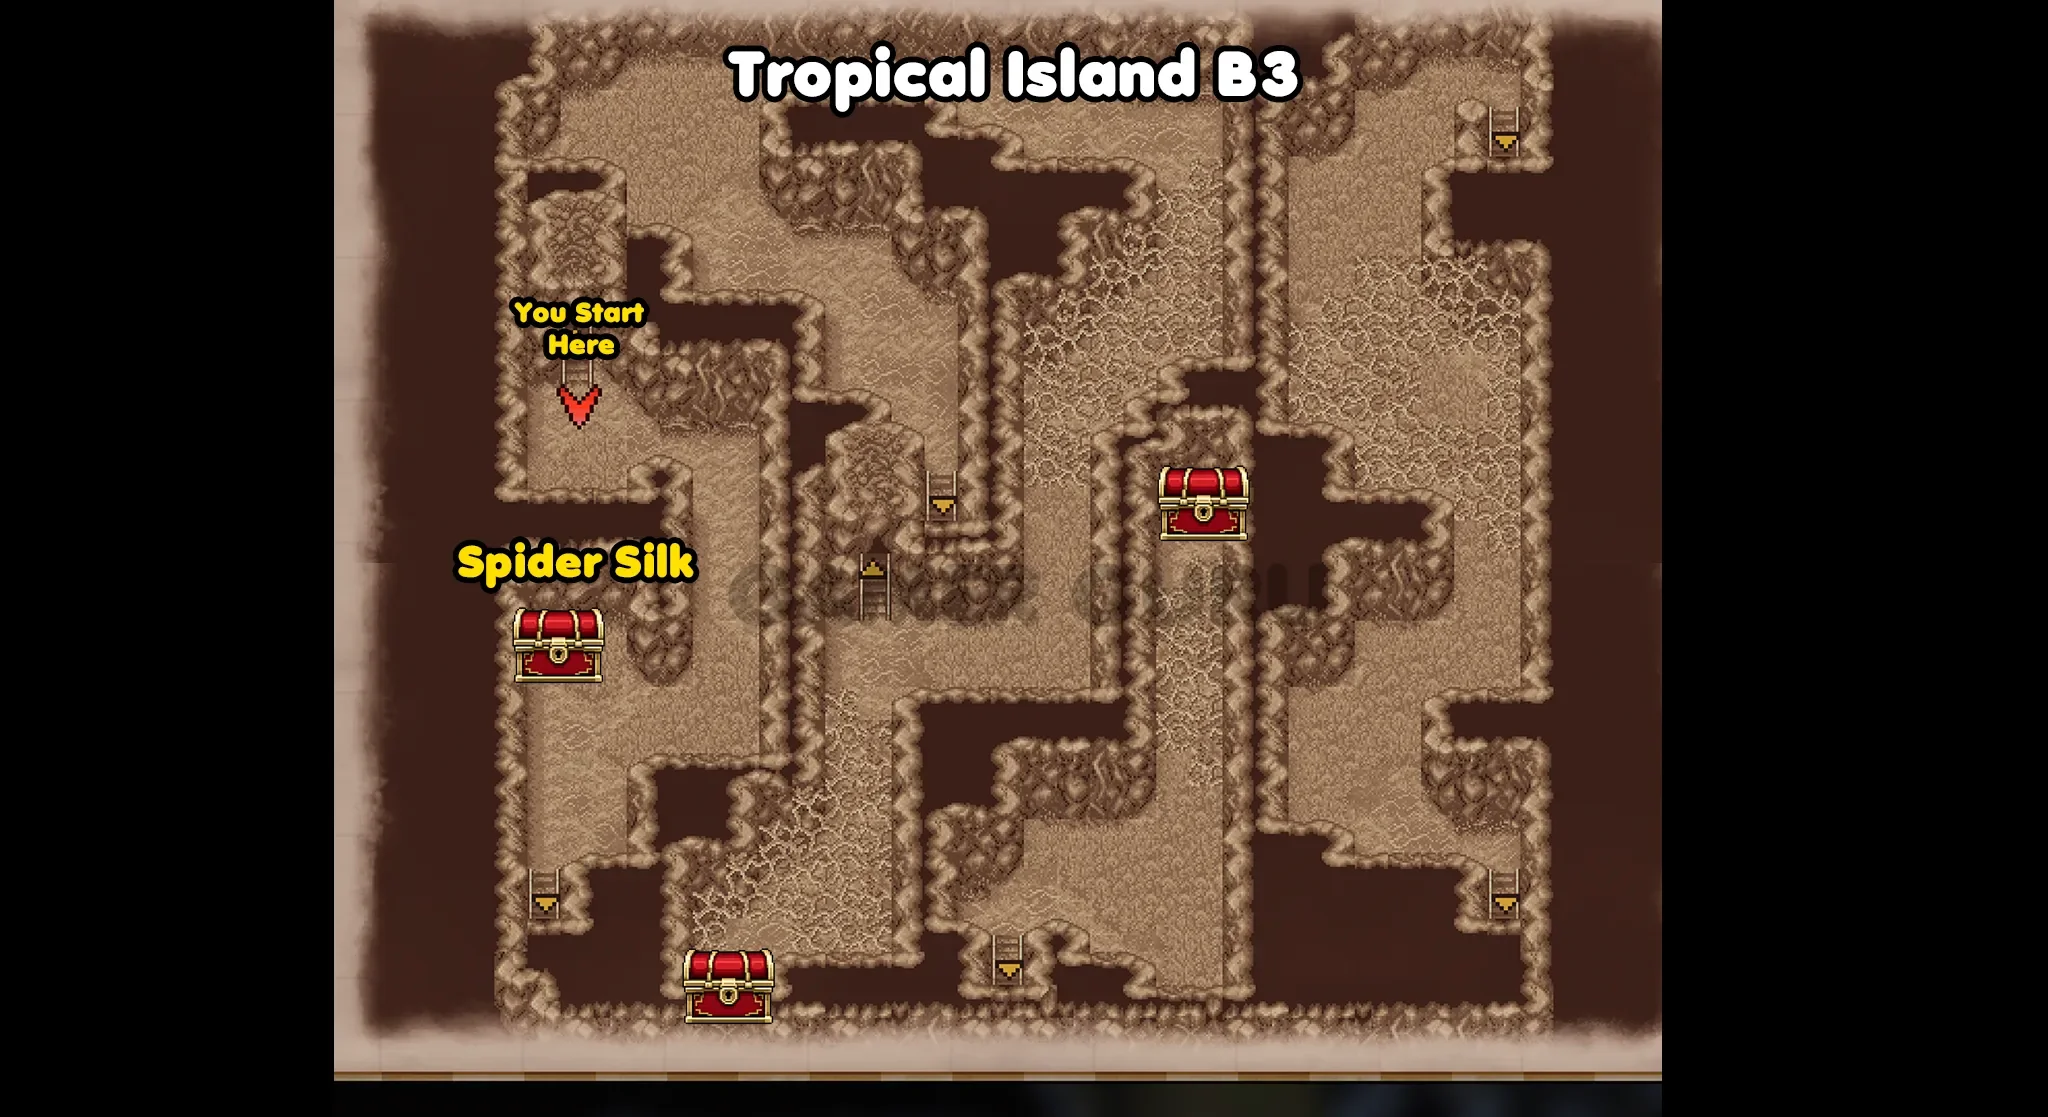
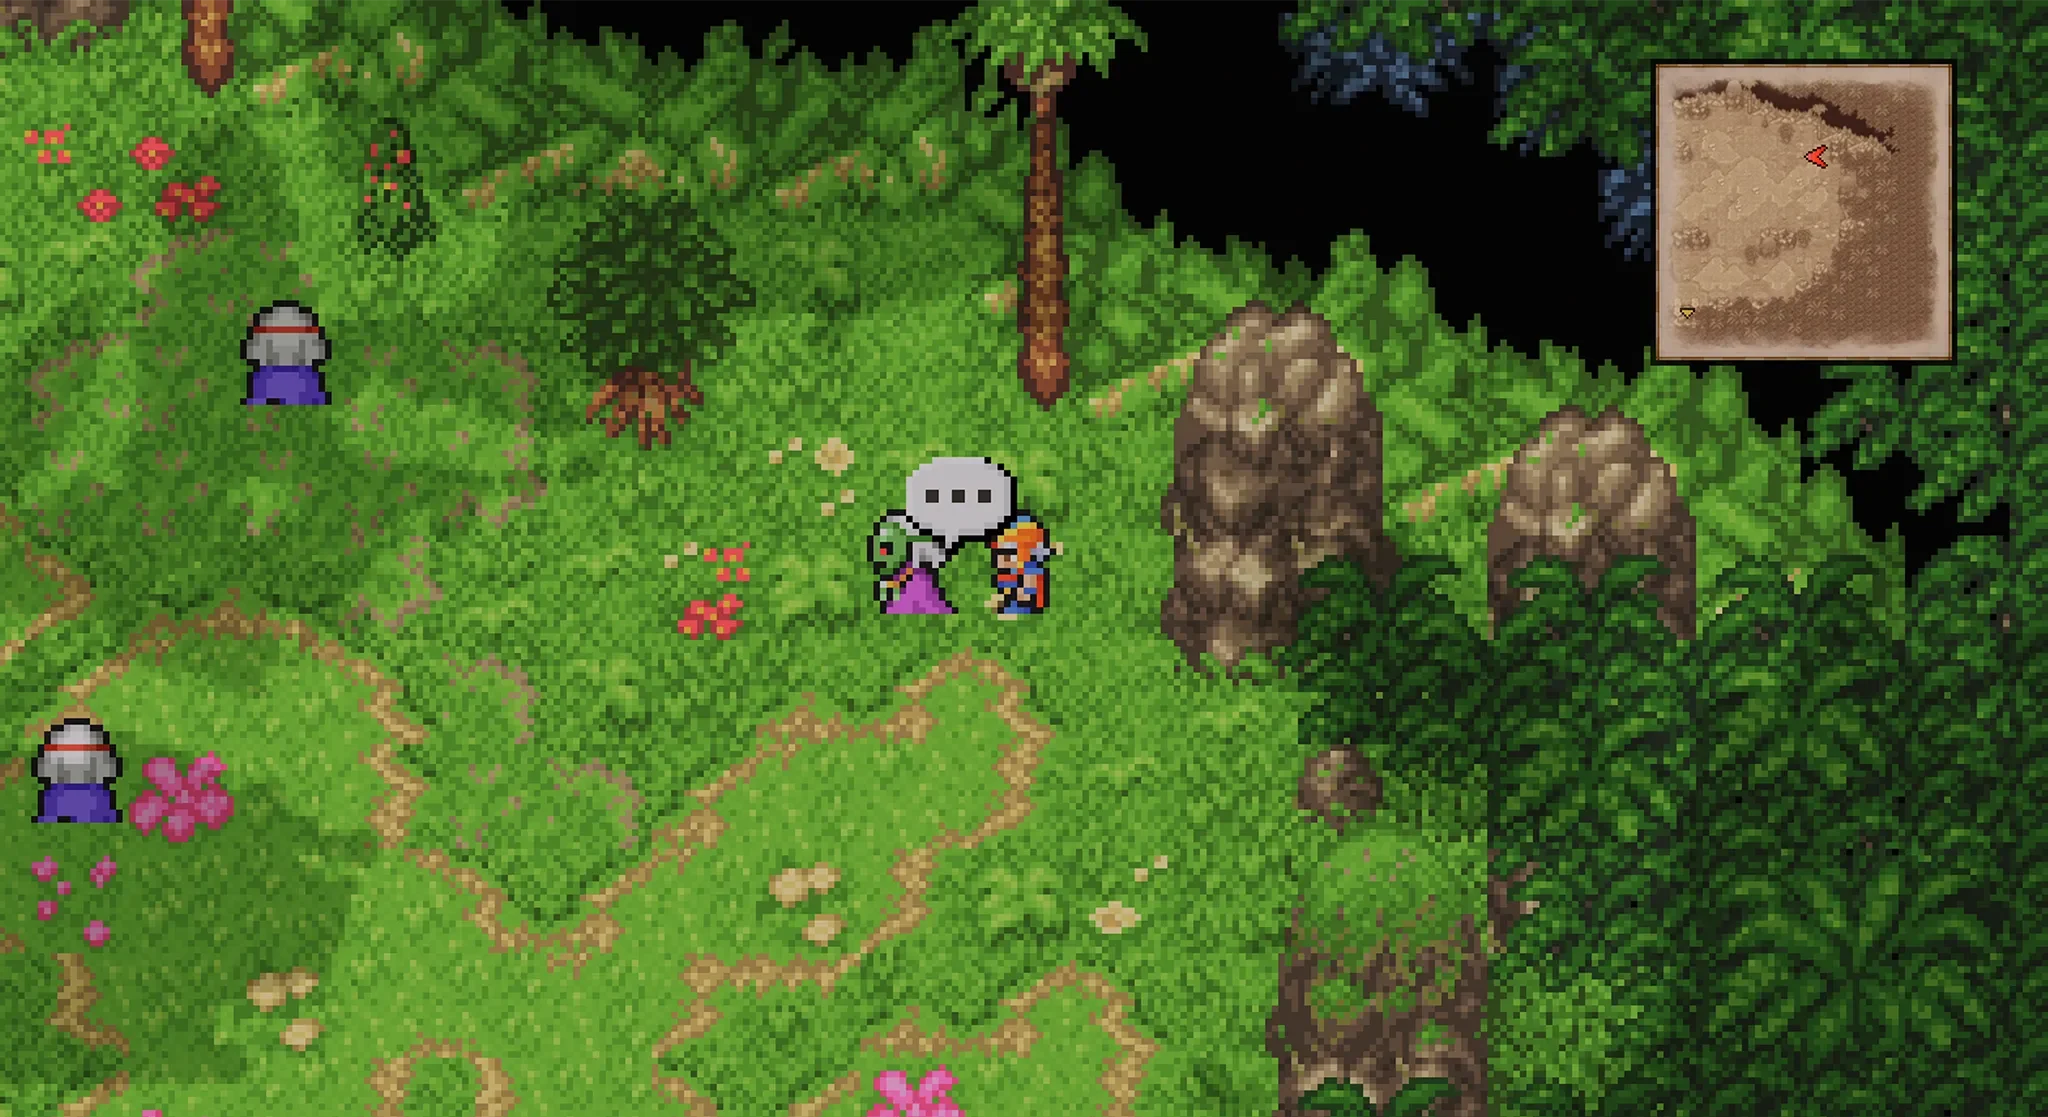
There aren’t any more chest down this path, if you continue down the stairs at the bottom you will reach an outdoors area where there are 2 NPC that sell you items, but nothing really worth the trip.
So if you aren’t interested in the shops you can turn around and return back to B2.
This time in B2 take the stairs in the middle to reach the main area of B3.
You will now be able to get the chest at the bottom of B3 that contains Garlic.
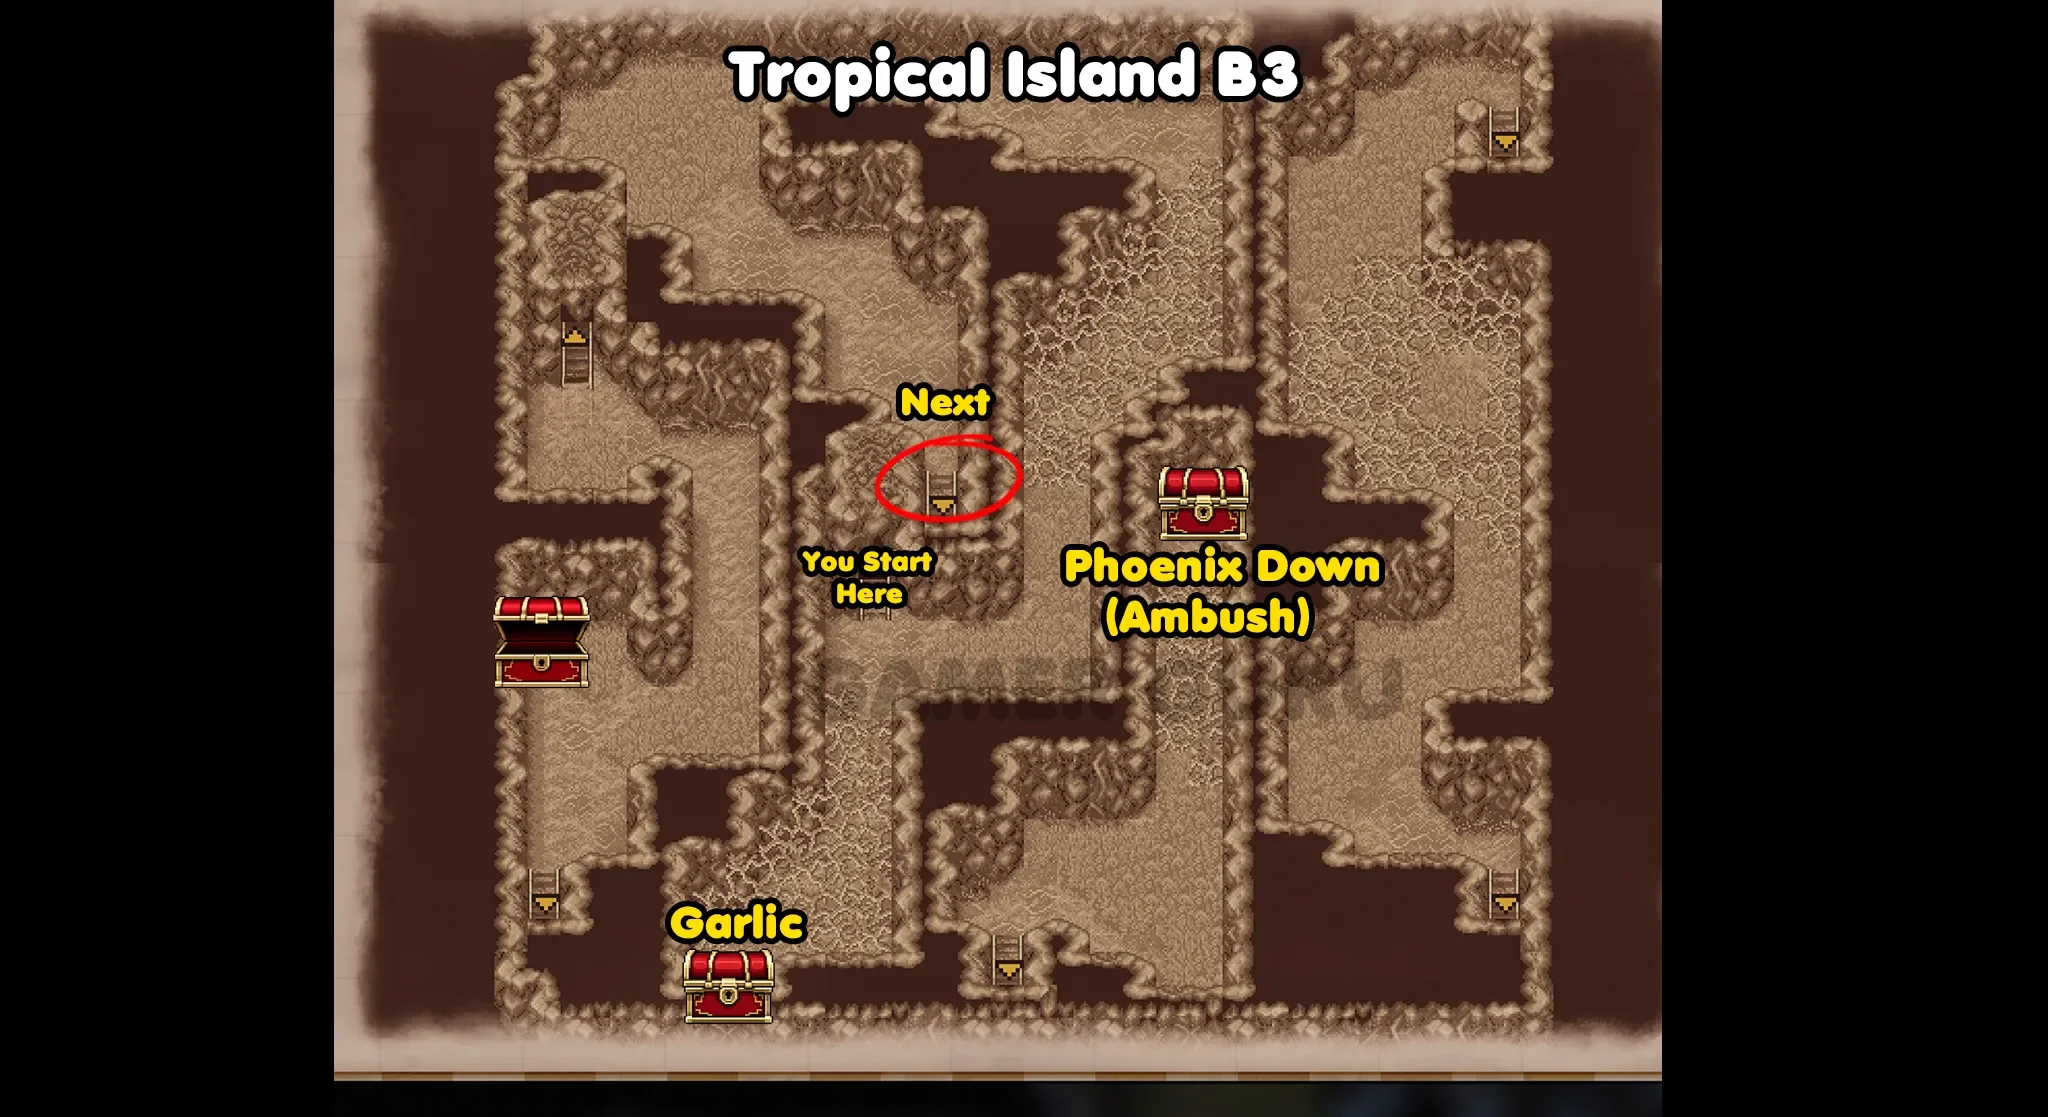
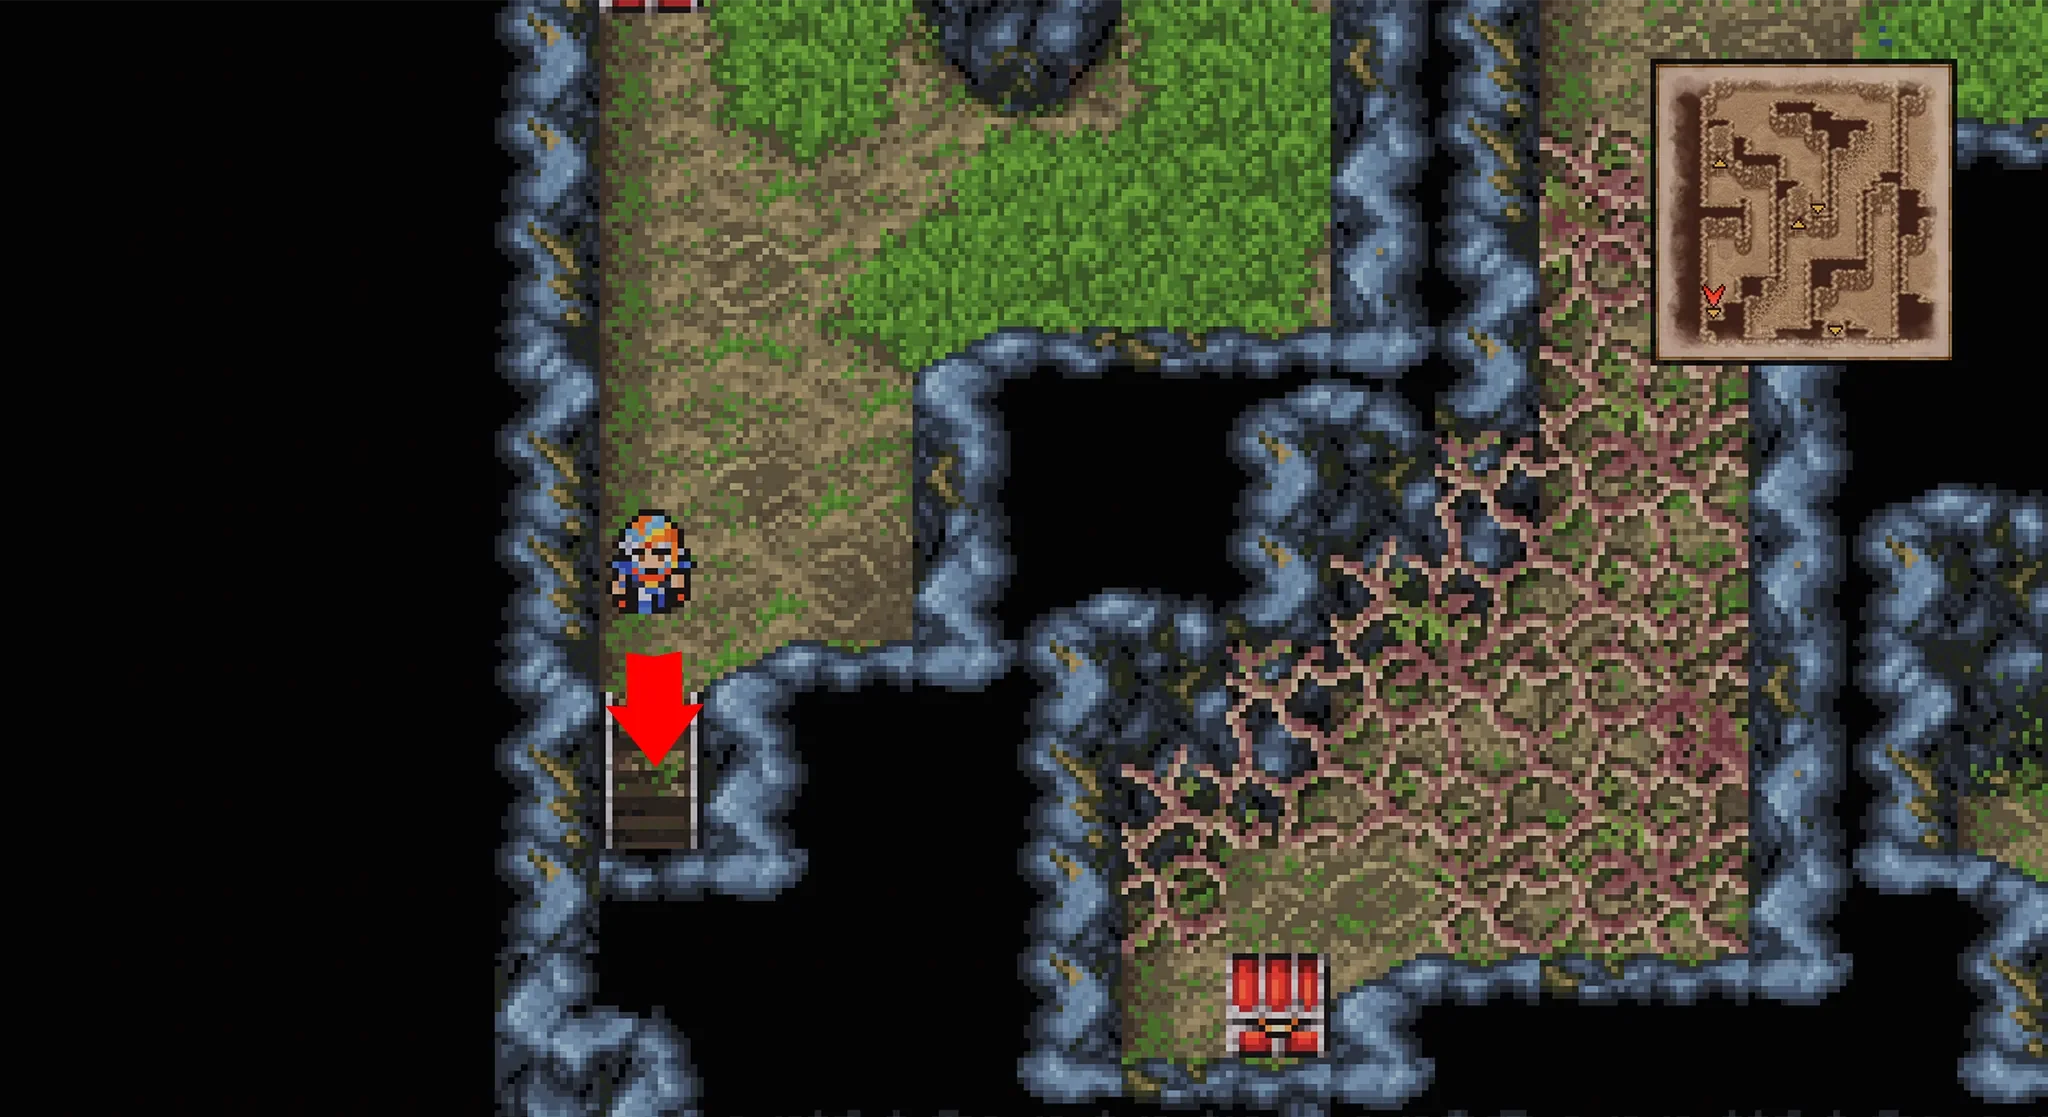
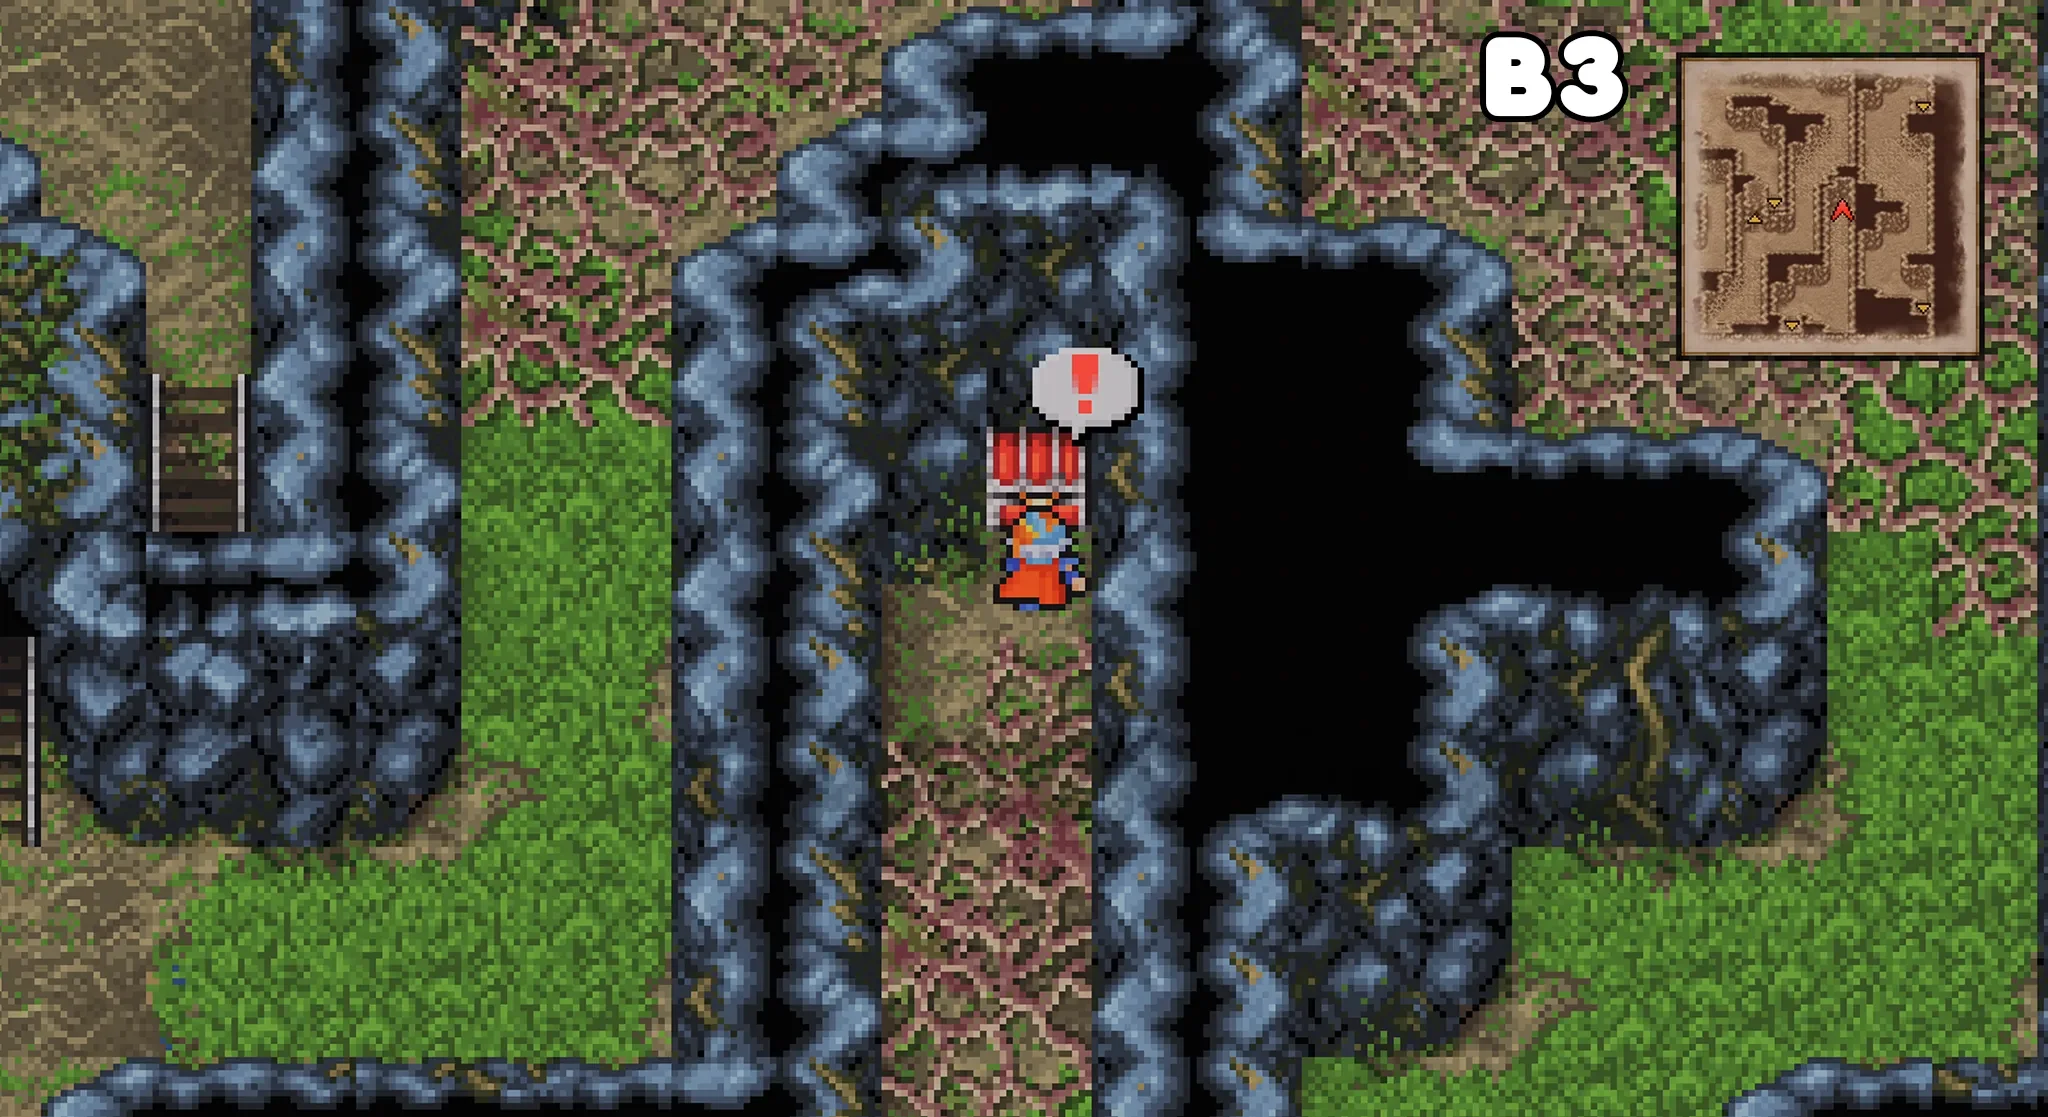
As for the final chest of B3 over to the right, the one that contains the Phoenix Down, we will need to return here from some different stairs in B4, so let’s do that first.
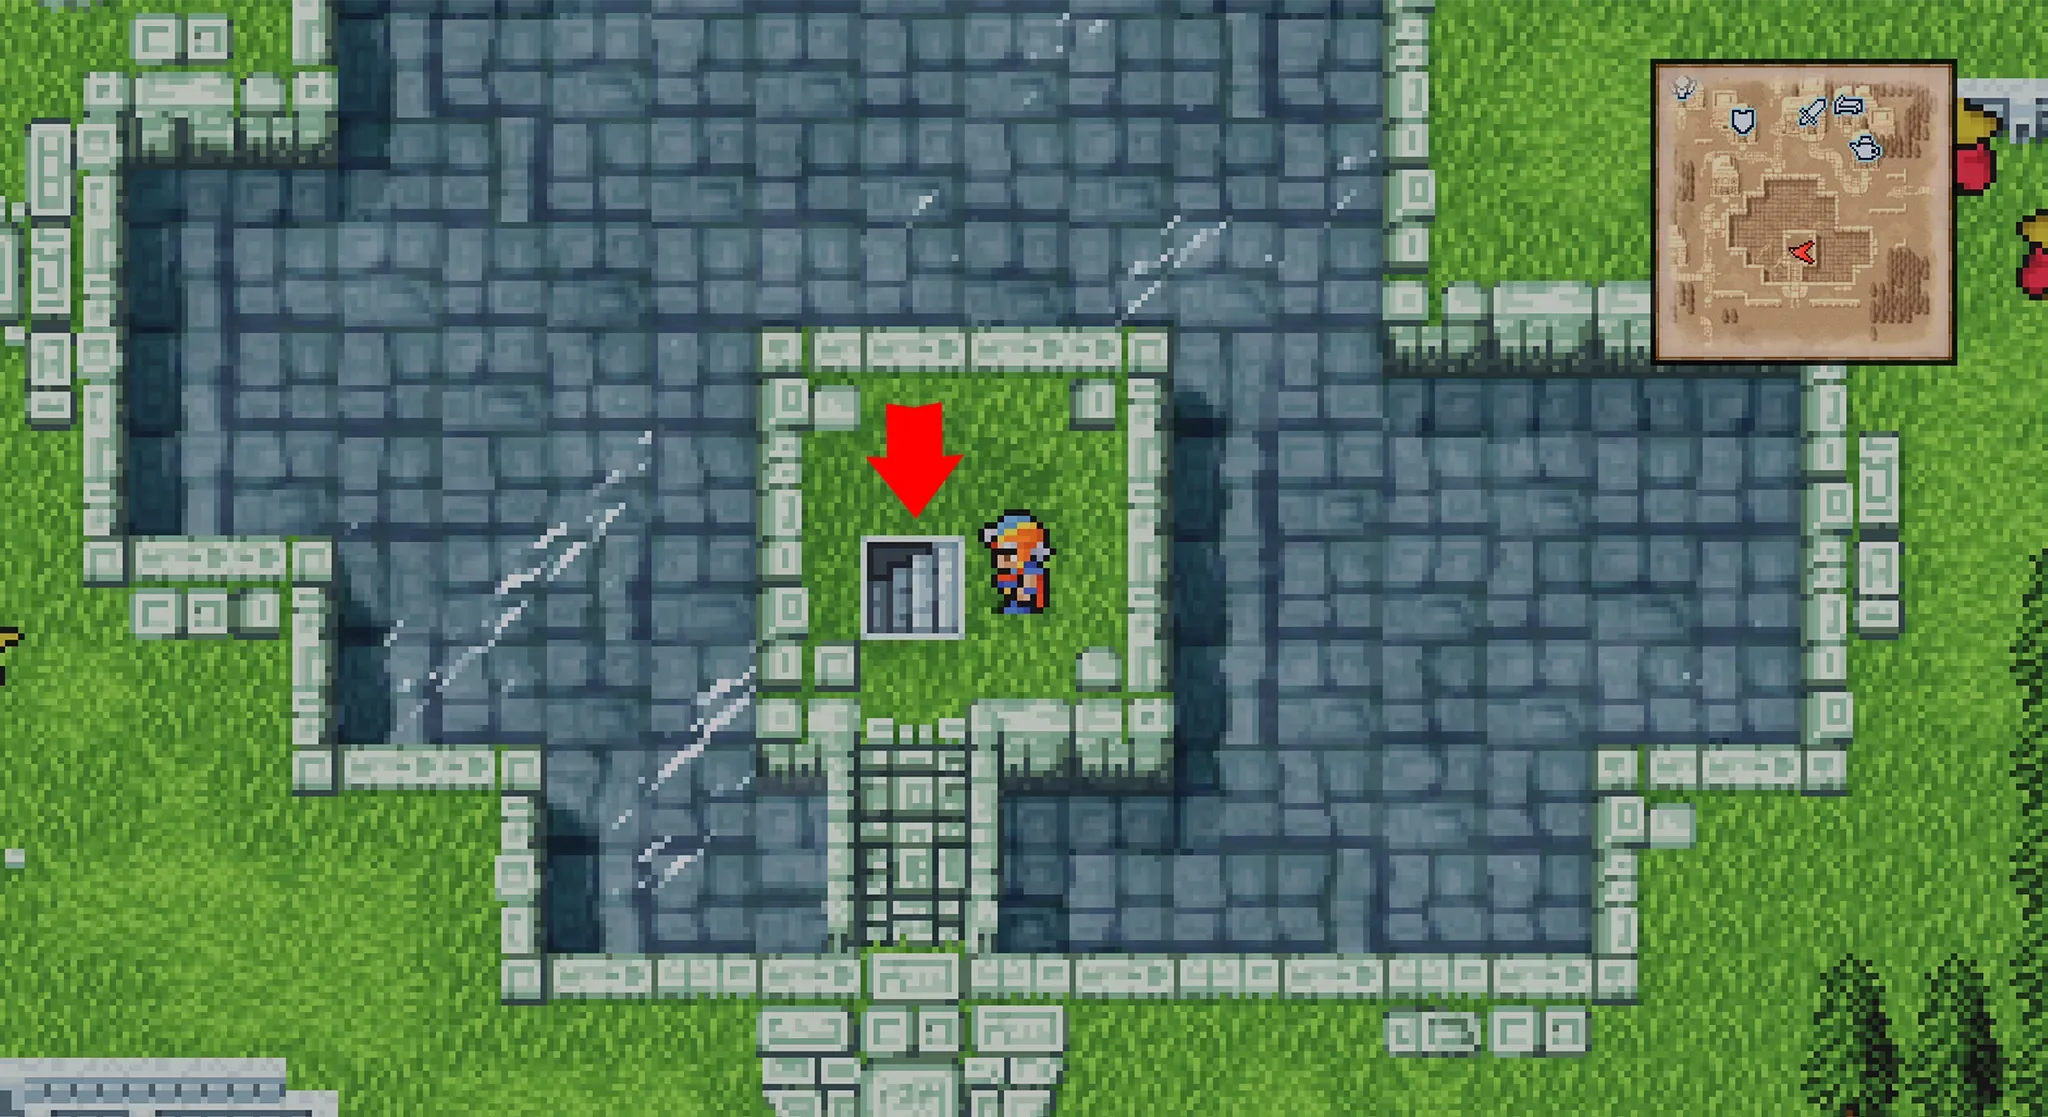
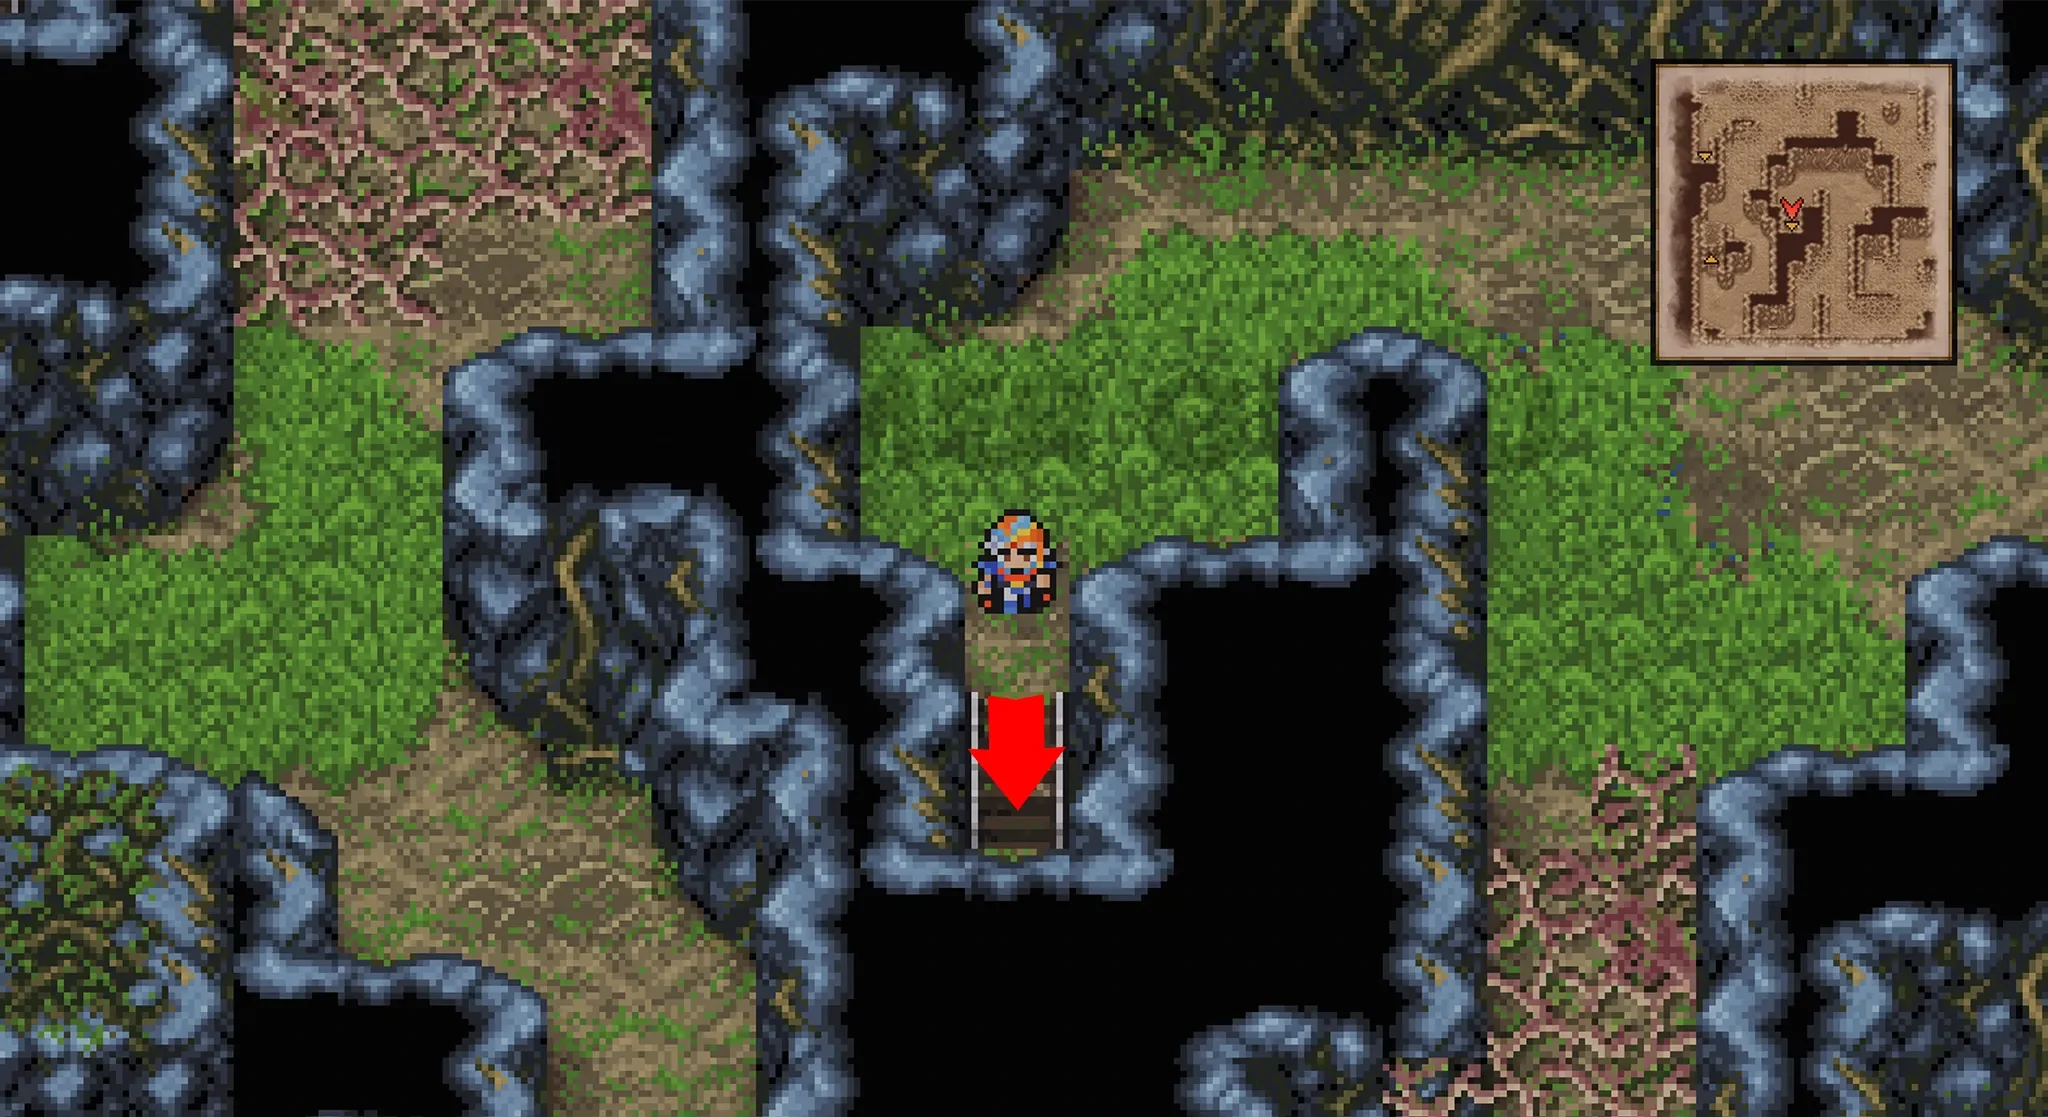
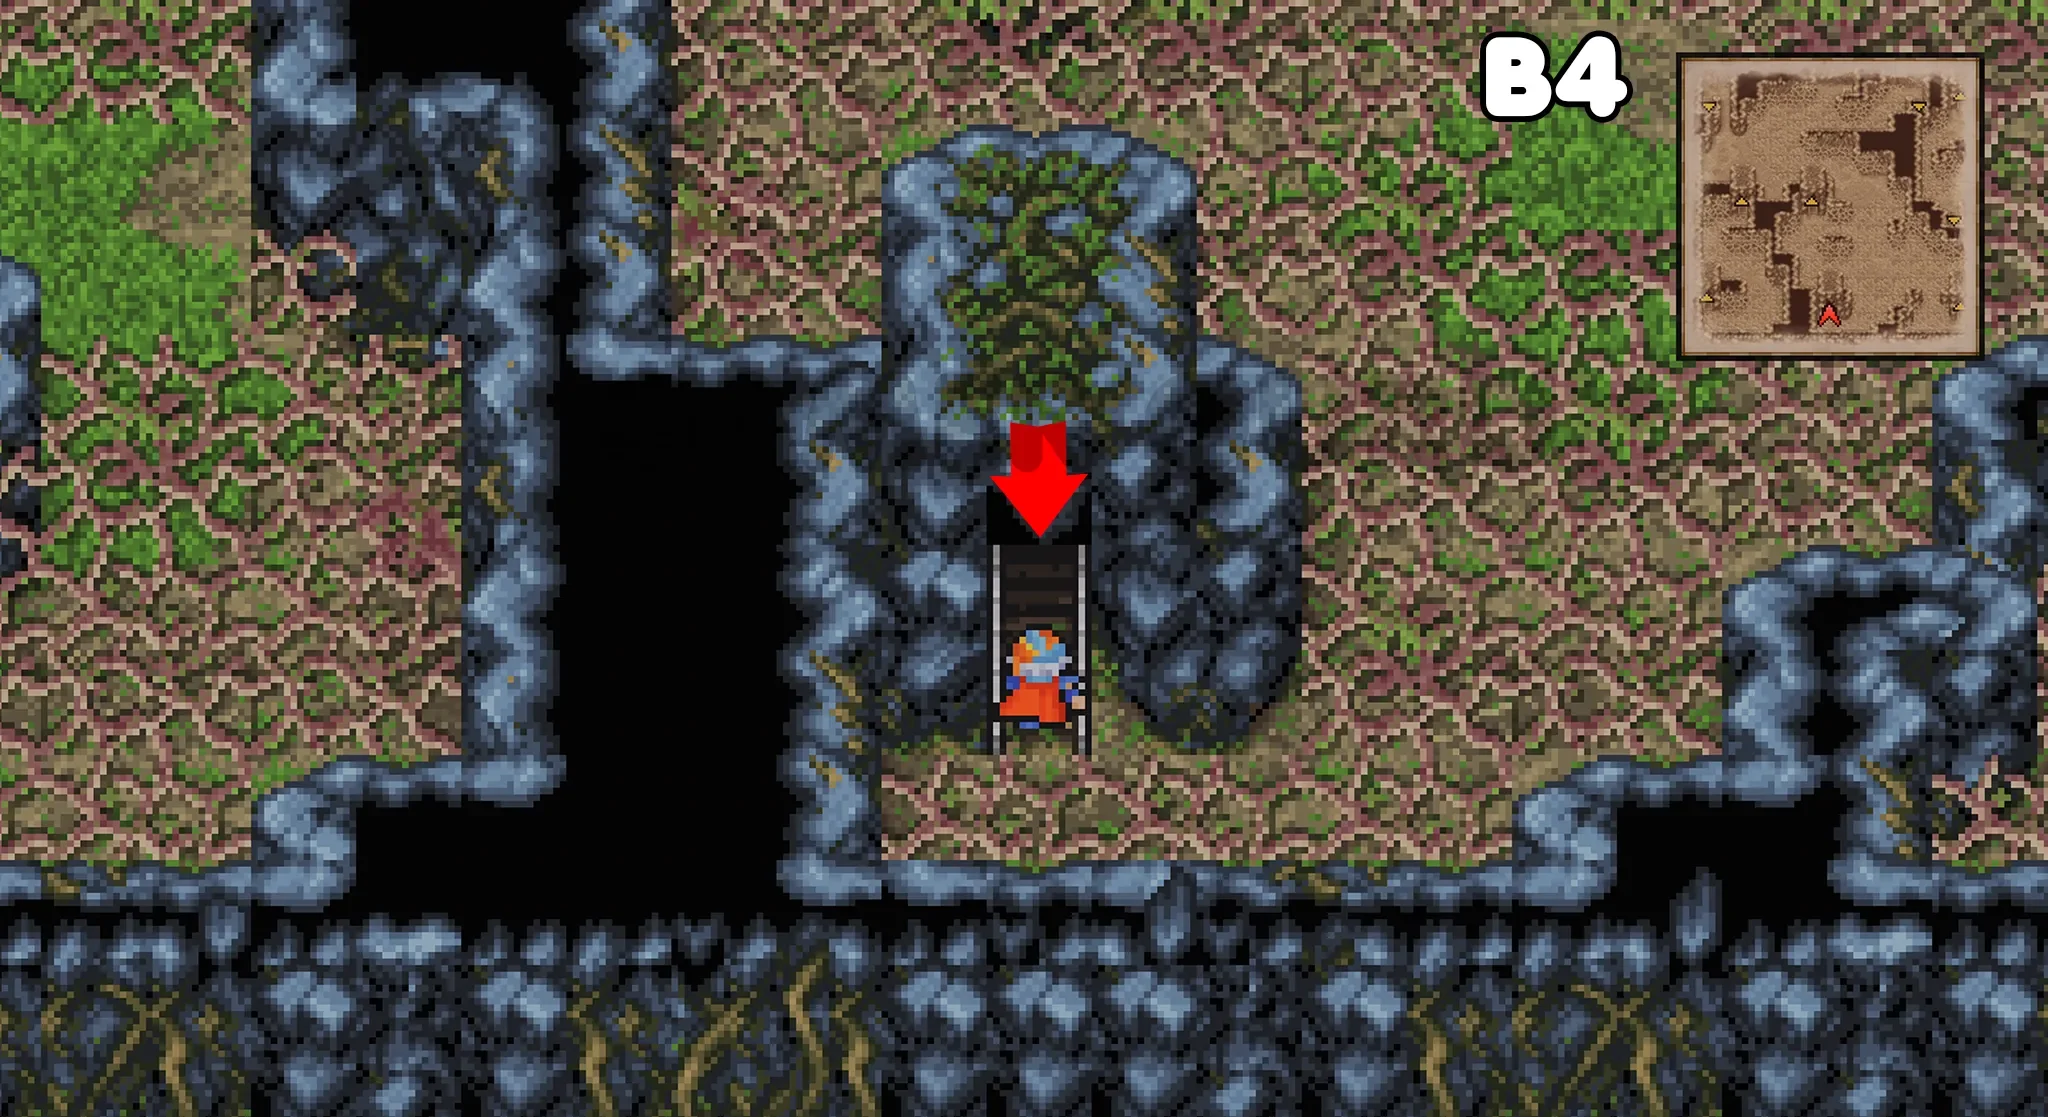
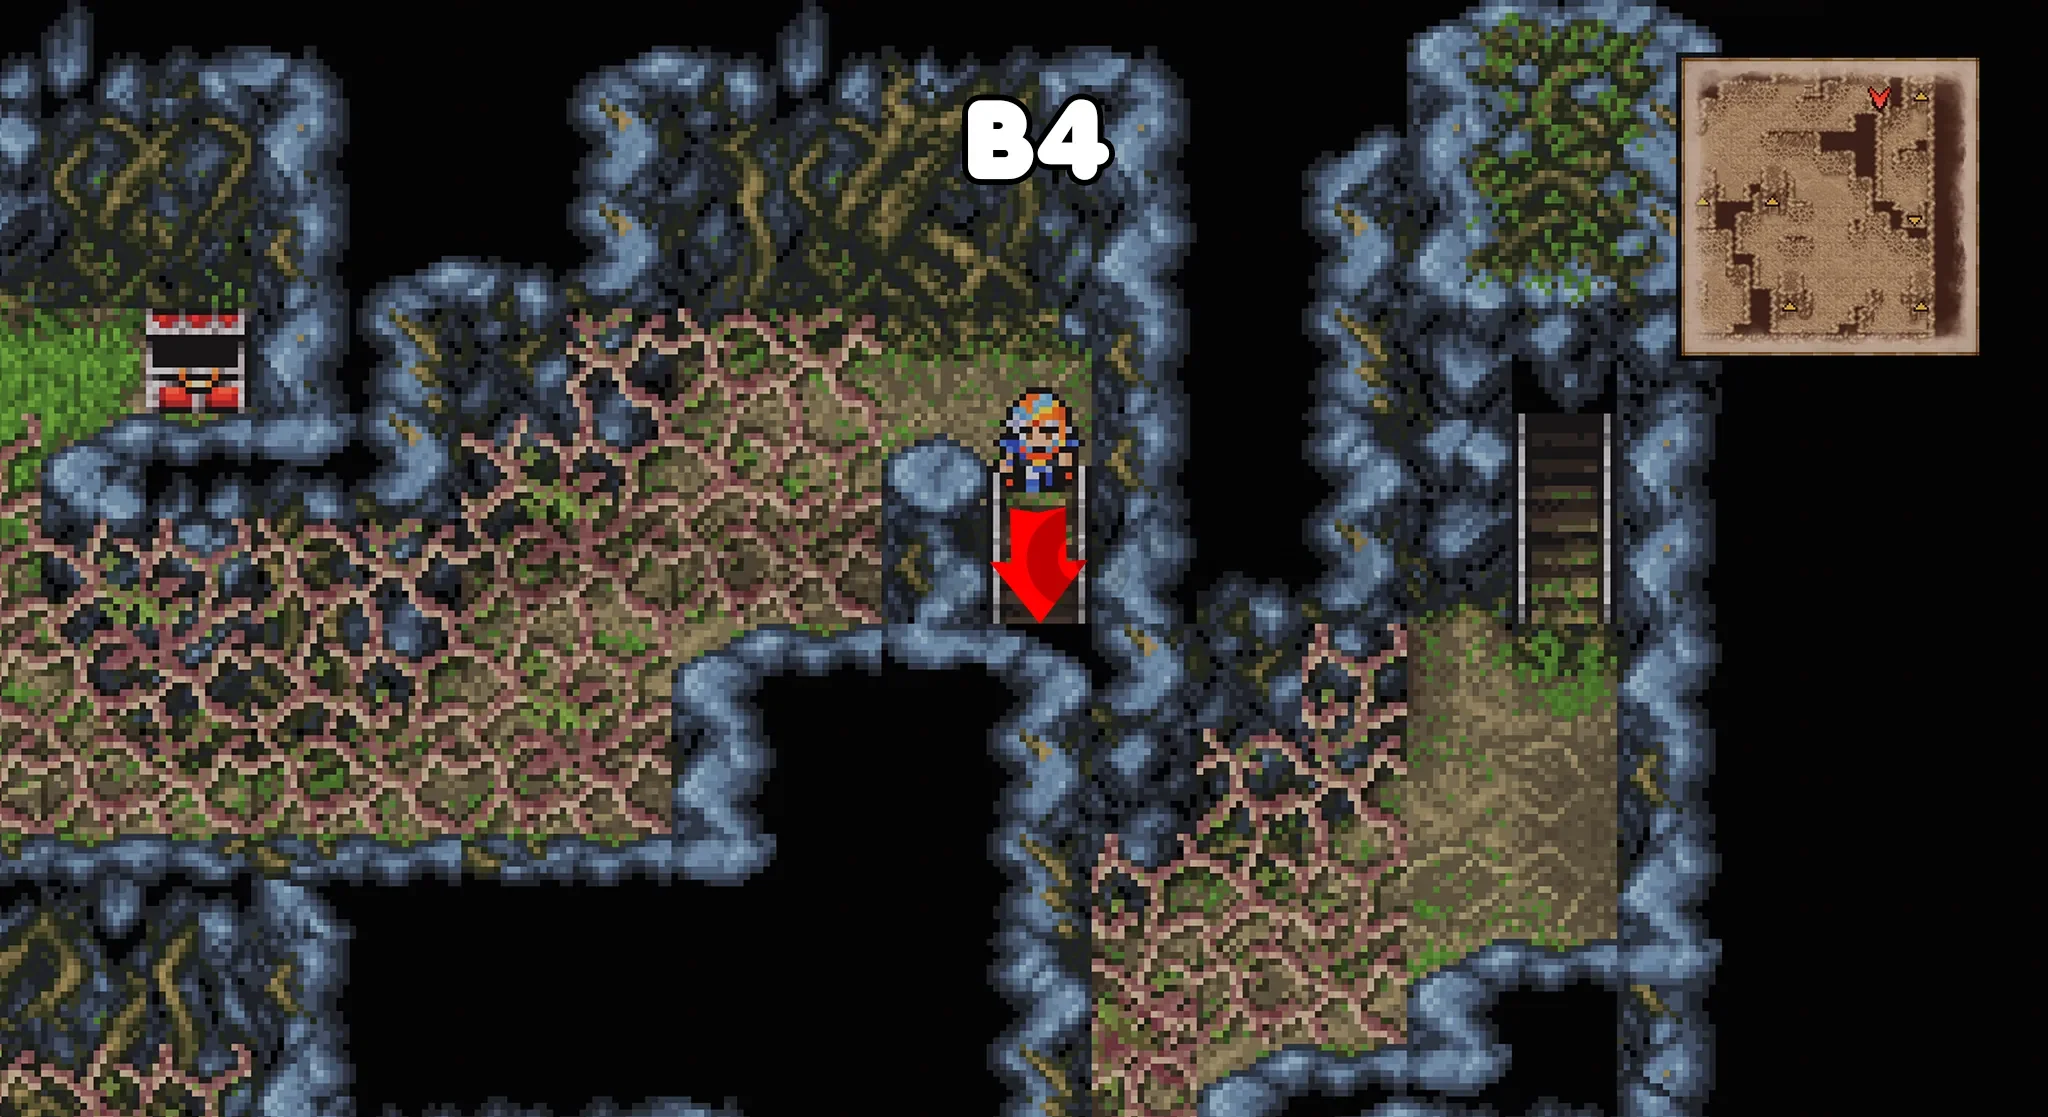
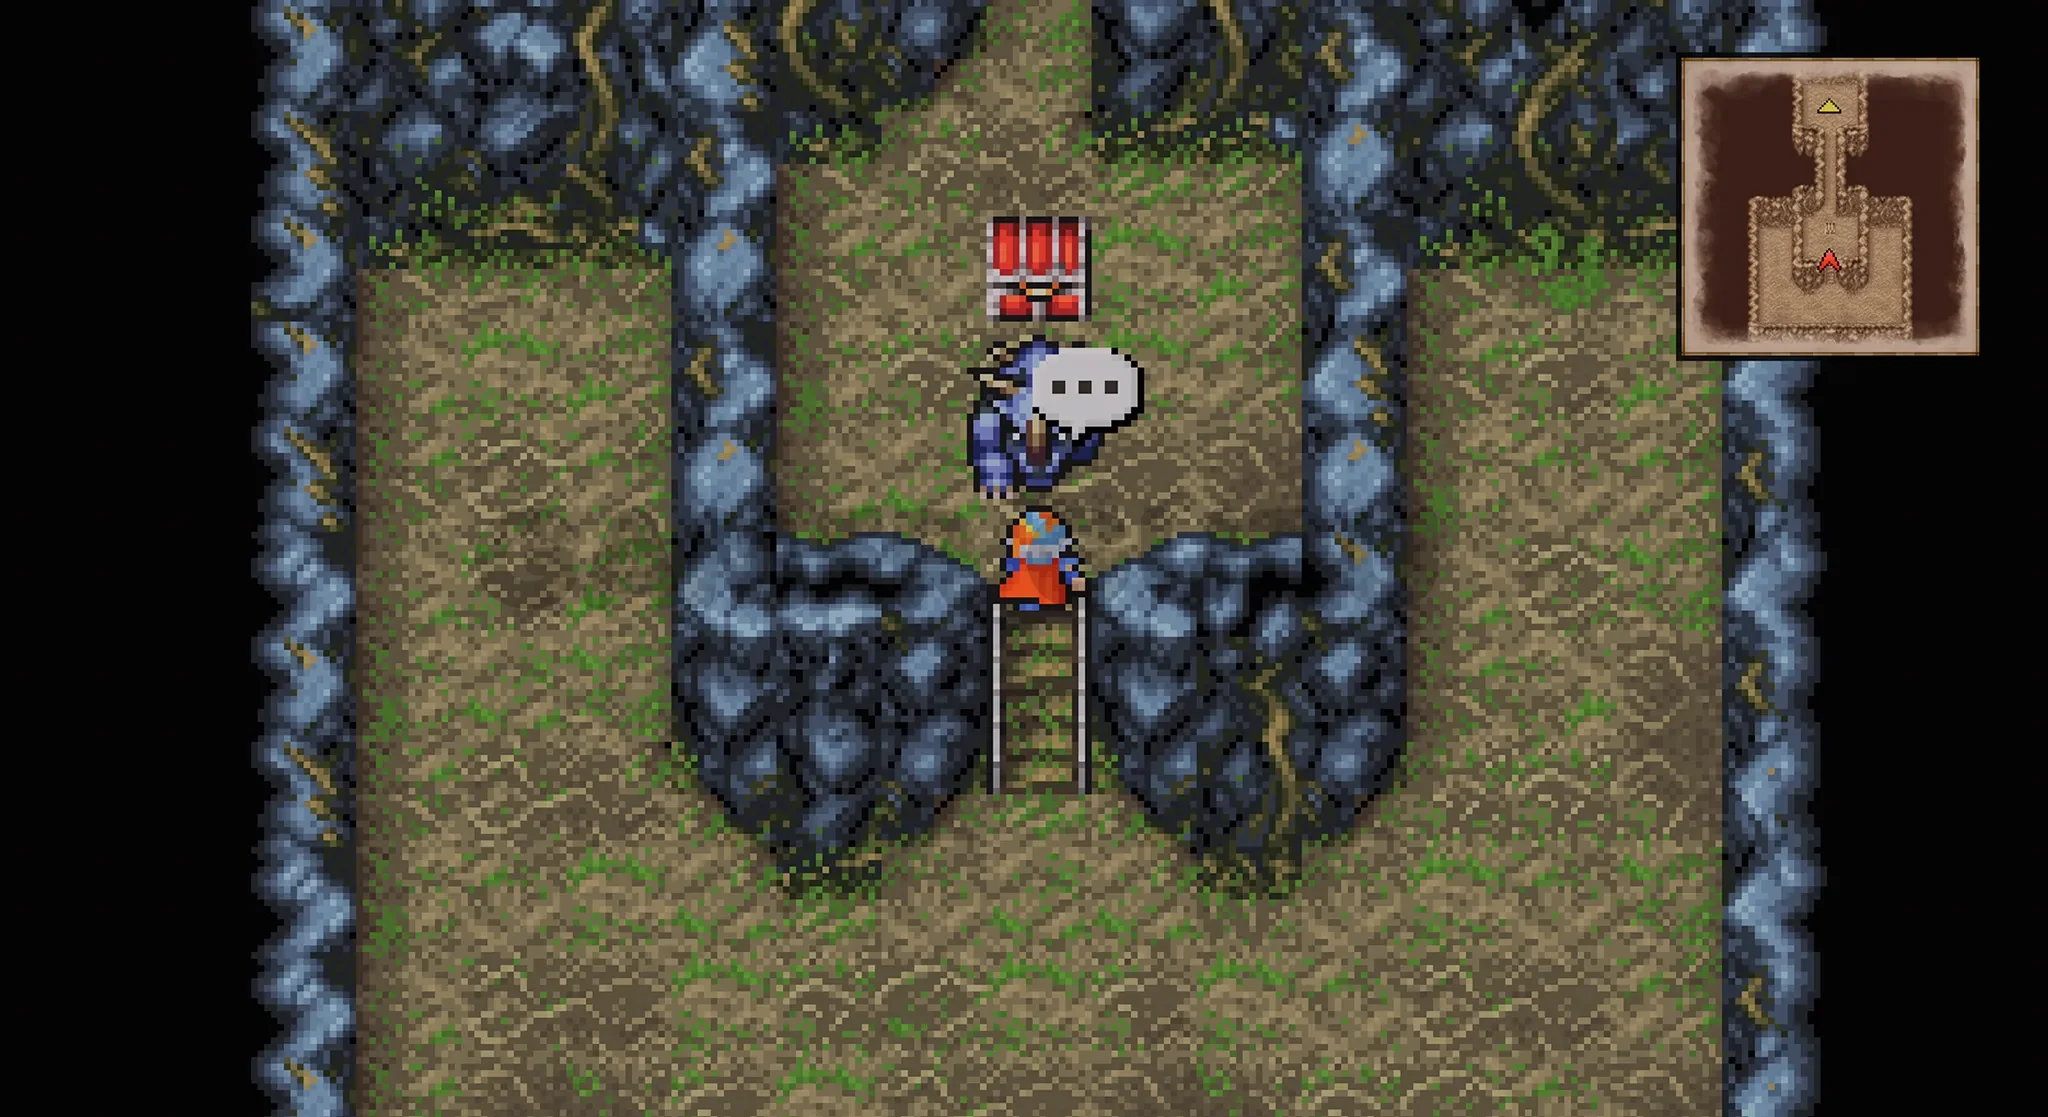
Go up the stairs marked “next” in the image above to reach B4.
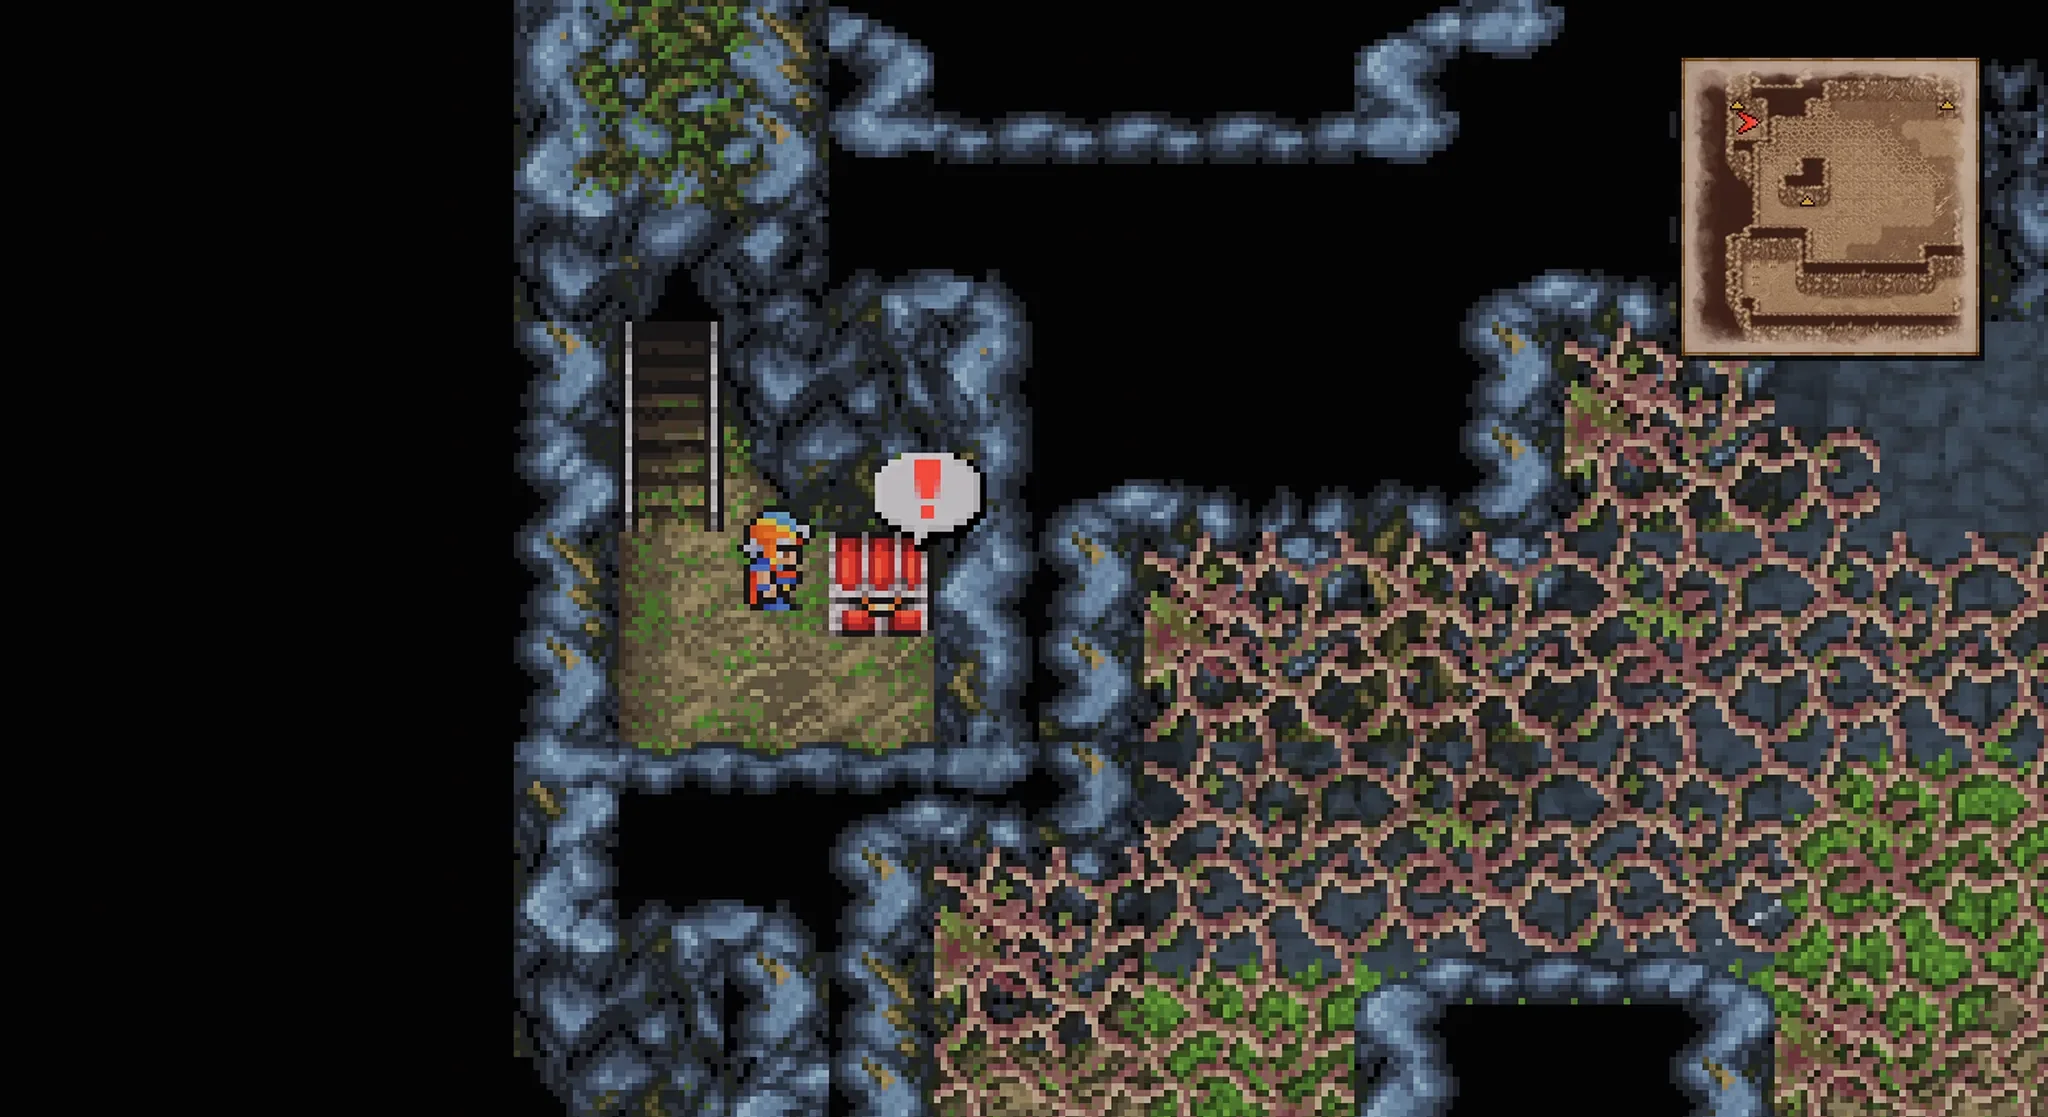
Before doing anything else in B4, go down the stairs directly below where you just entered the room, this will lead you to the Phoenix Down chest back in B3 (be careful it will be an ambush).
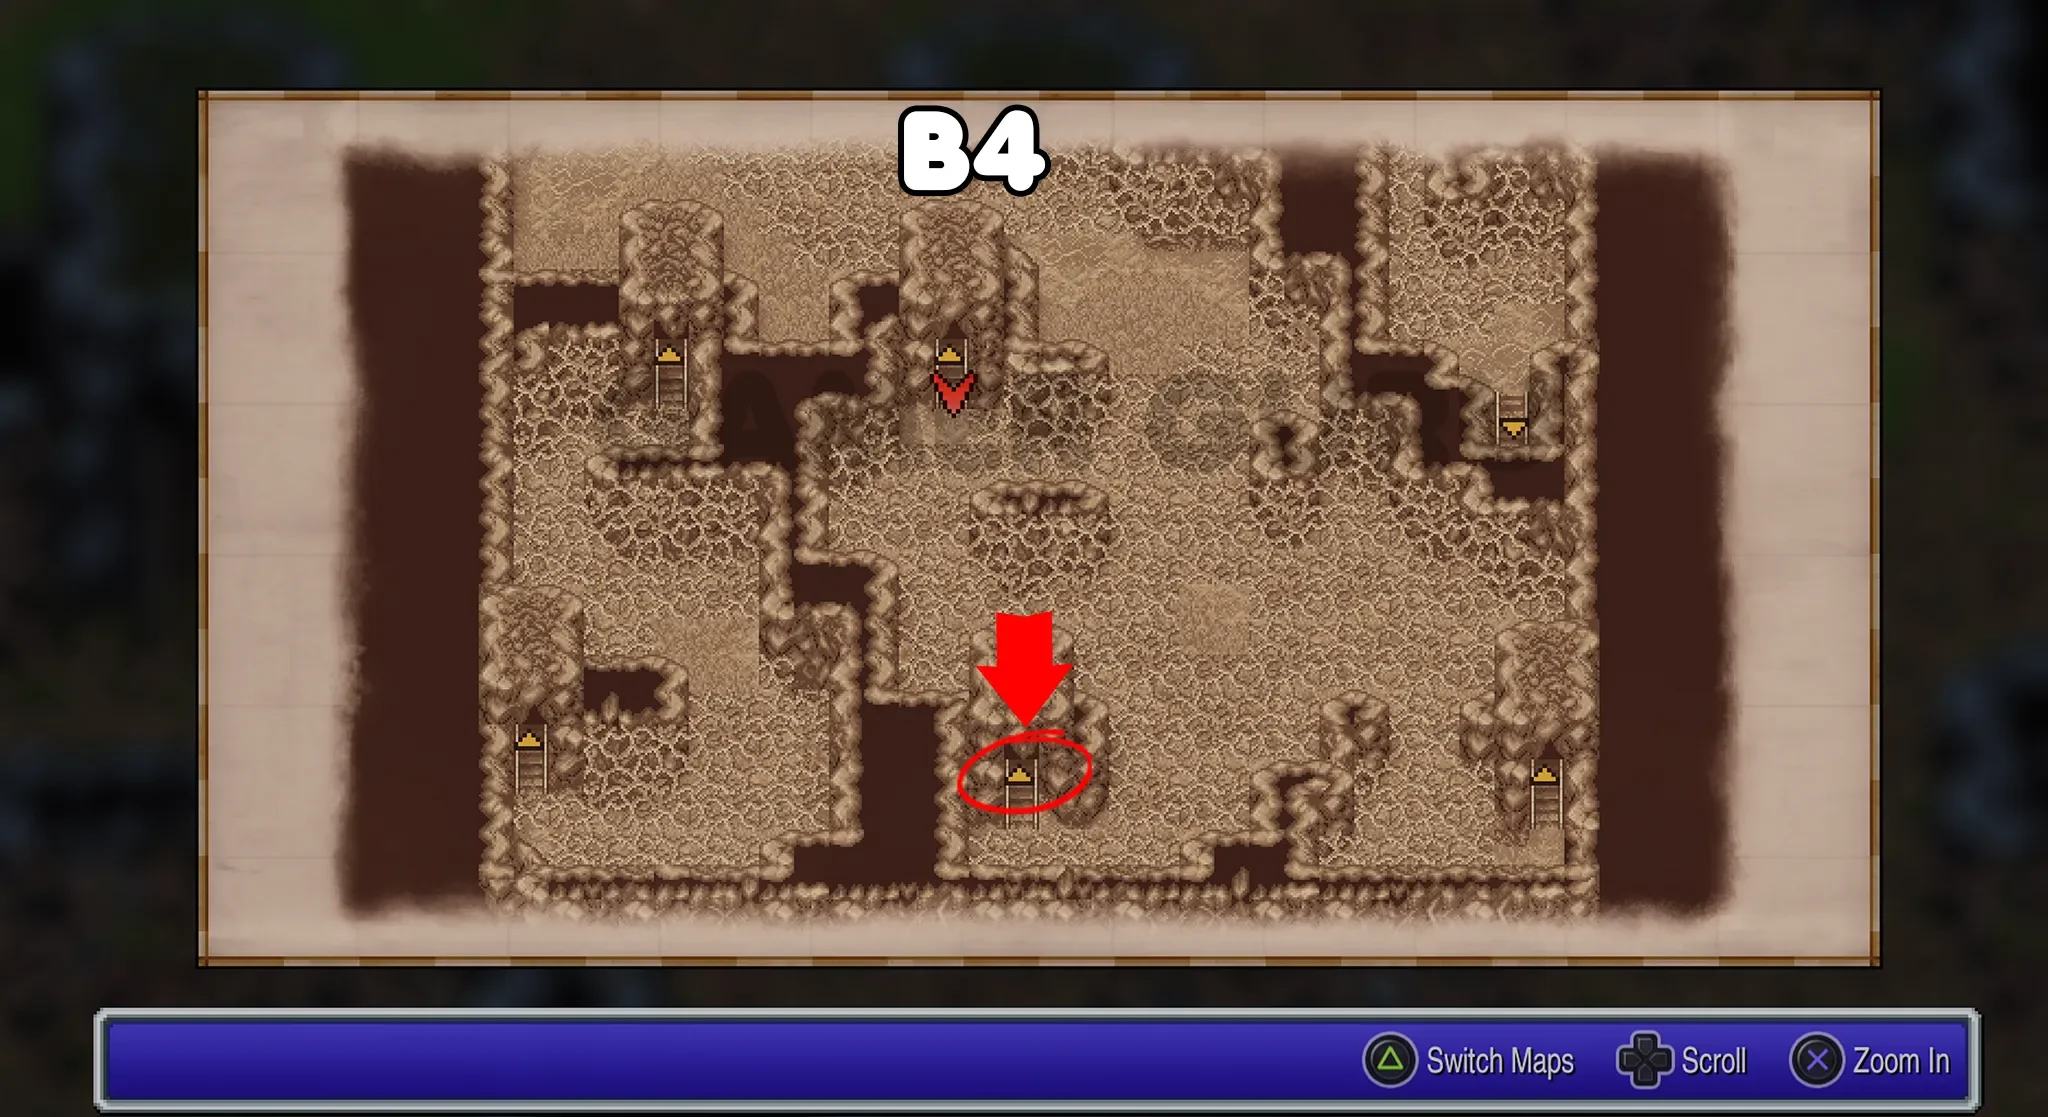
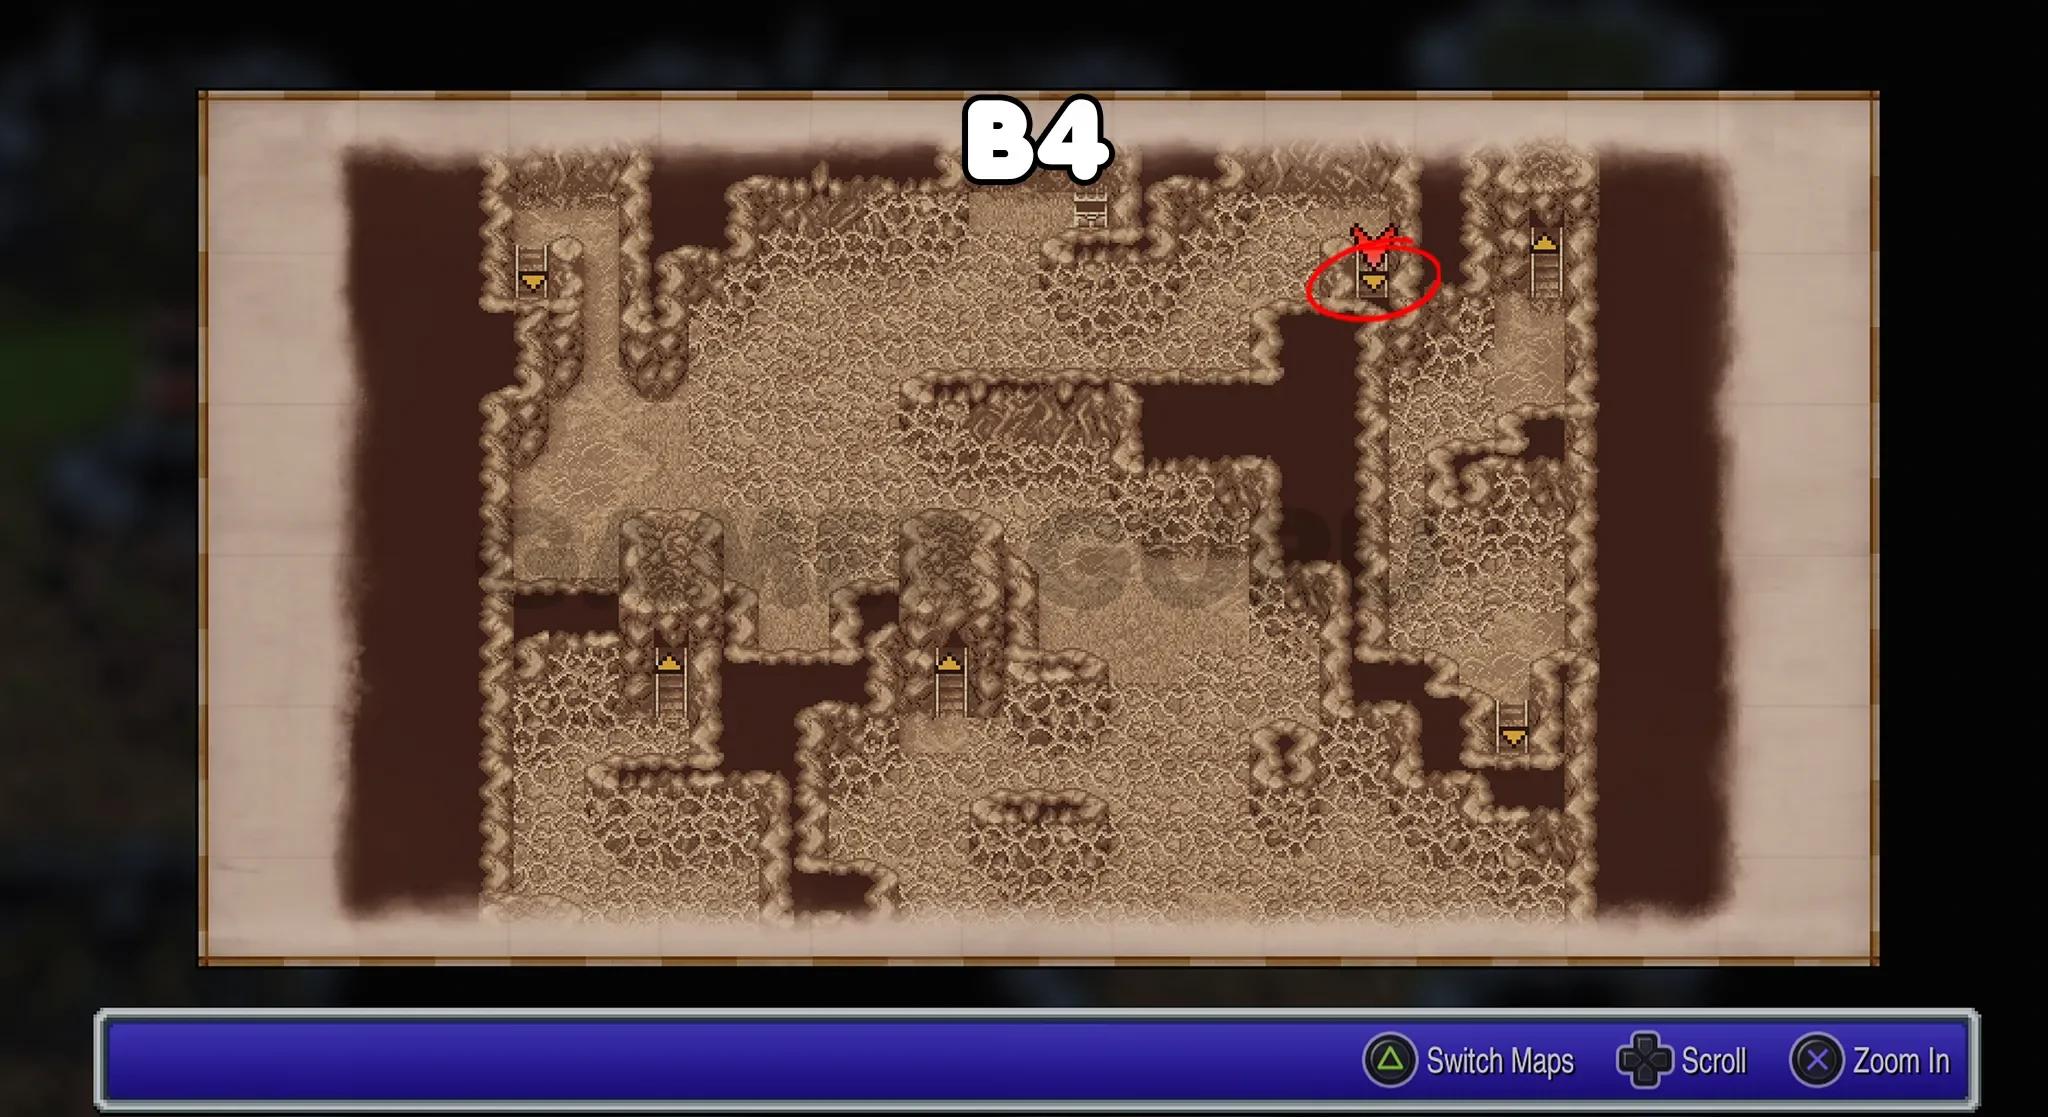
B4
After opening the chest, return back up the stairs to B4.
B4 only has 1 chest, at the very top of the room and it contains 1000 Gil.
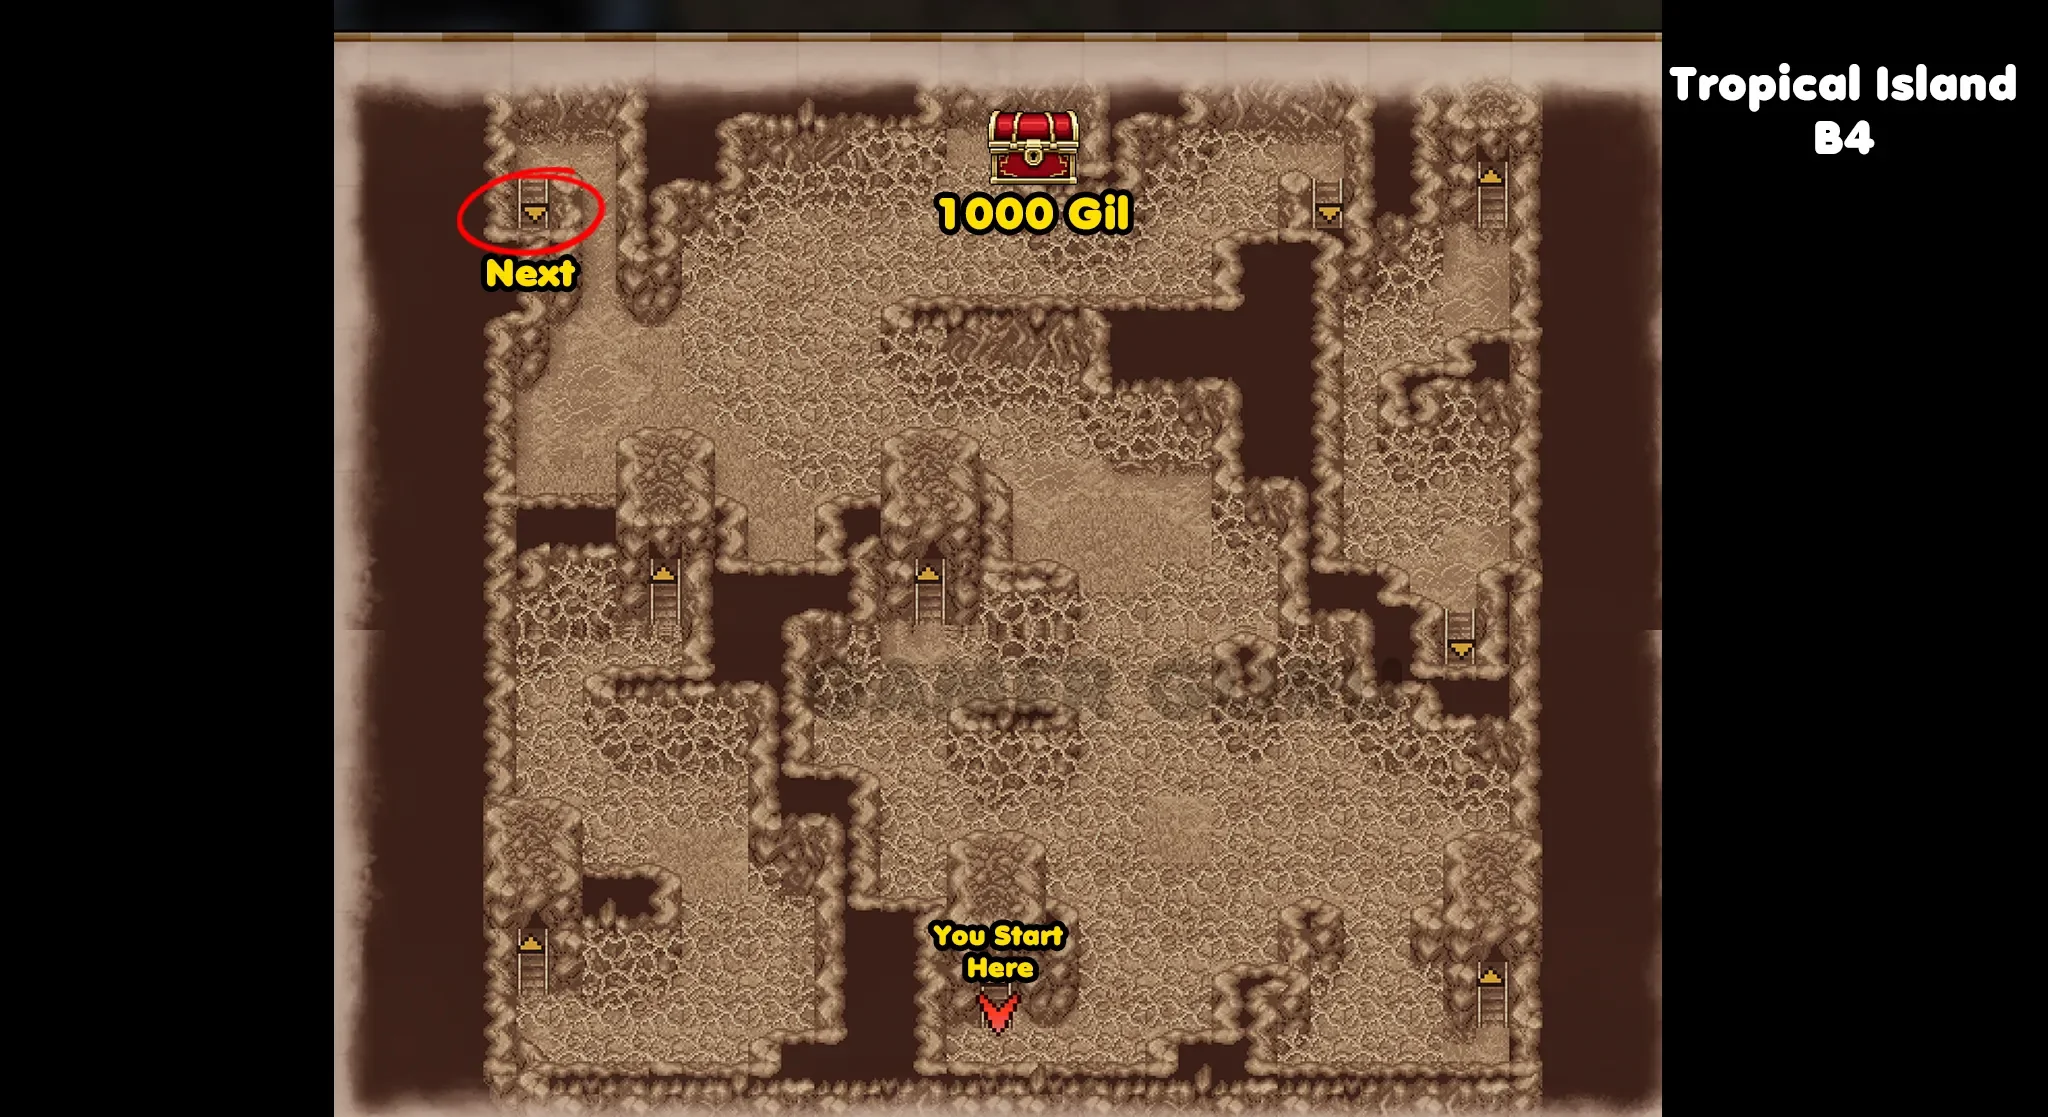
Once you have opened it, take the stairs at the top left side of the room to reach a small closed off area of B5 that is going to have a chest containing a Death Idol.
Return back up to B4, this time take the stairs that are all the way at the bottom right, this will lead to a series of linear sections that will take you to the bottom area of B5 where we will find 3 more chests, these 3 chest contain x2 Sleepgrass and 1 Gaia Drum (the one at the top left of the 3 is an ambush) .
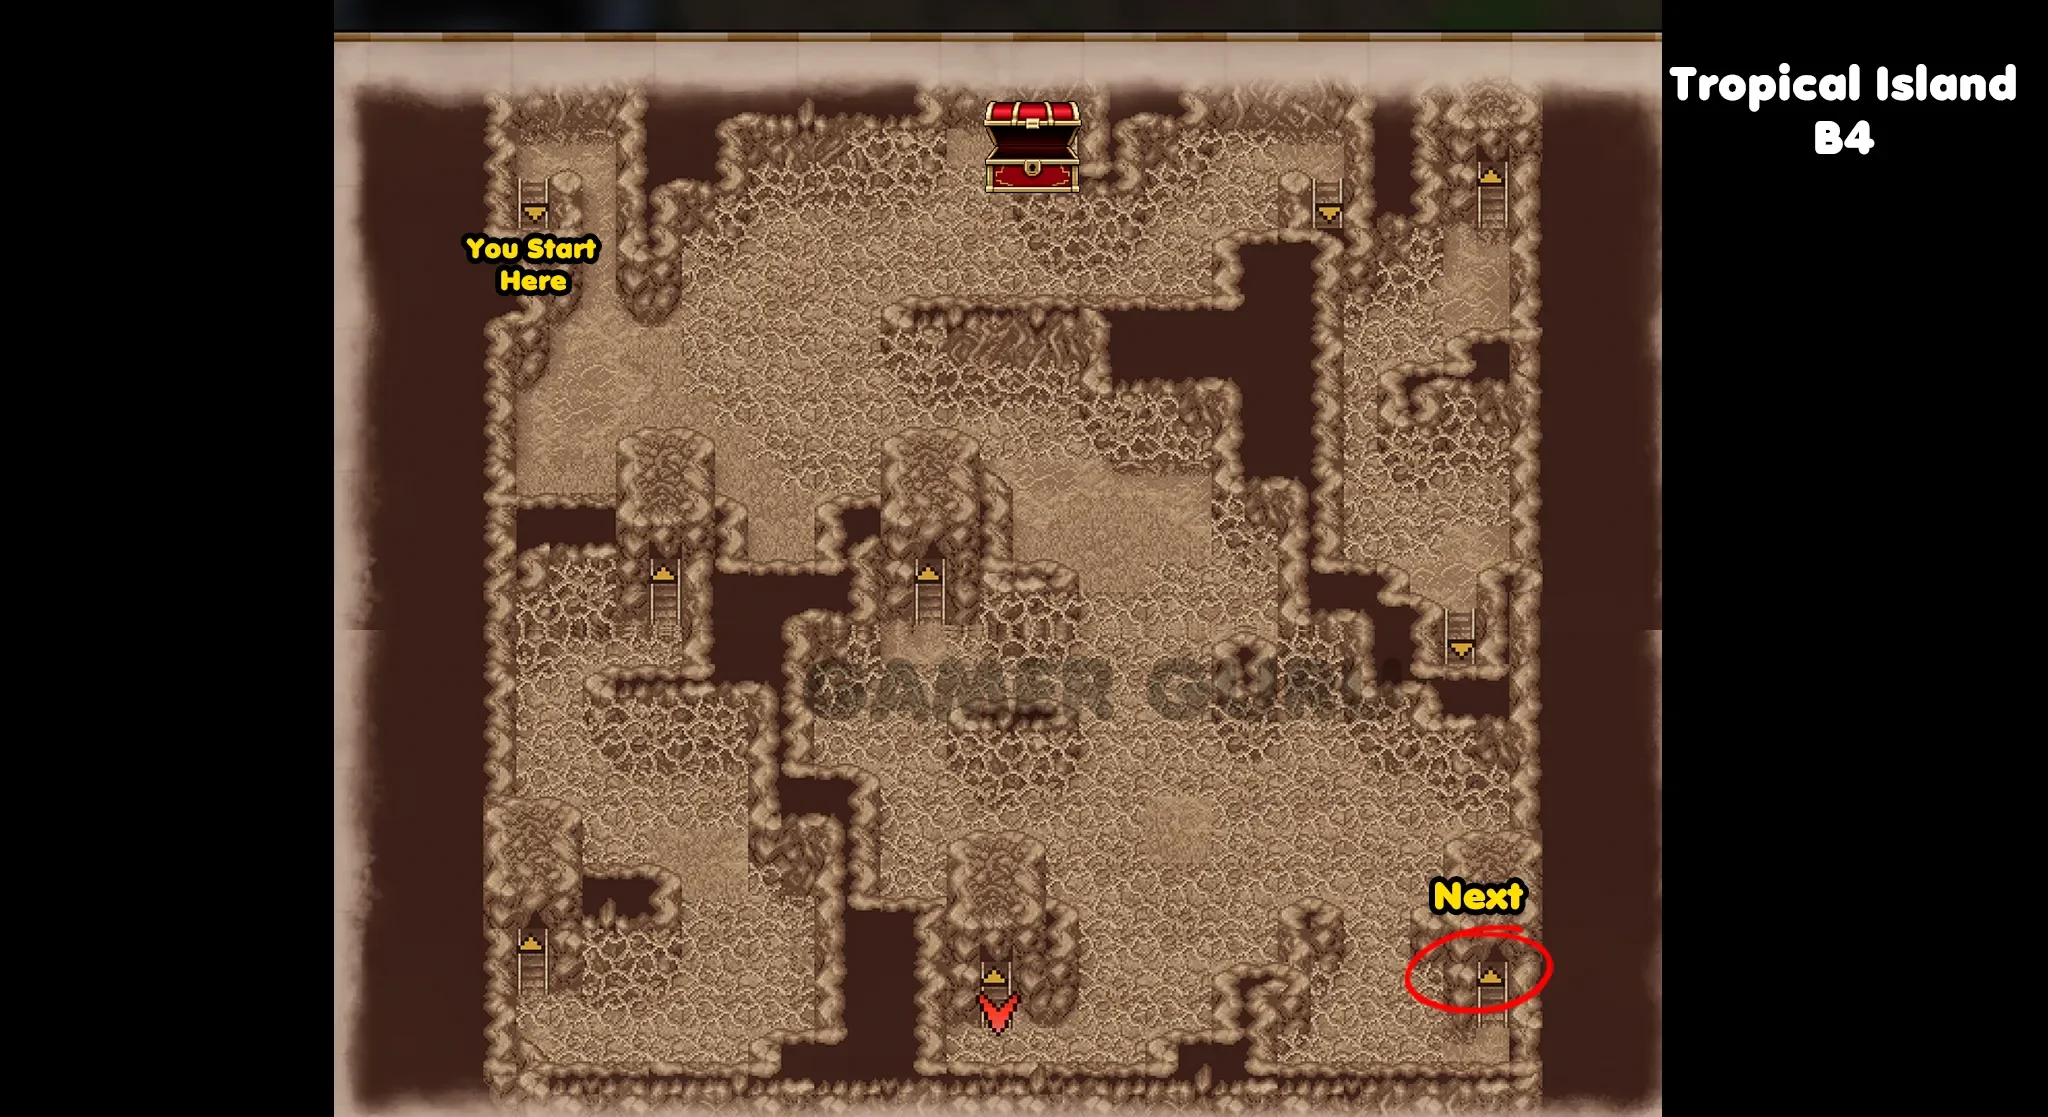
After opening all 3 chests, return back up to B4 one more time.
This time take the stairs near the top right of B4 to reach the main central part of B5.
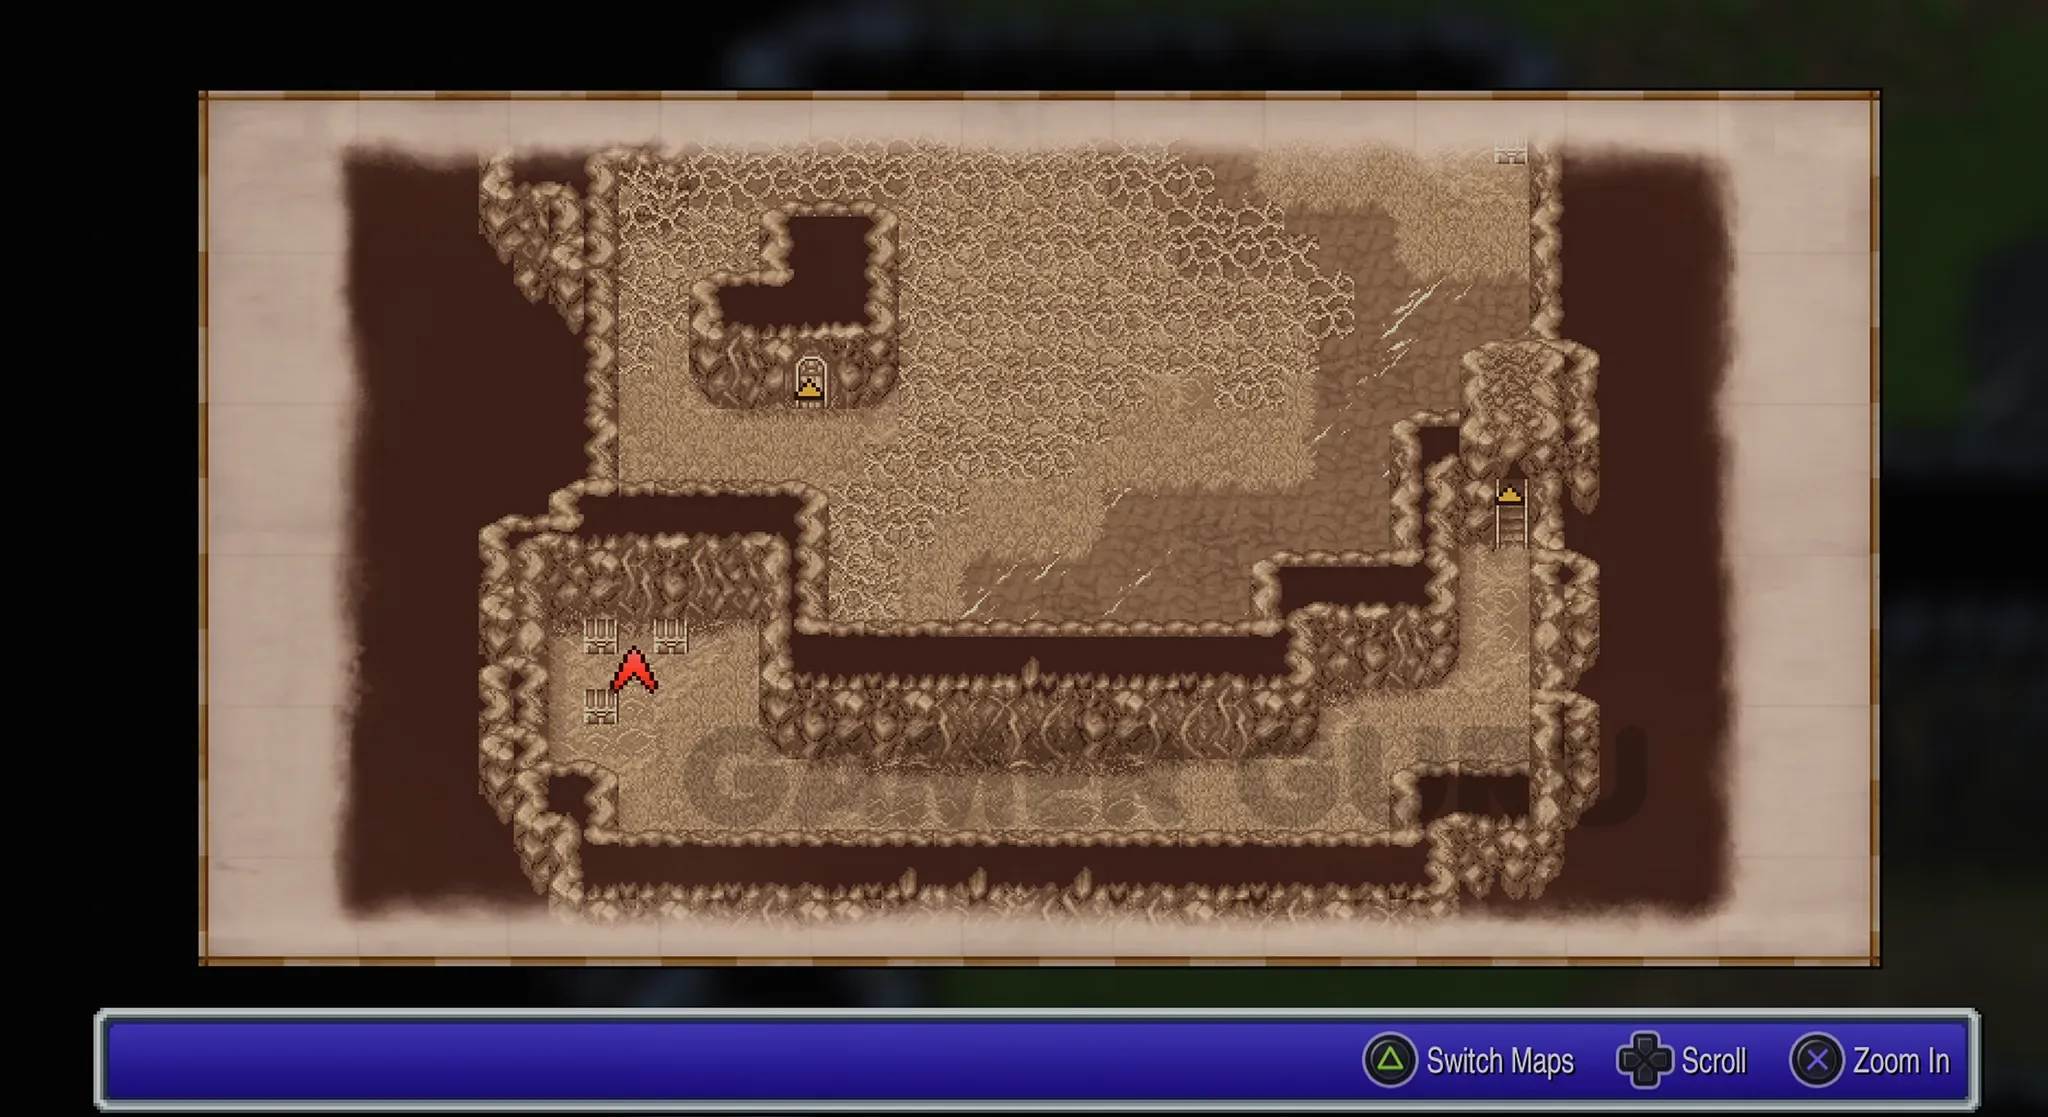
B5
Here there is only going to be 1 chest, and its directly to the right of where you arrive to this floor.
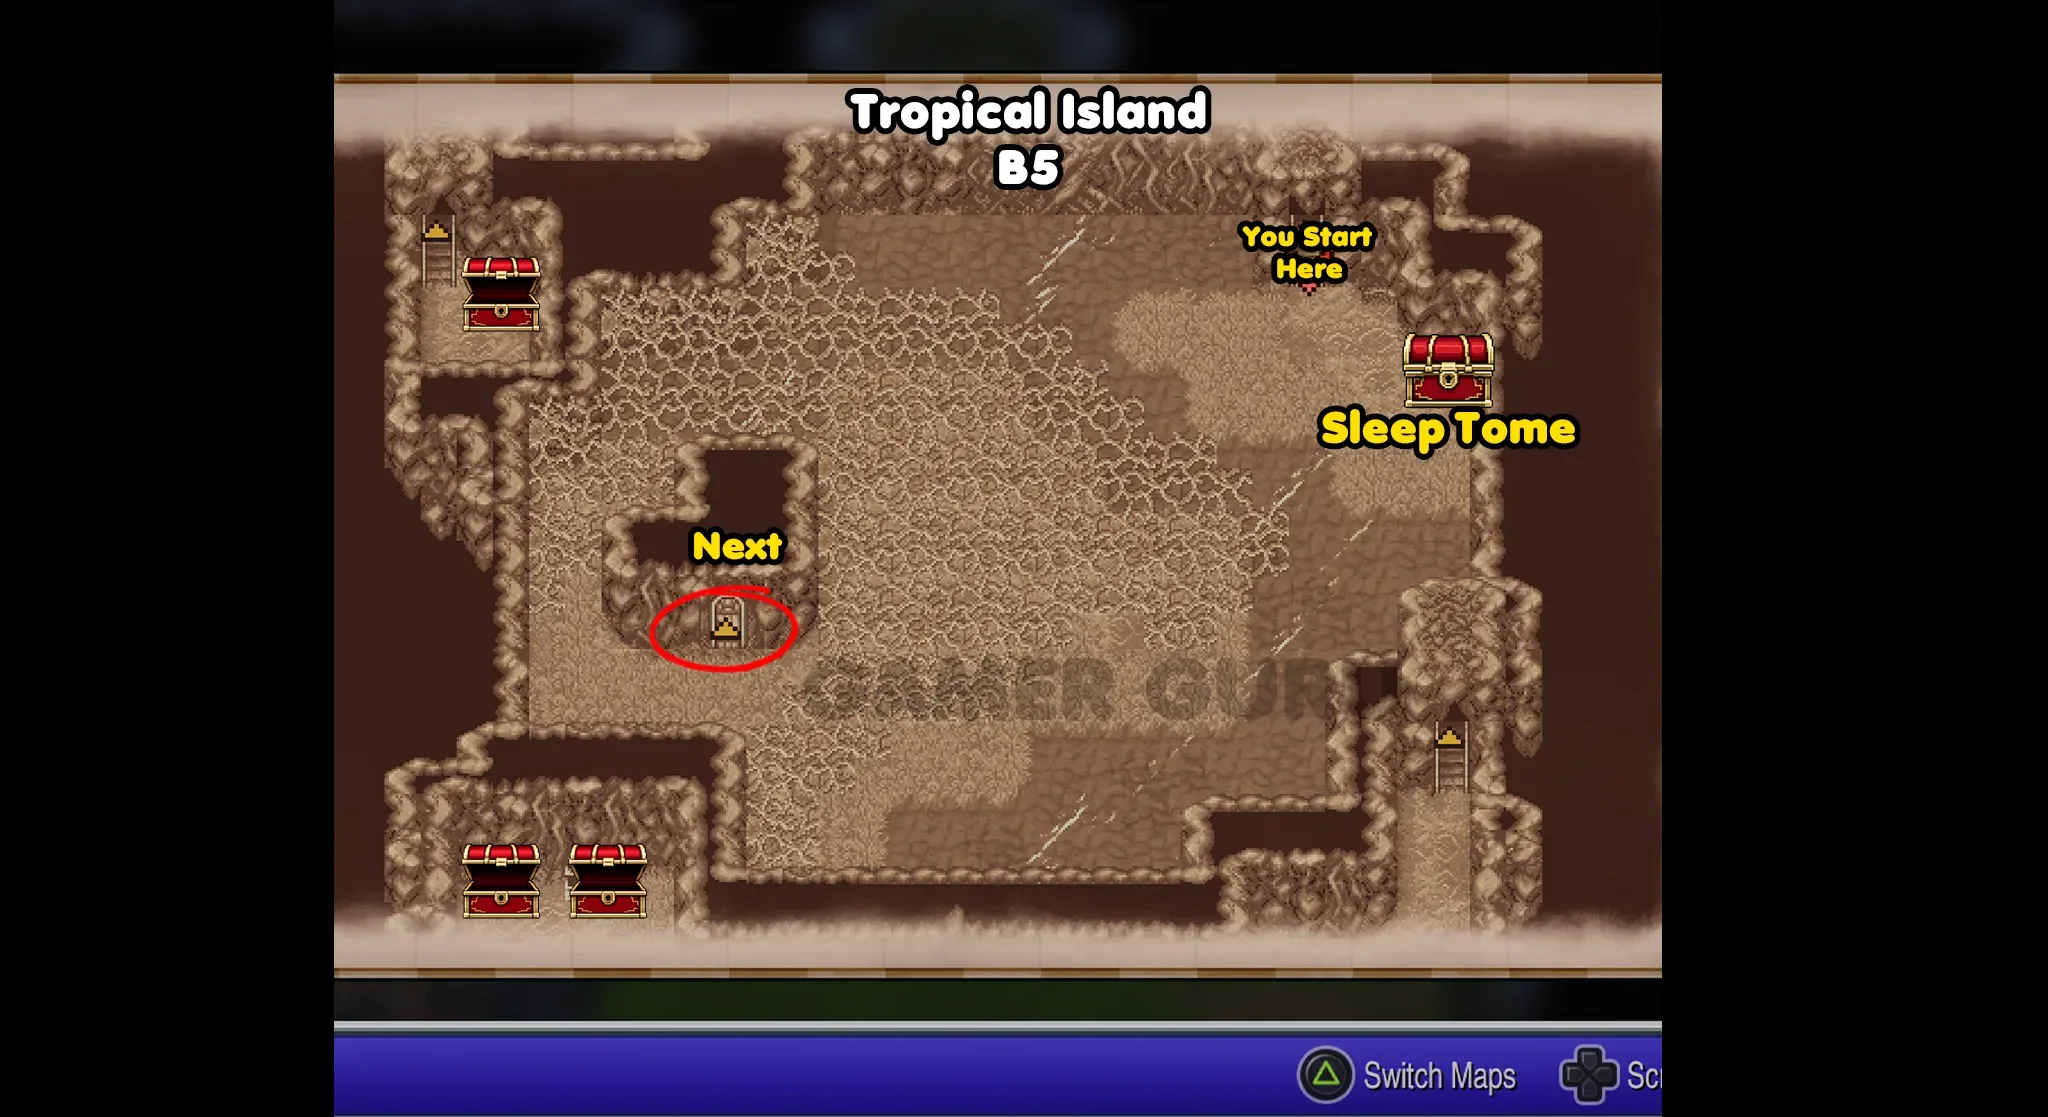
The chest contains a Sleep Tome.
Once you have opened it, continue through the door on the left side of the room to reach the Boss Room.
The “Boss” is just x4 Big Horns, so it shouldn’t be any trouble at this stage of the game as long as you haven’t been running from too many fights.
After defeating the boss, open the chest it was guarding to get the Black Mask we needed for the main story.

You should now have all 20 chests for the Tropical Island dungeon, double check on the menu before leaving the area just to make sure you didn’t miss any.
When you’re ready, go up from where you got the Black Mask to find a teleport tile, stand on it to exit the dungeon.
Our next objective is going to be getting the Crystal Rod from the Cave of Mysidia.