
Final Fantasy 2 Pixel Remaster 100% Walkthrough - Semitt Falls

This part of the Walkthrough will cover our journey to and through the Semitt Falls Dungeon!
Before departing for the Semitt Falls Dungeon I highly recommend having learnt at least one offensive Spell, as the Boss at the end of the dungeon has high physical defense so it will be a lot easier if you have magic to damage him.
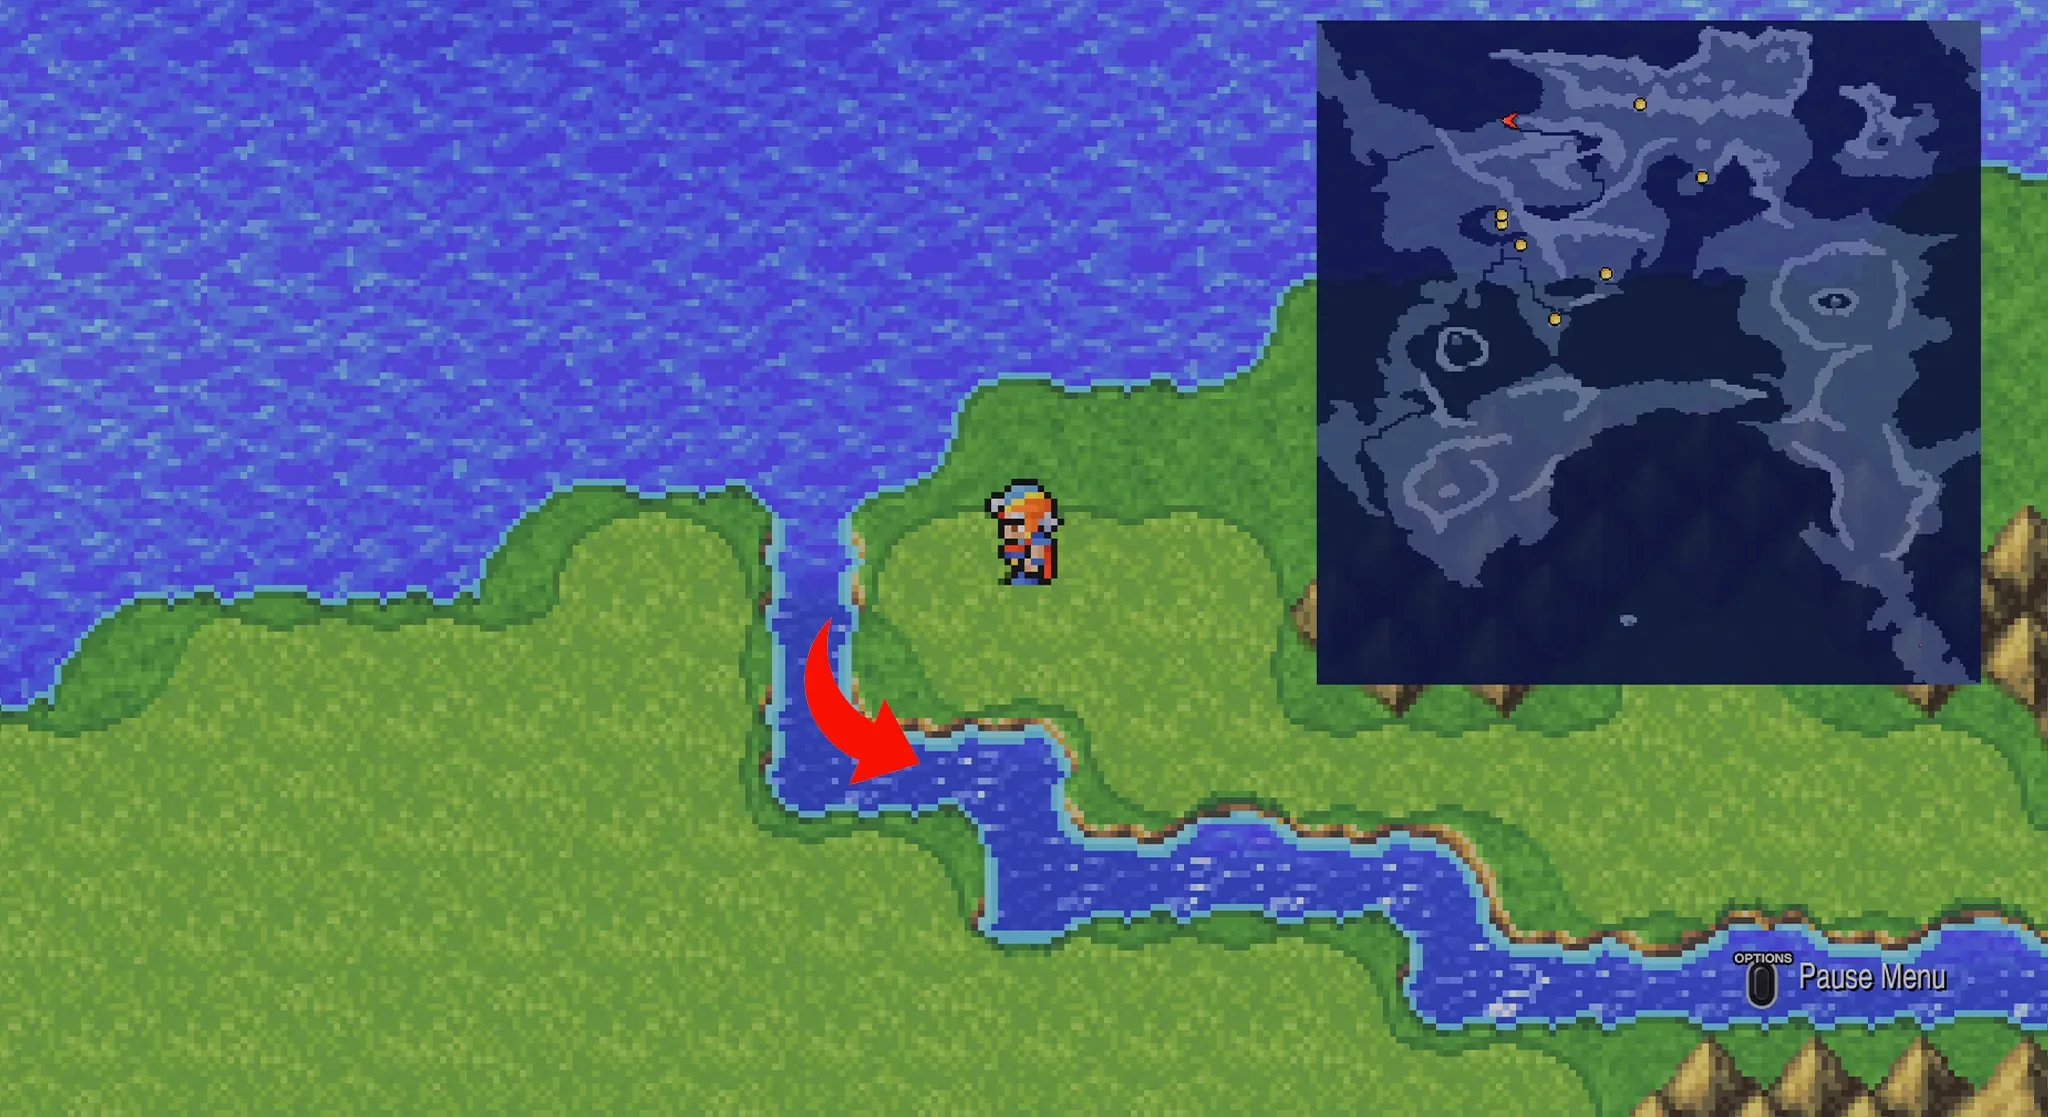
Once you are ready, parting from where we left off at the end of the previous part of the walkthrough, leaving Salamand, head directly to the west until you reach the sea.
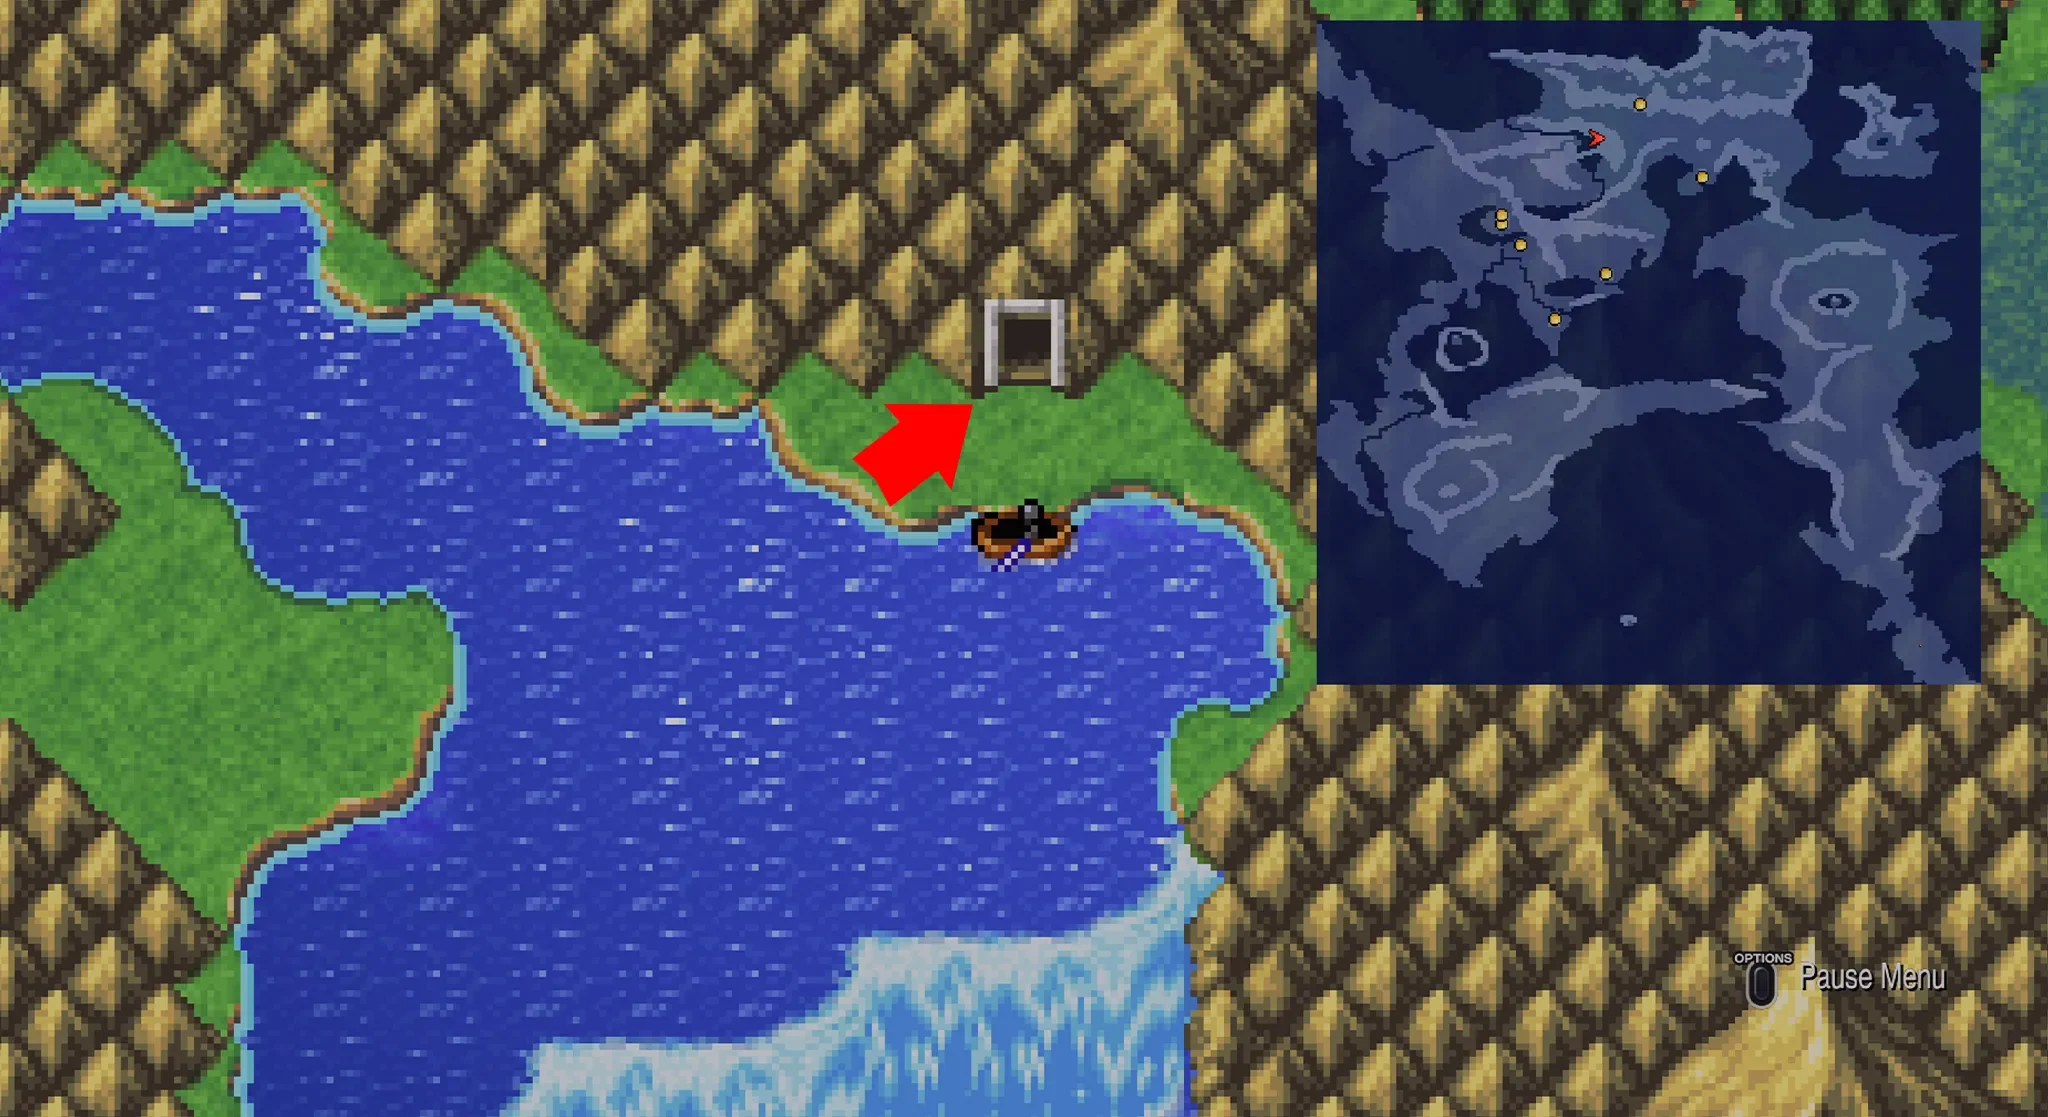
At the bottom part of the sea you should sea a river that leads east, take this river using the canoe and you will reach Semitt Falls shortly after.
Inside Semitt Falls there are a total of 11 treasure chests, however during this visit we will only be able to get 10 of them as one is behind a secret passage we won’t be able to open until later on in the game.
B1
Starting on B1 of this dungeon, there are 2 chests we can get on this floor, their exact locations can be seen in the image below, I will make one of these images showing the layout with the chest locations at the start of each floor to make it easier to get all chests.
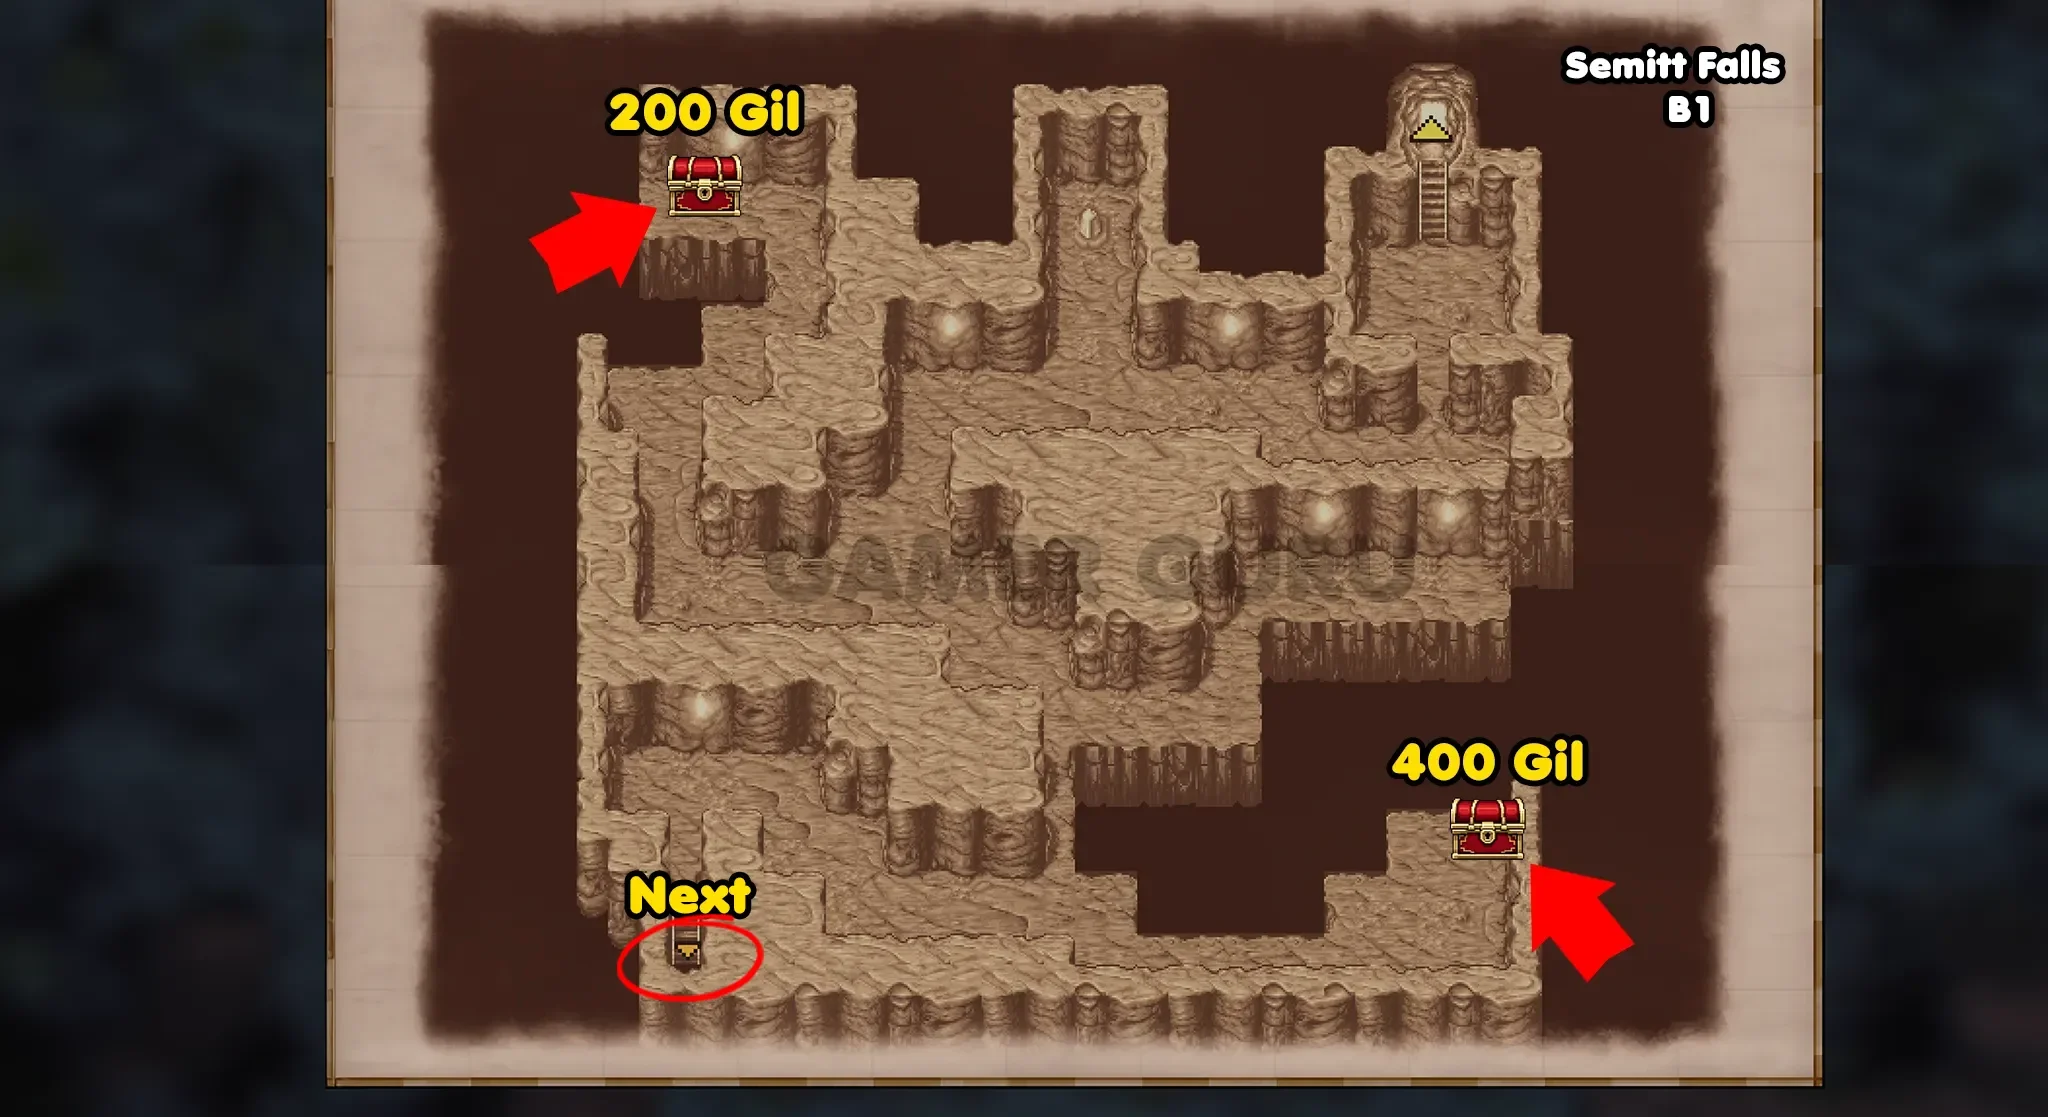
Both chests on this floor contain Gil.

Once you have opened both of the chests on this floor it is time to head down to B2 through the stairs at the south-west part of the room.
B2
In B2 of Semitt Falls there are 3 chests.
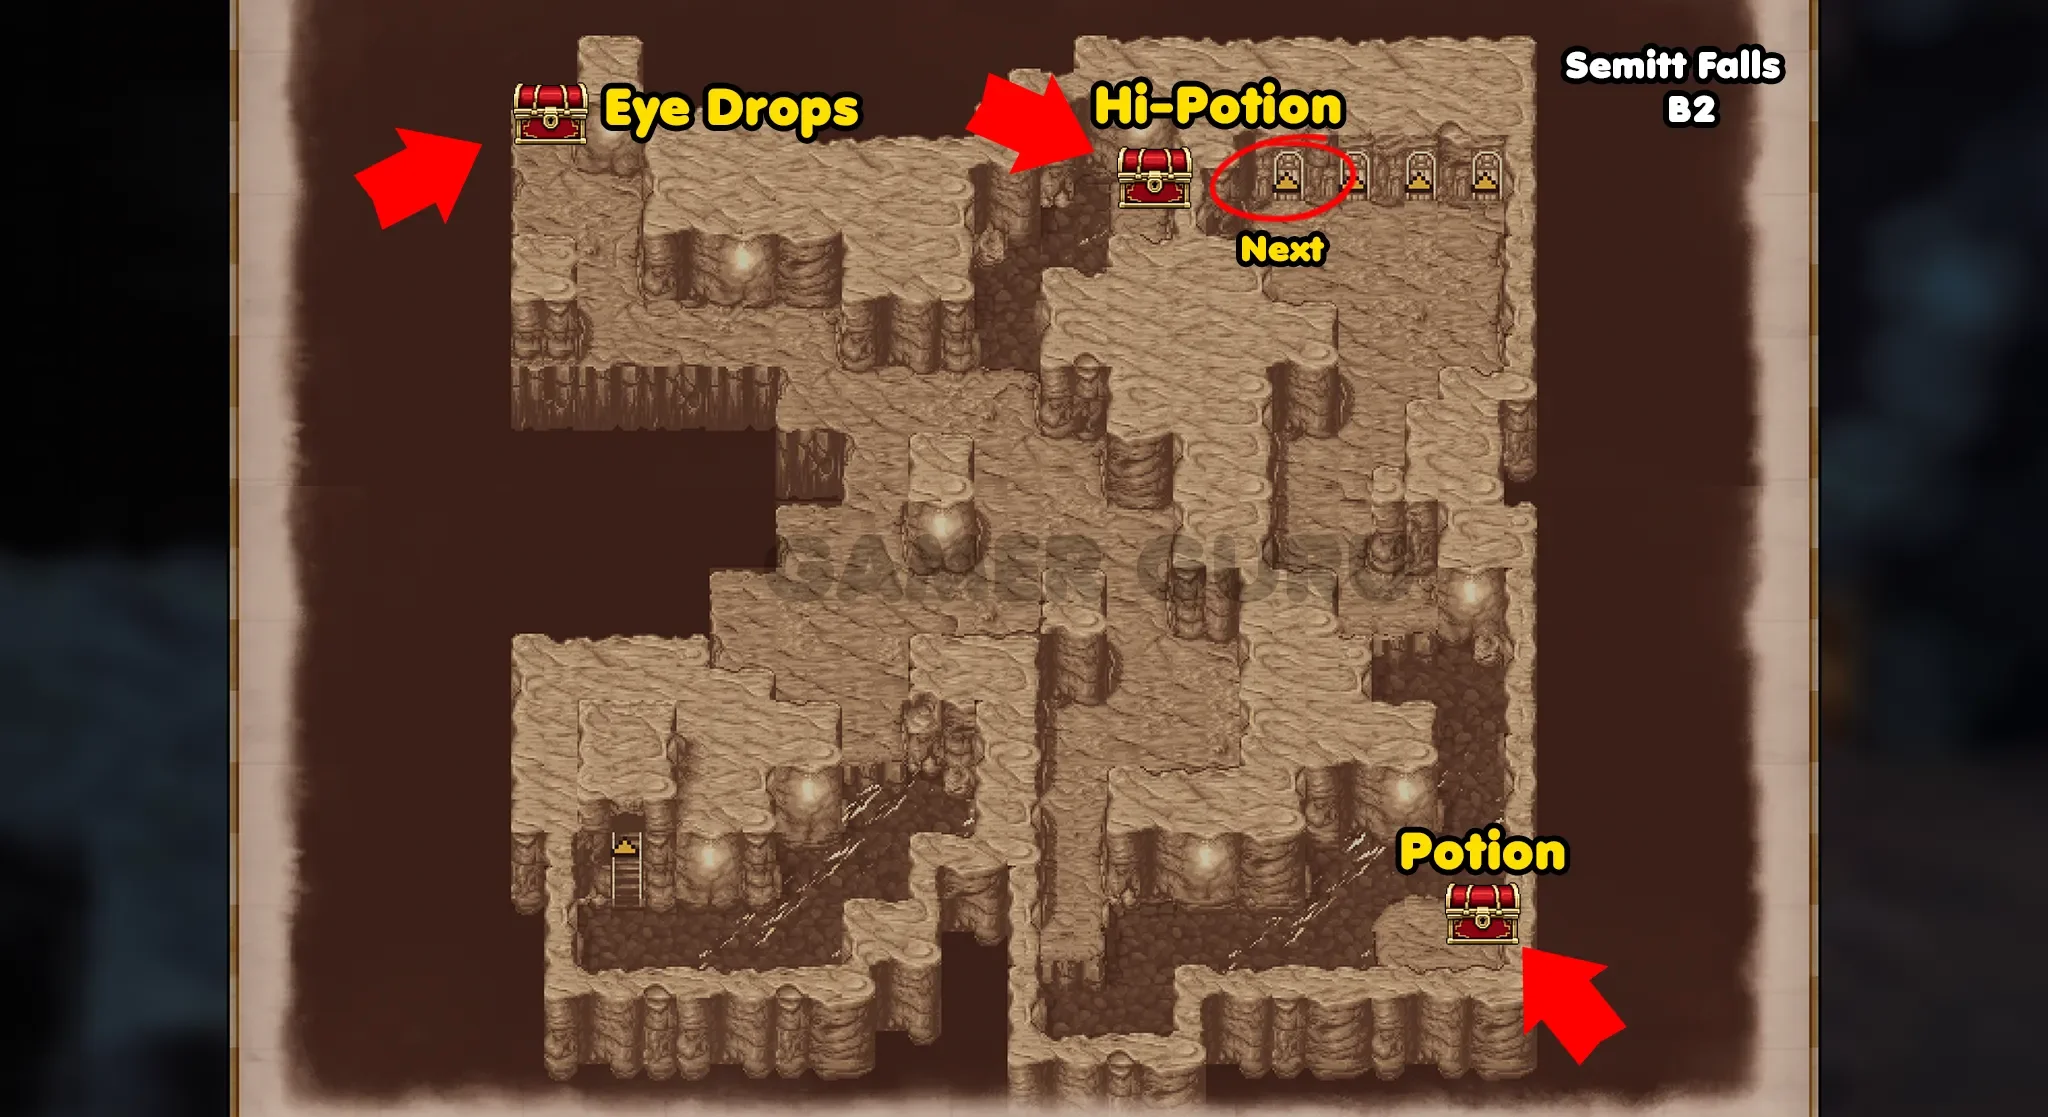
The bottom right chest contains a Potion, the top left one contains Eye Drops and the top middle chest has a Hi-Potion.
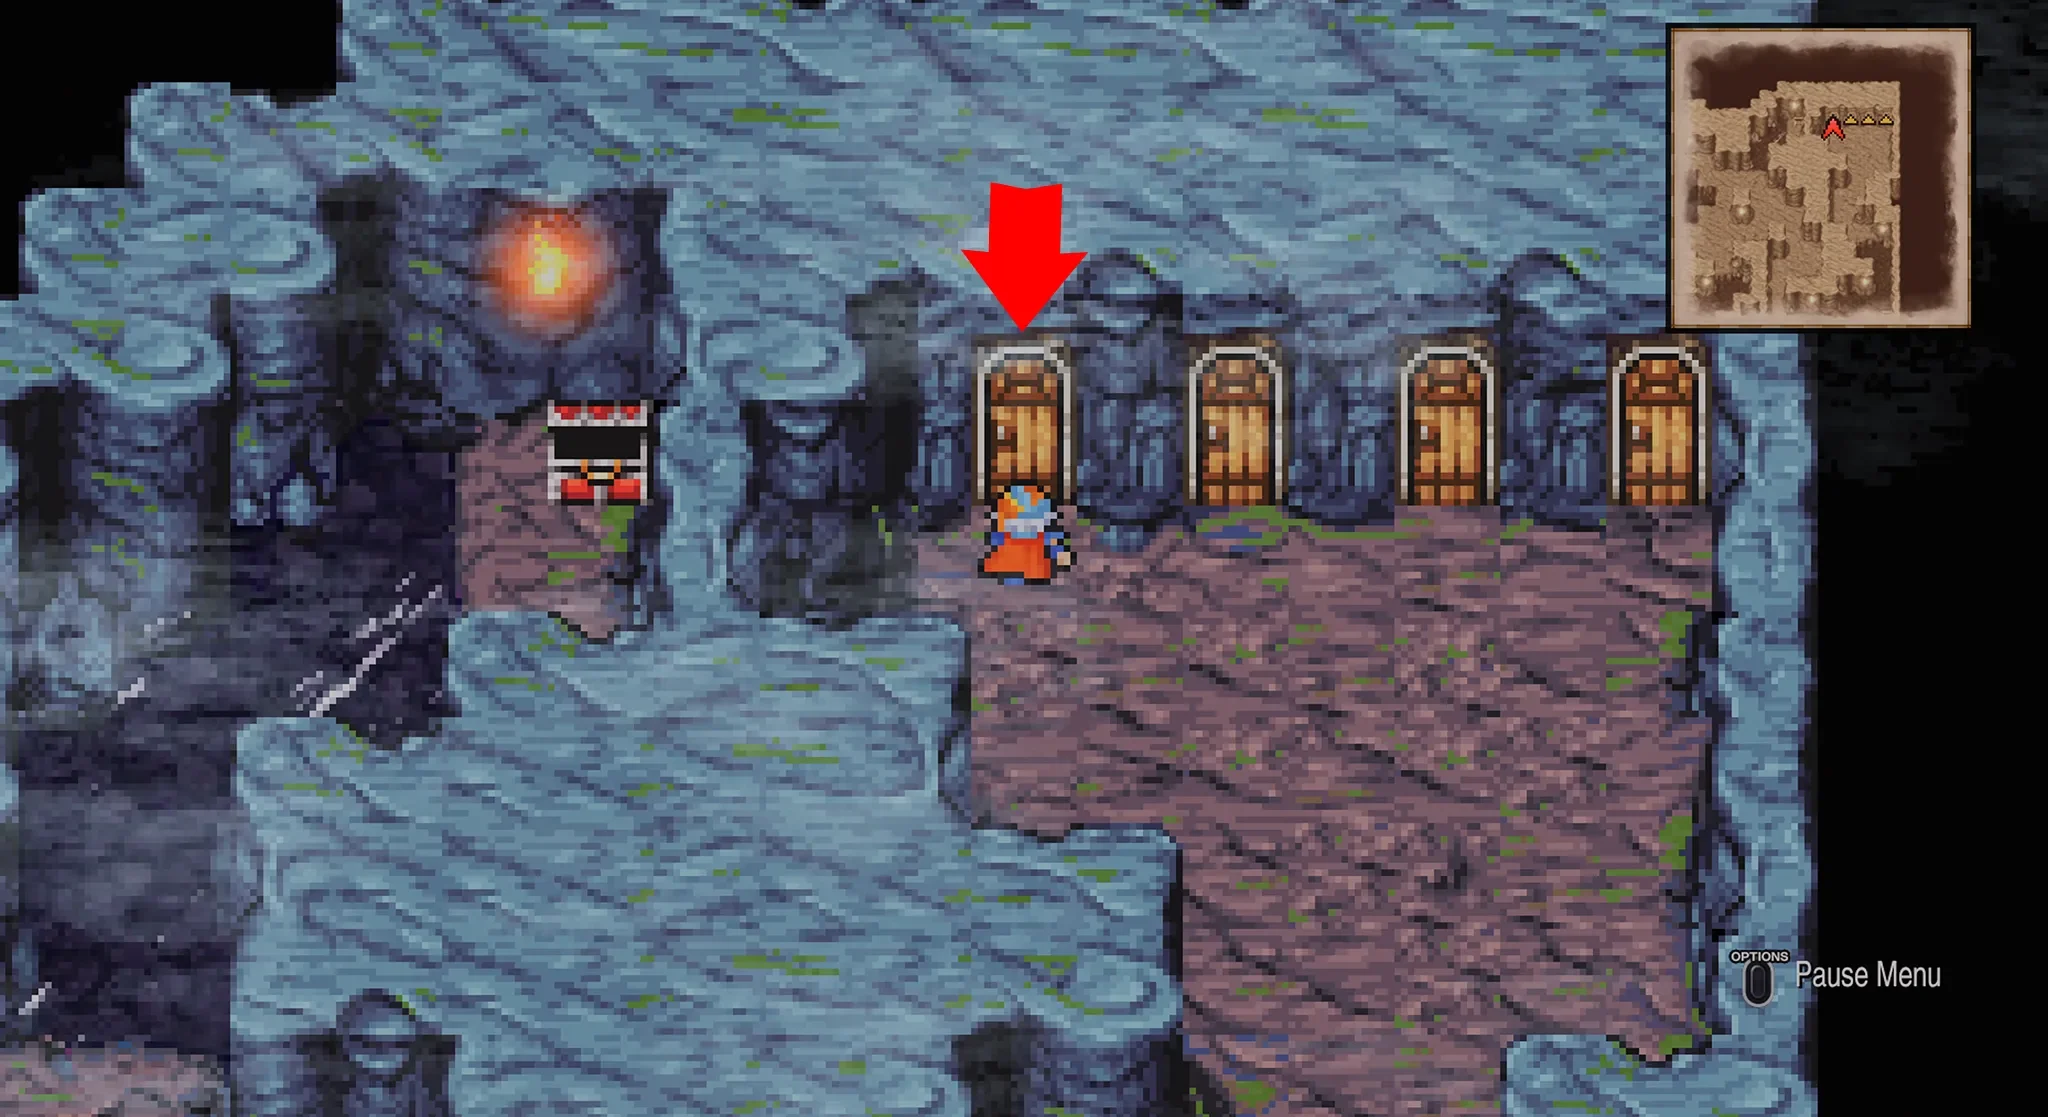
At the top right part of the room we will then find 4 doors, the 3 on the right are all empty rooms filled with enemies, so to go to the next room go through the door on the left.
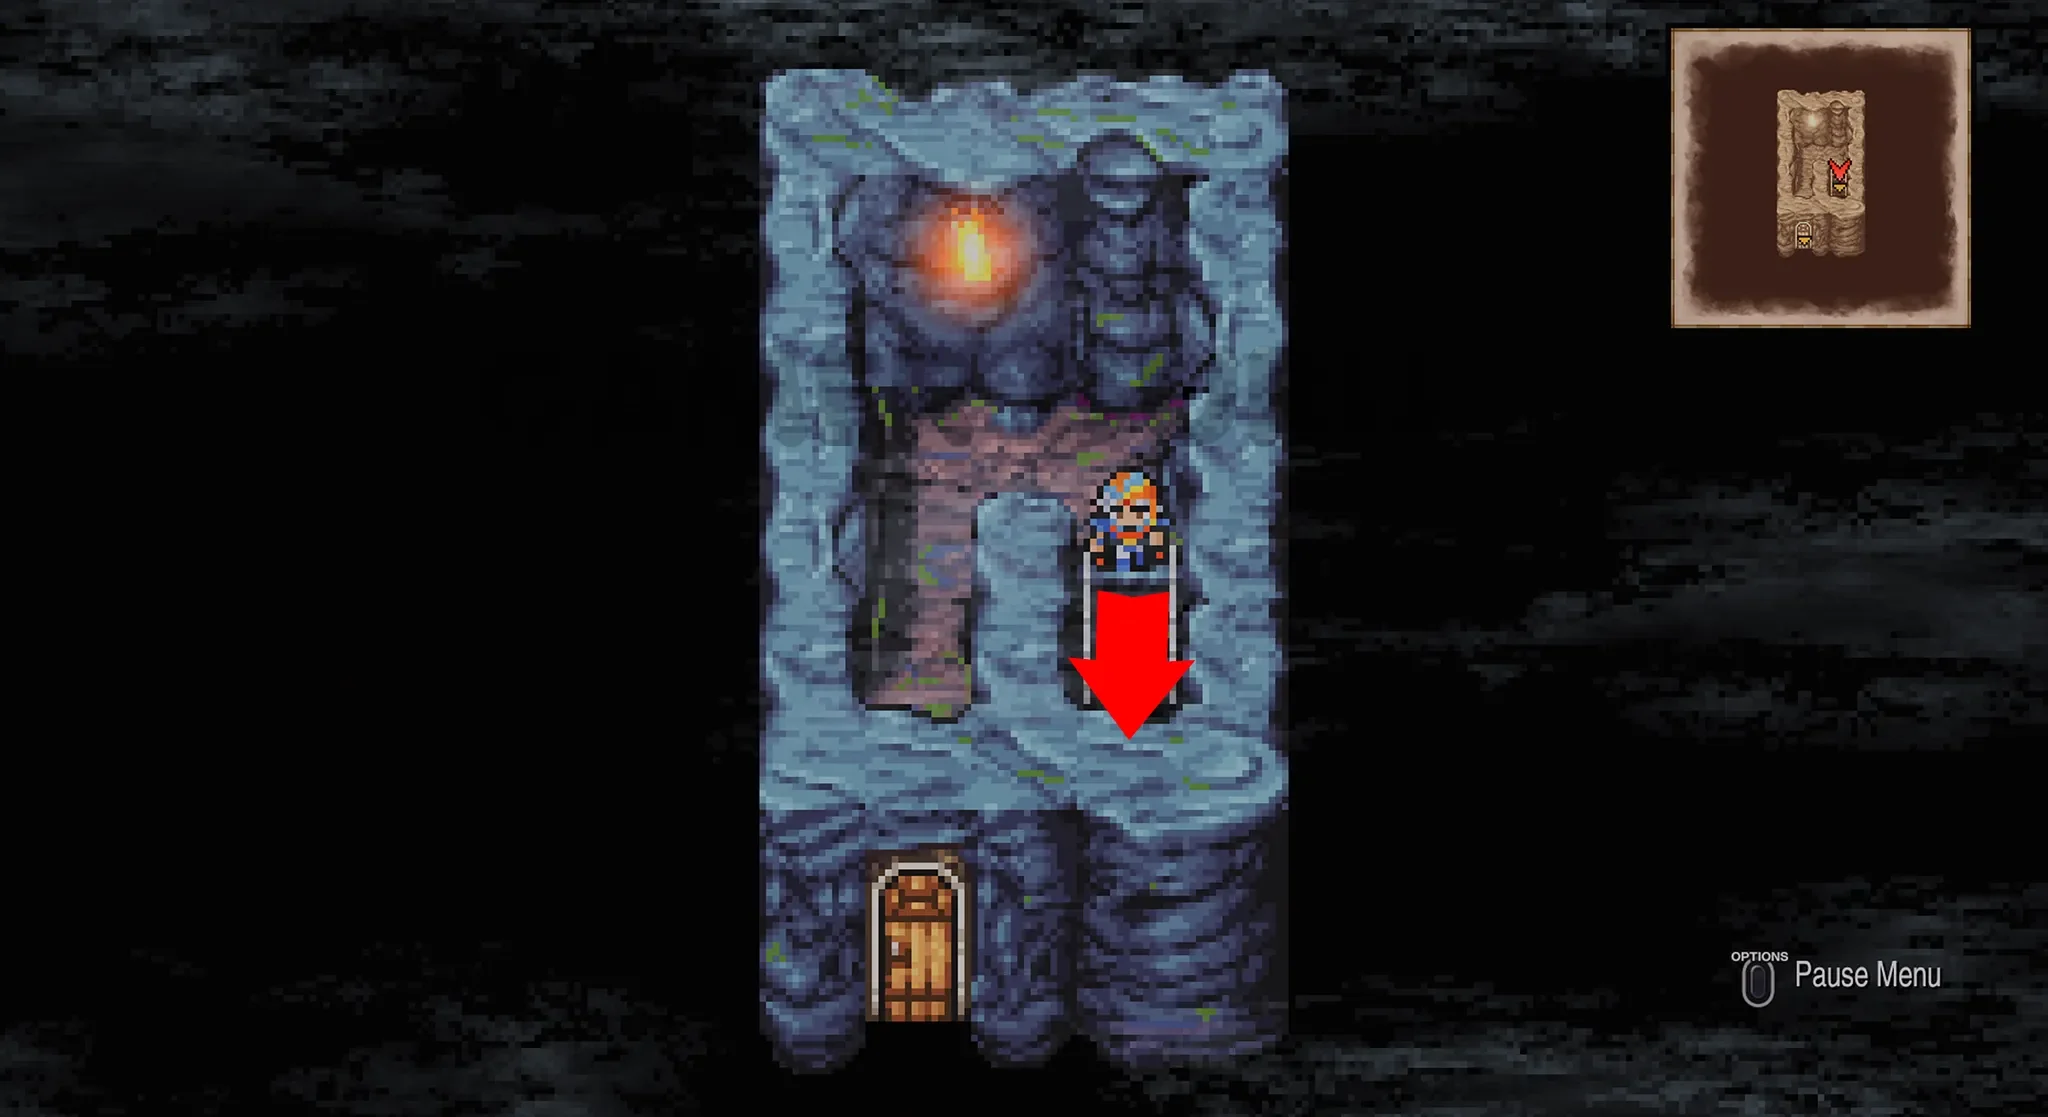
This will lead to a small connector room, go down the stairs to reach B3.
B3
There are 2 chests you need to get in B3, one is in the bottom right room, that contains 200 Gil, and the other is across the bridge on the left side that has 250 Gil.
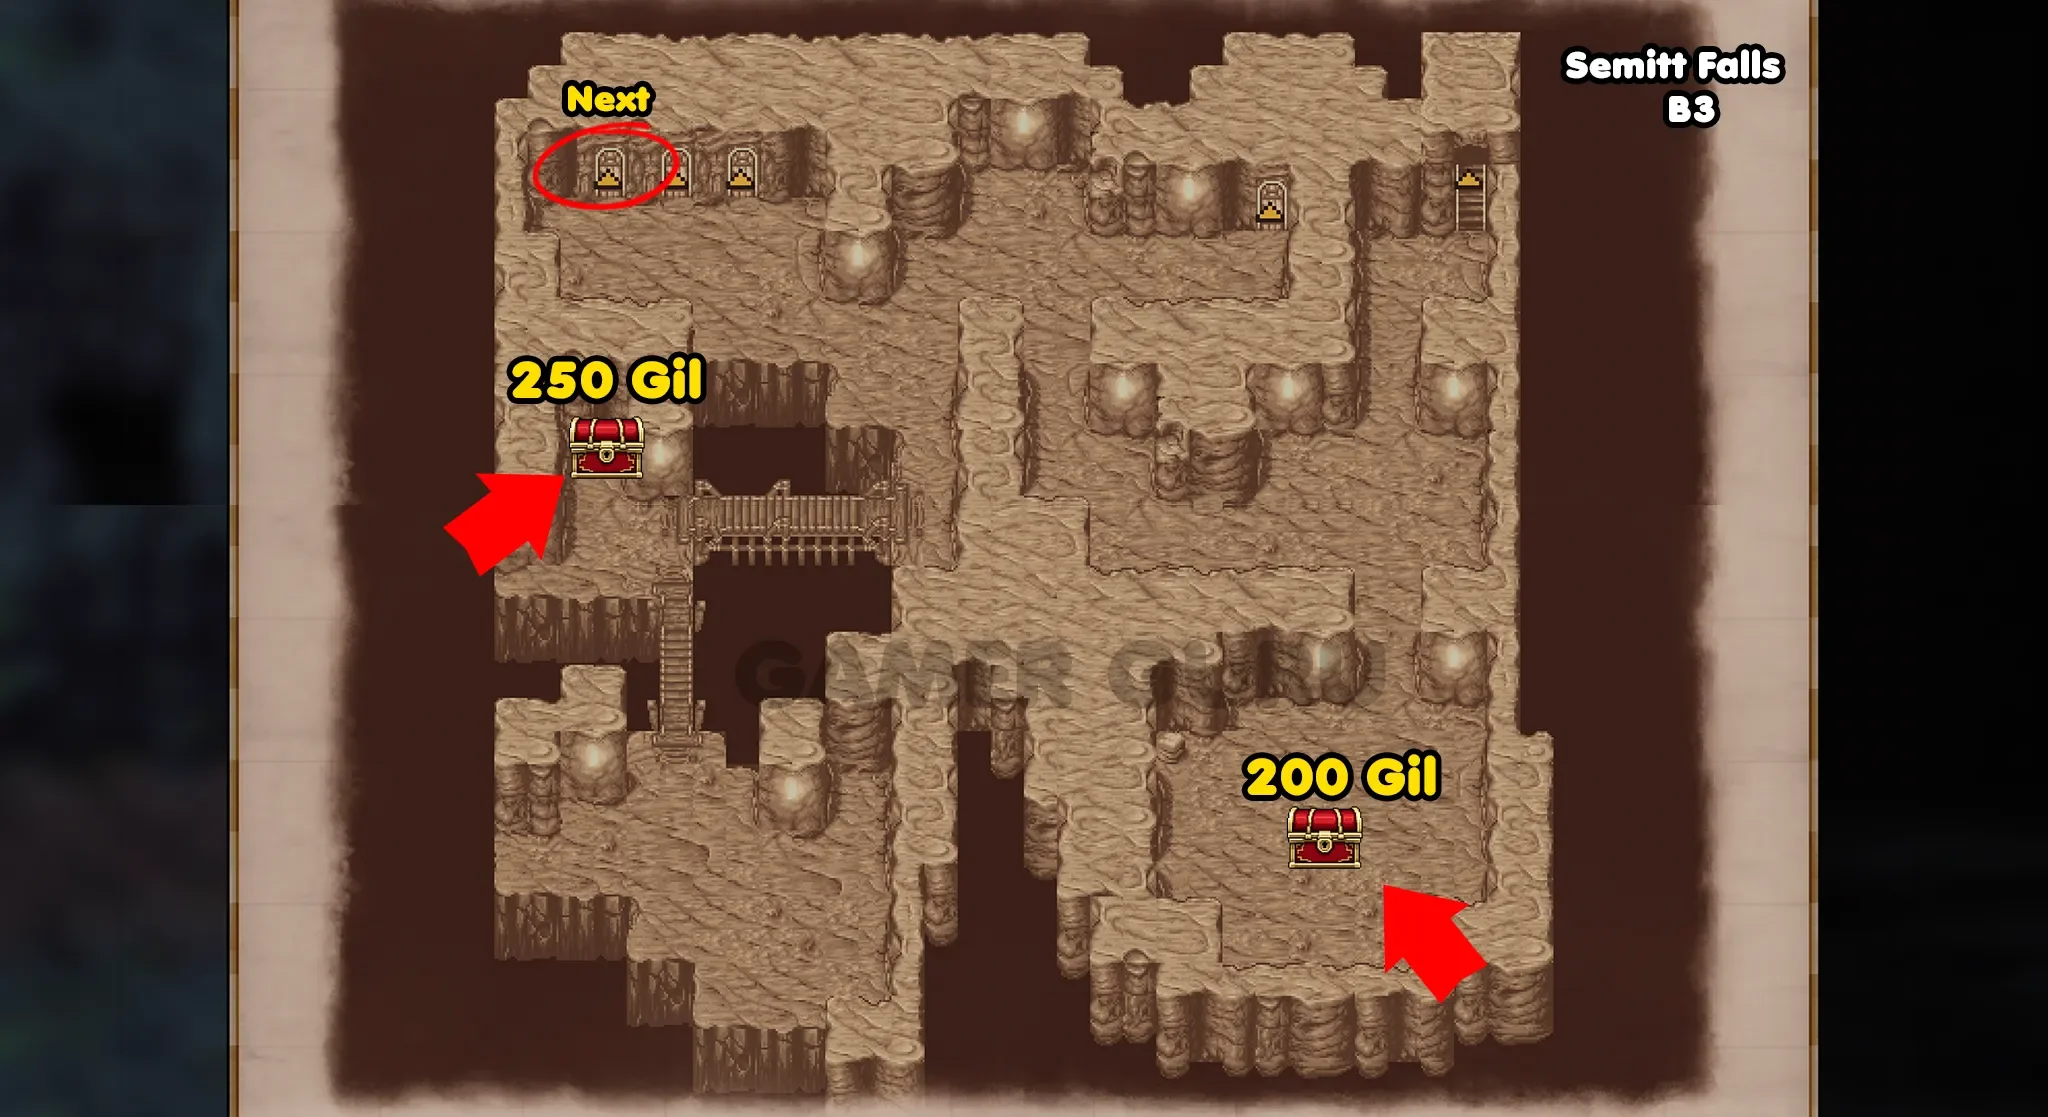
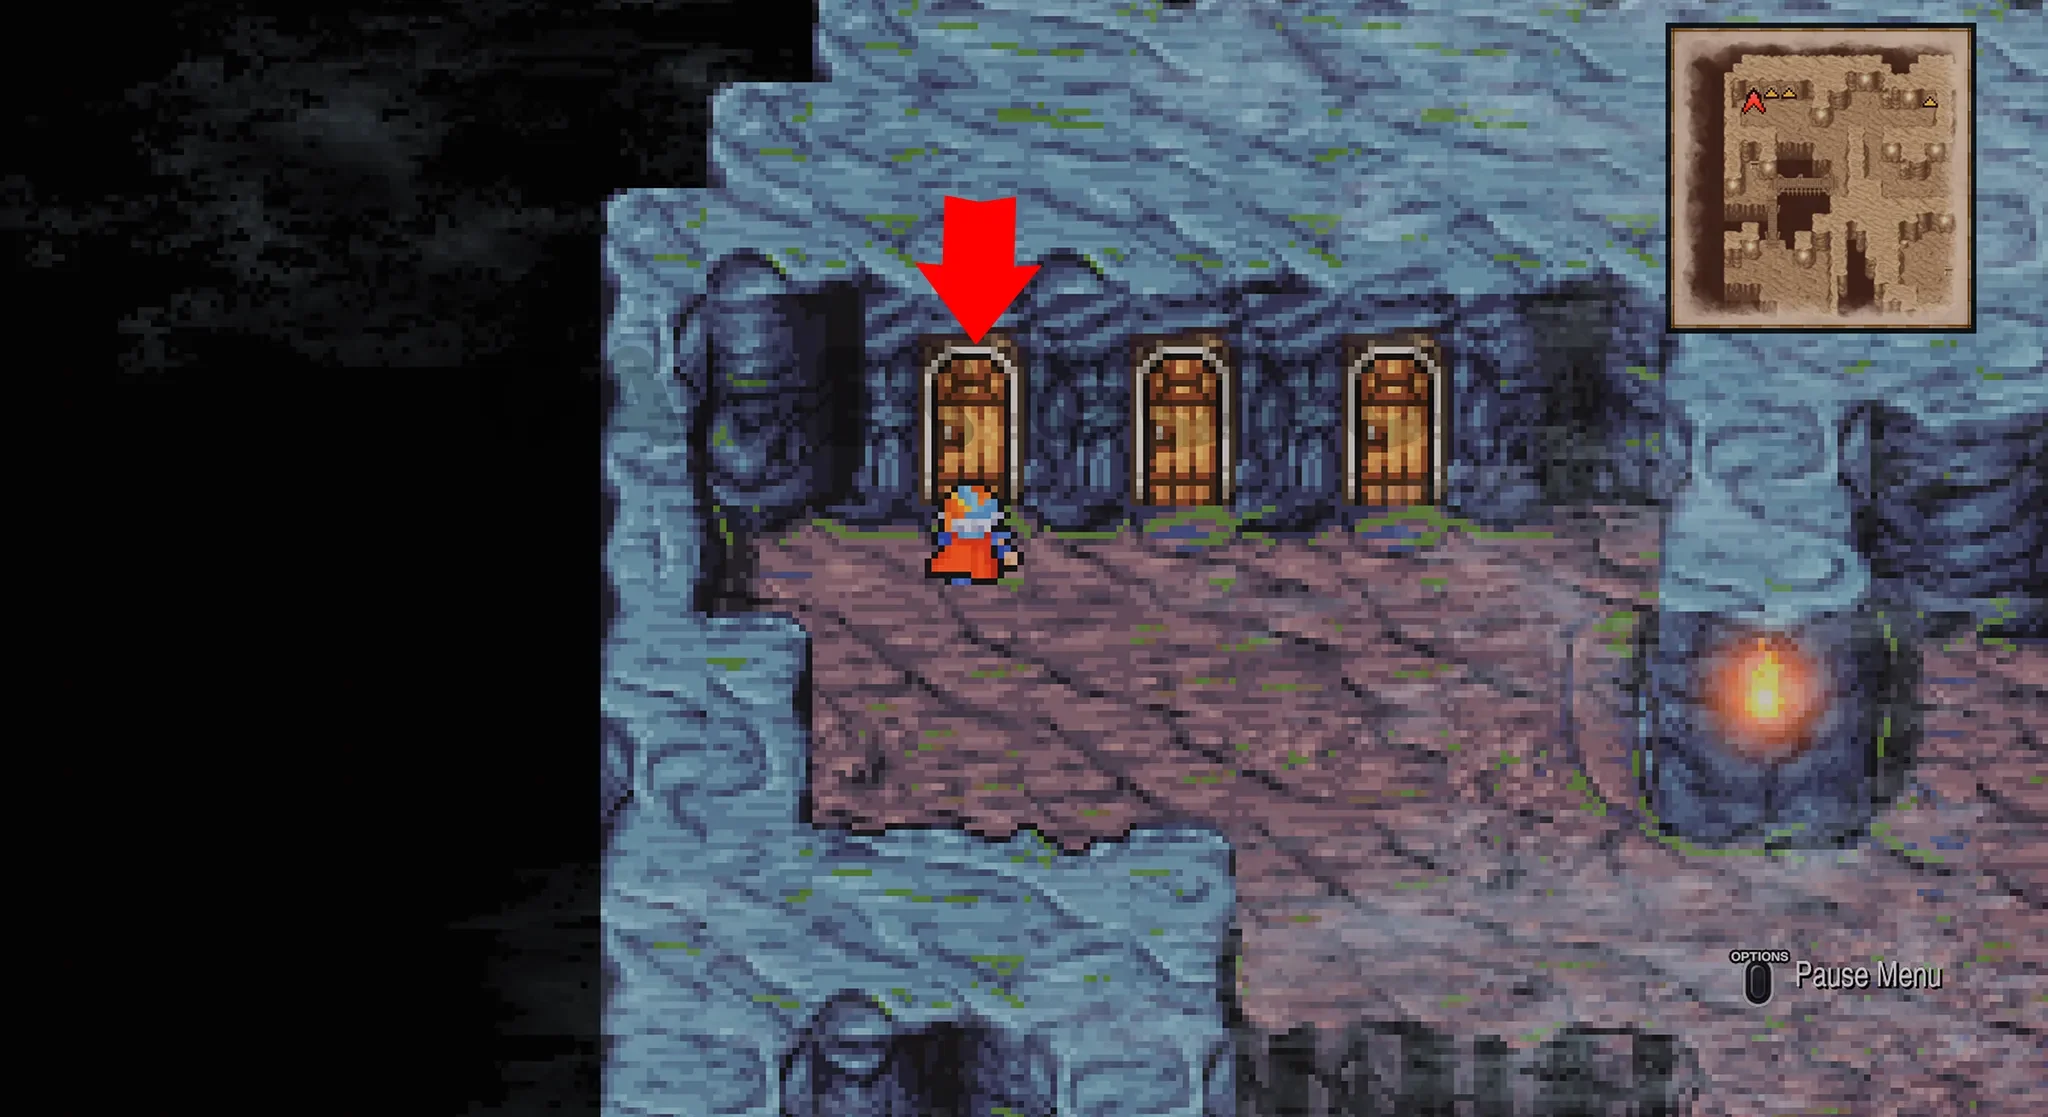
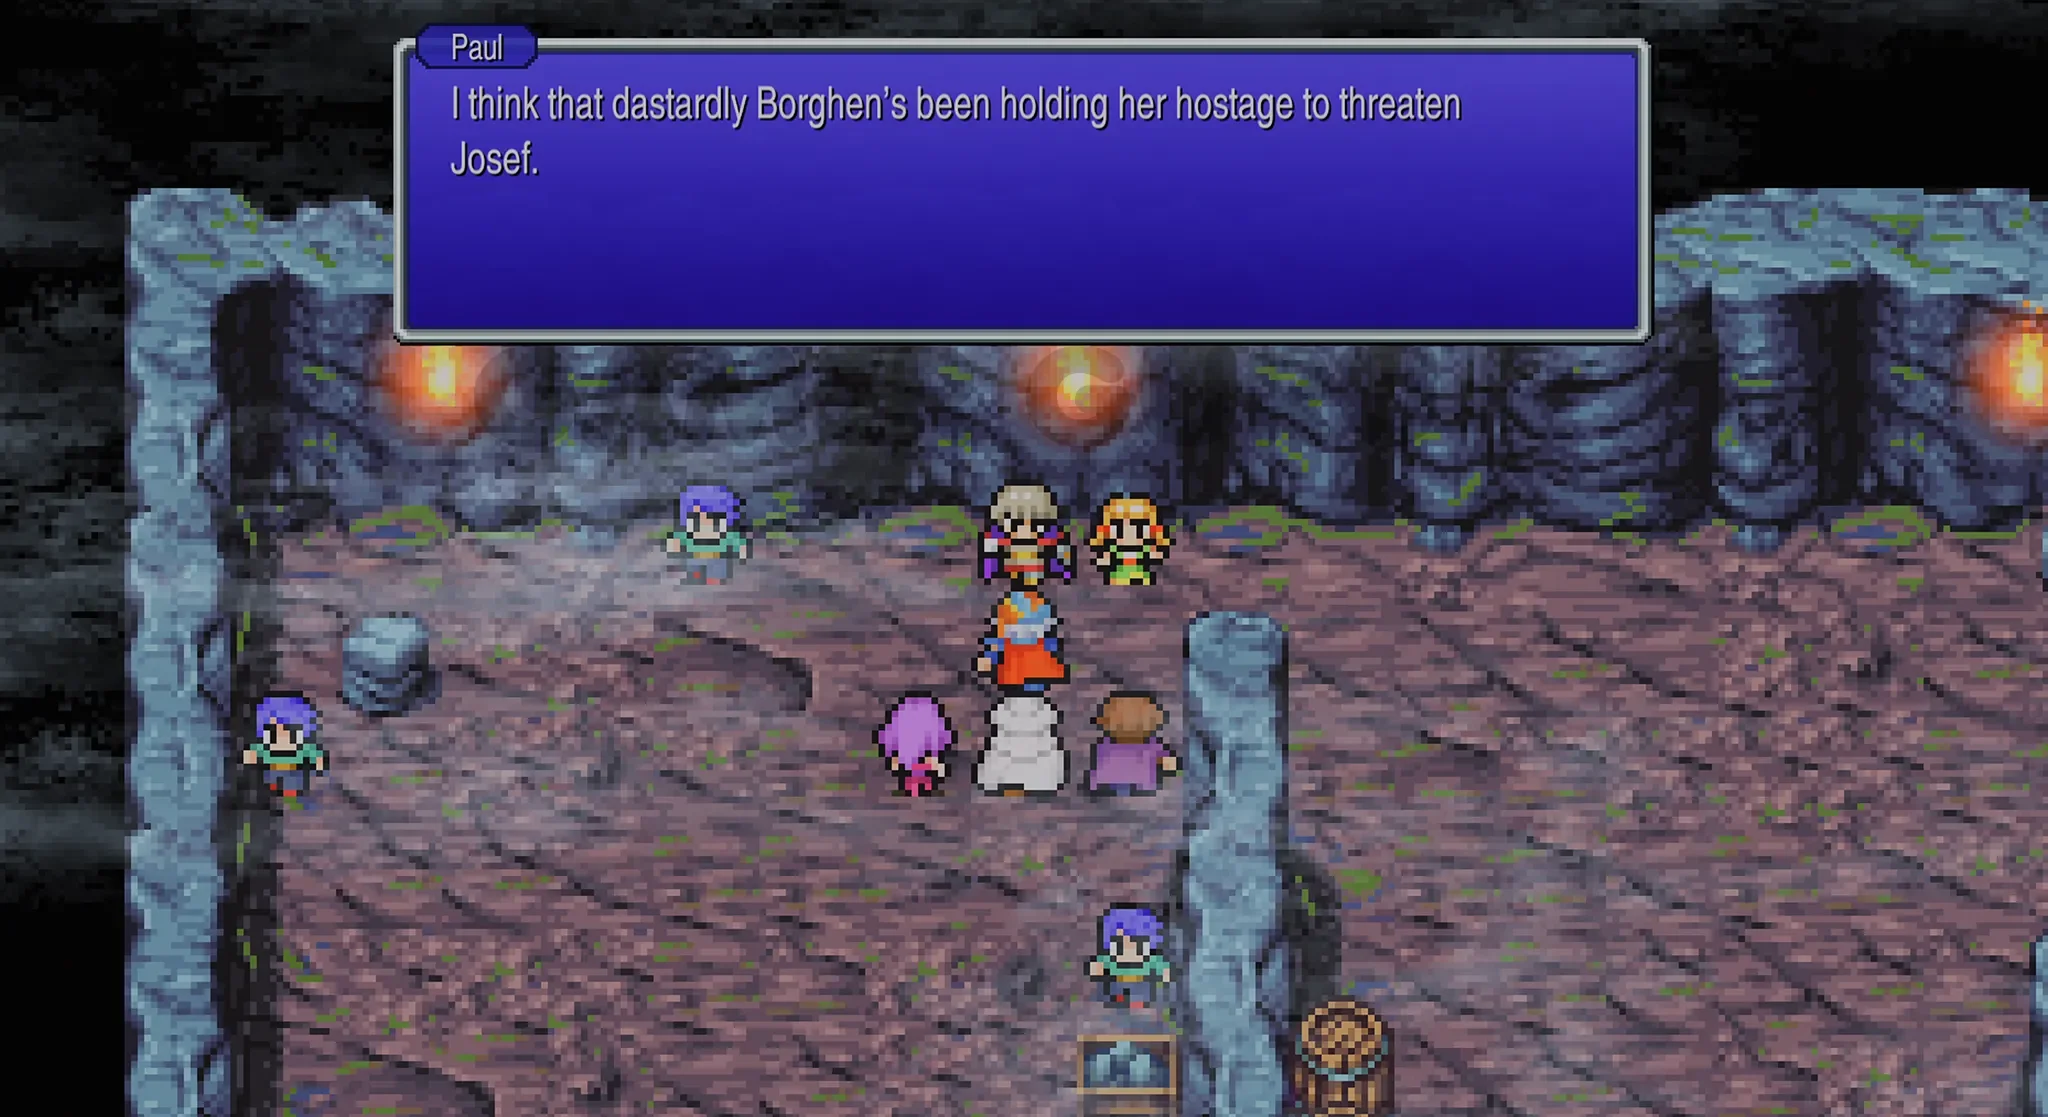
On this floor there are also many trick doors that take you to empty rooms filled with enemies. The correct door you need to take to reach the room with the hostages is the one at the very top left.
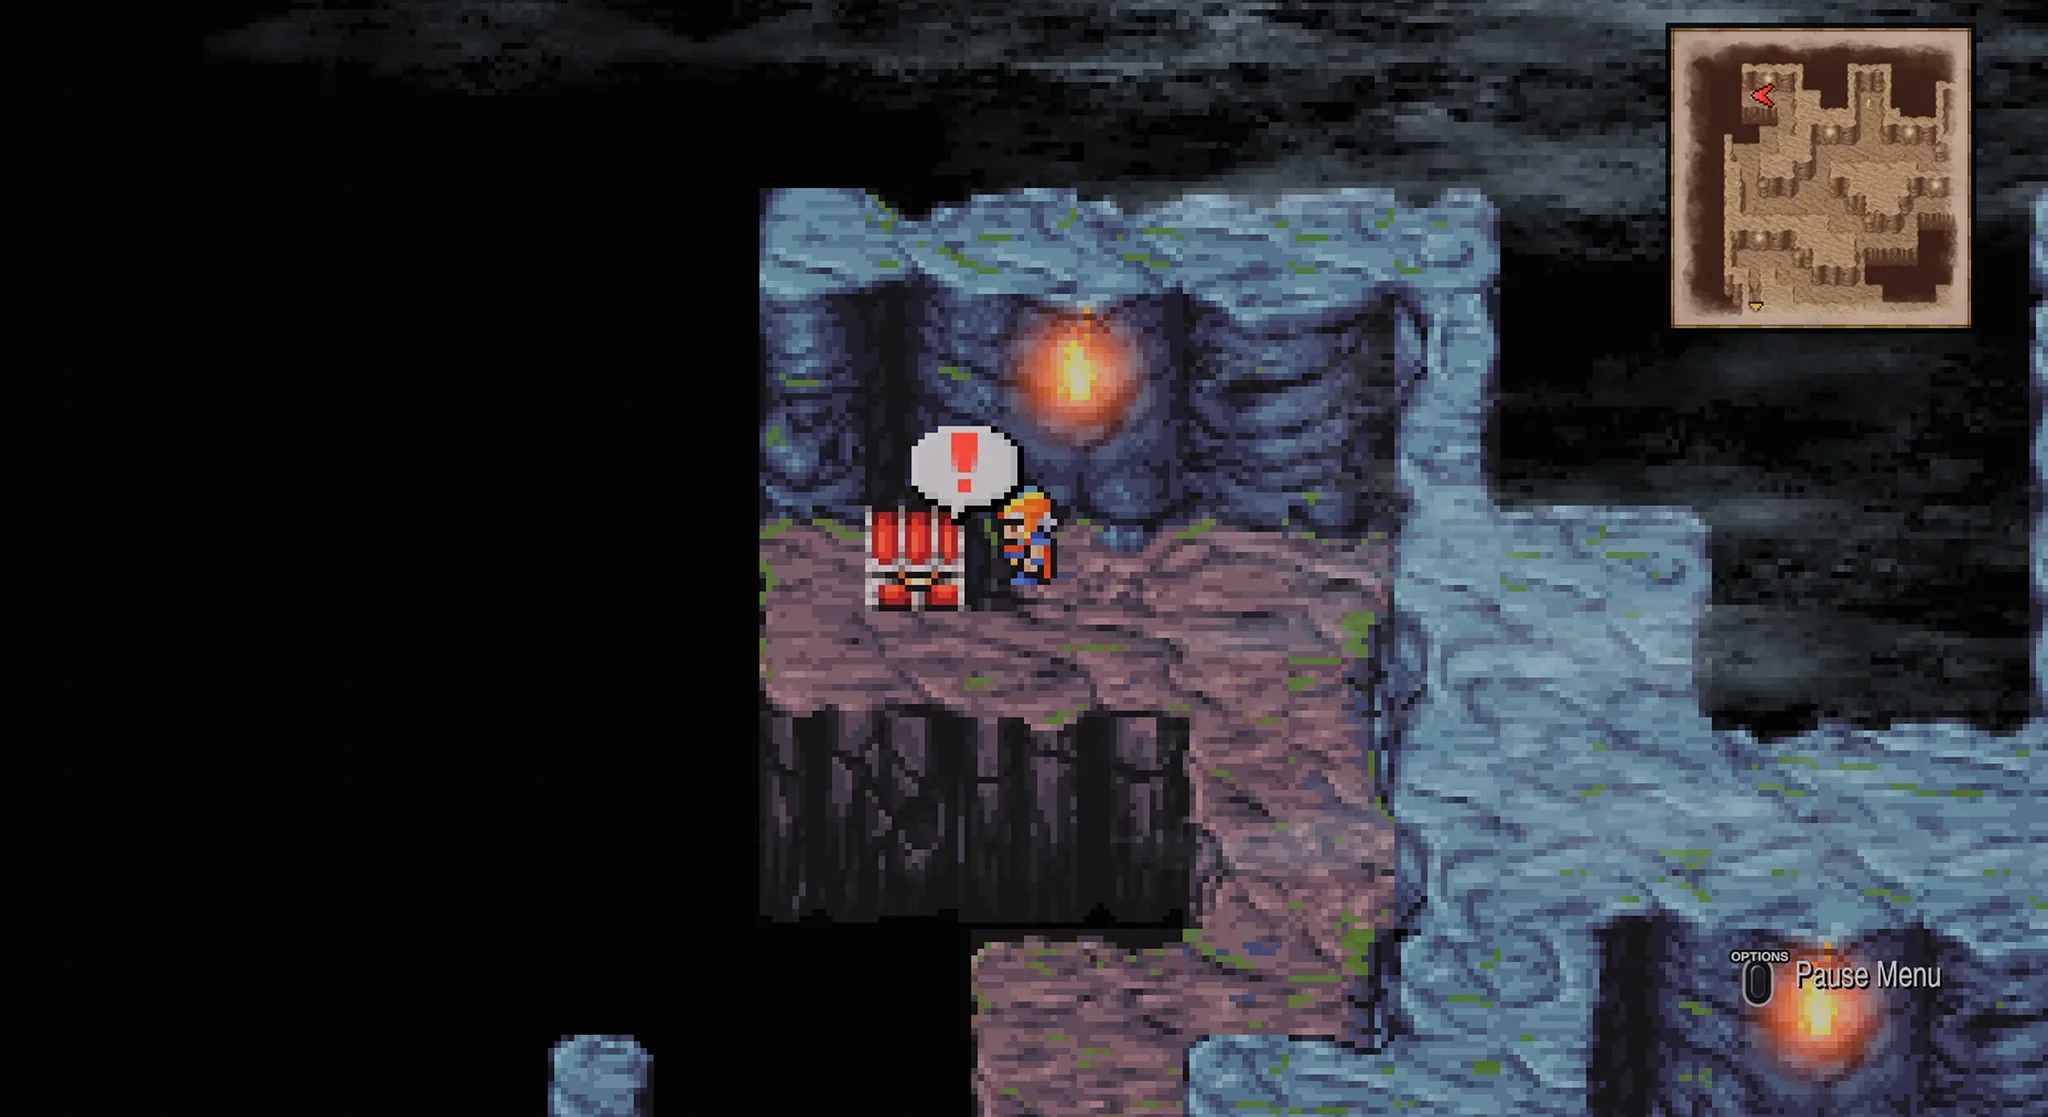
Go through the door and talk to Paul, he will thank you for saving them and tell you that the Mythril is further down in the dungeon.
In the hostages room, go to the right to find the stairs that lead to B4.
B4
B4 only has one chest and it is located in the top left part of the room and it contains a Fire Tome, which will be very helpful for the upcoming boss in case you didn’t buy any offensive spells up until this point.
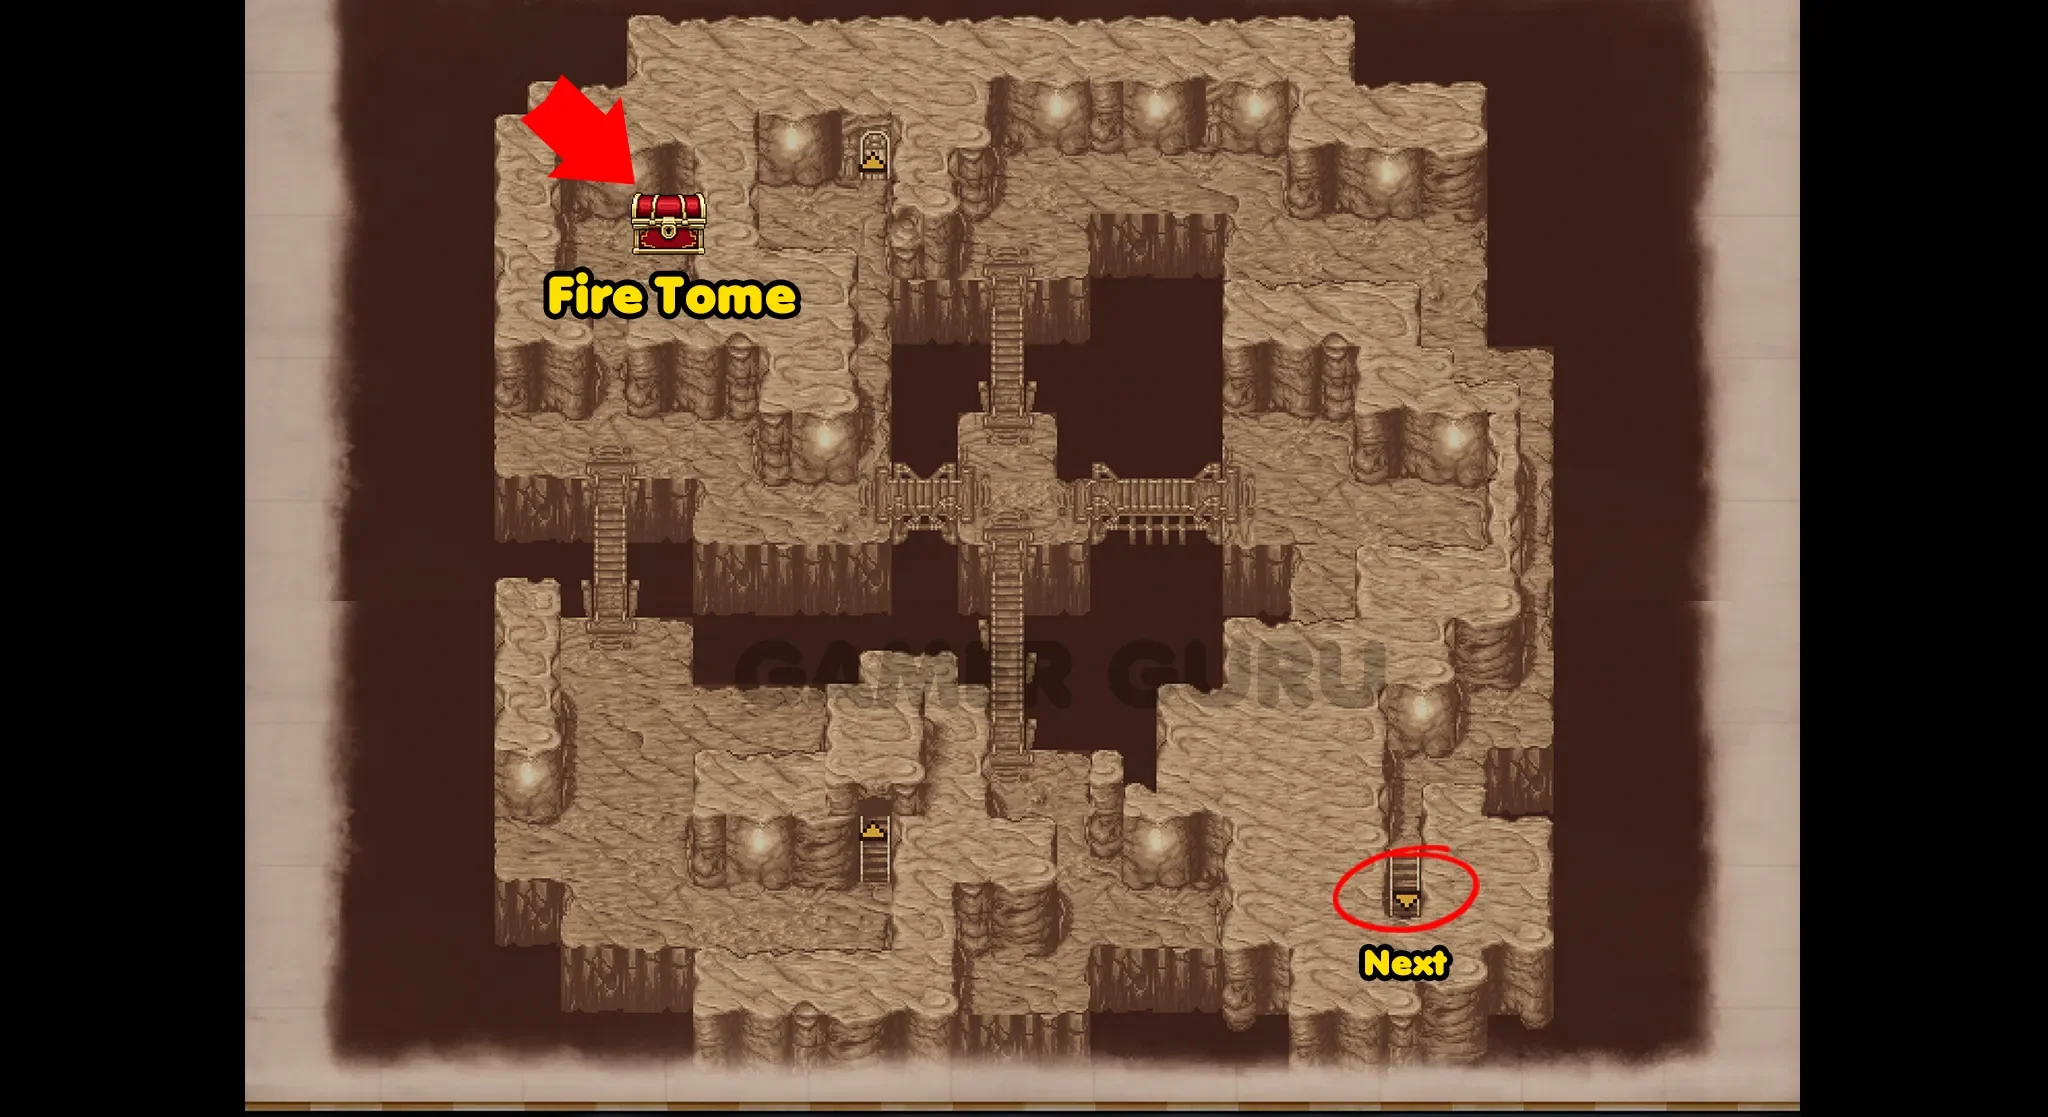
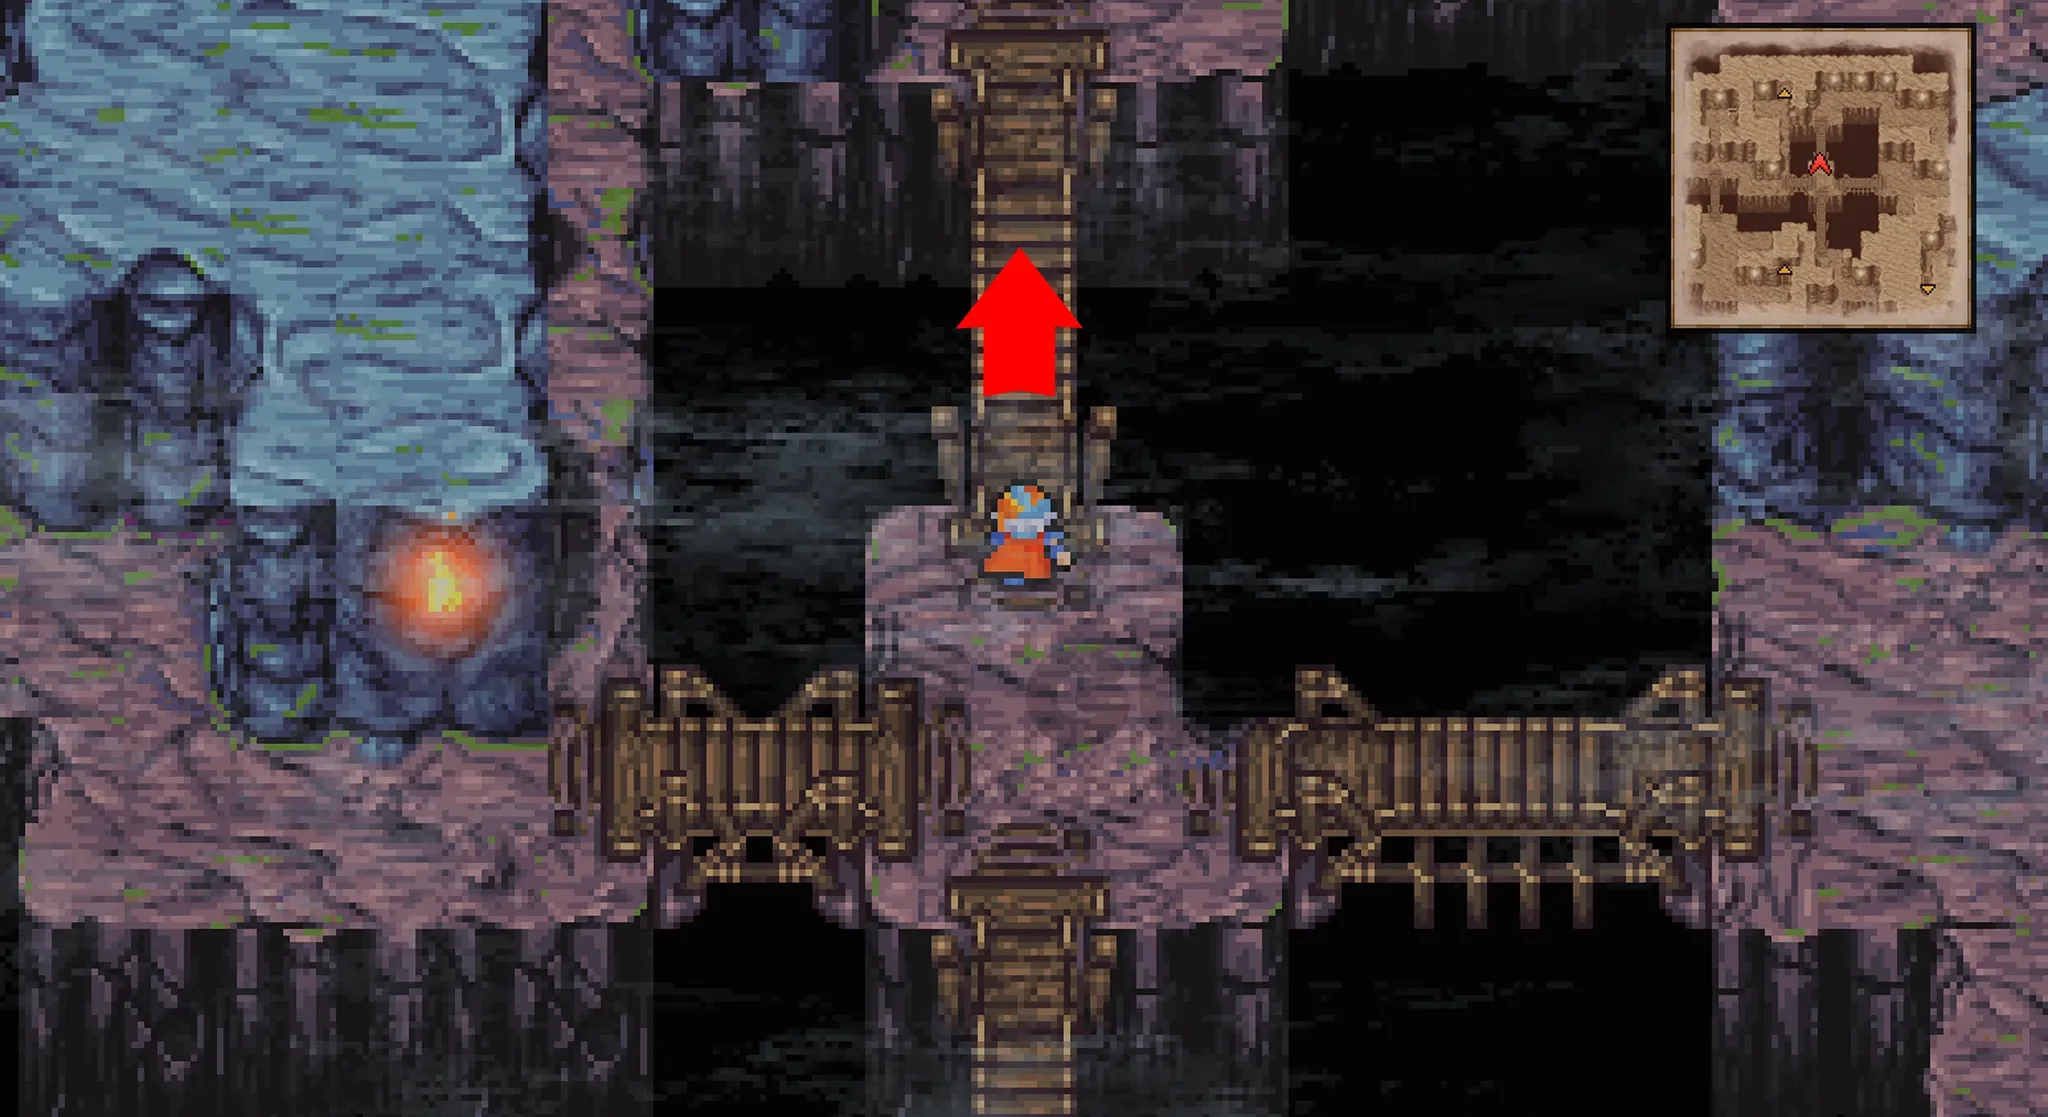
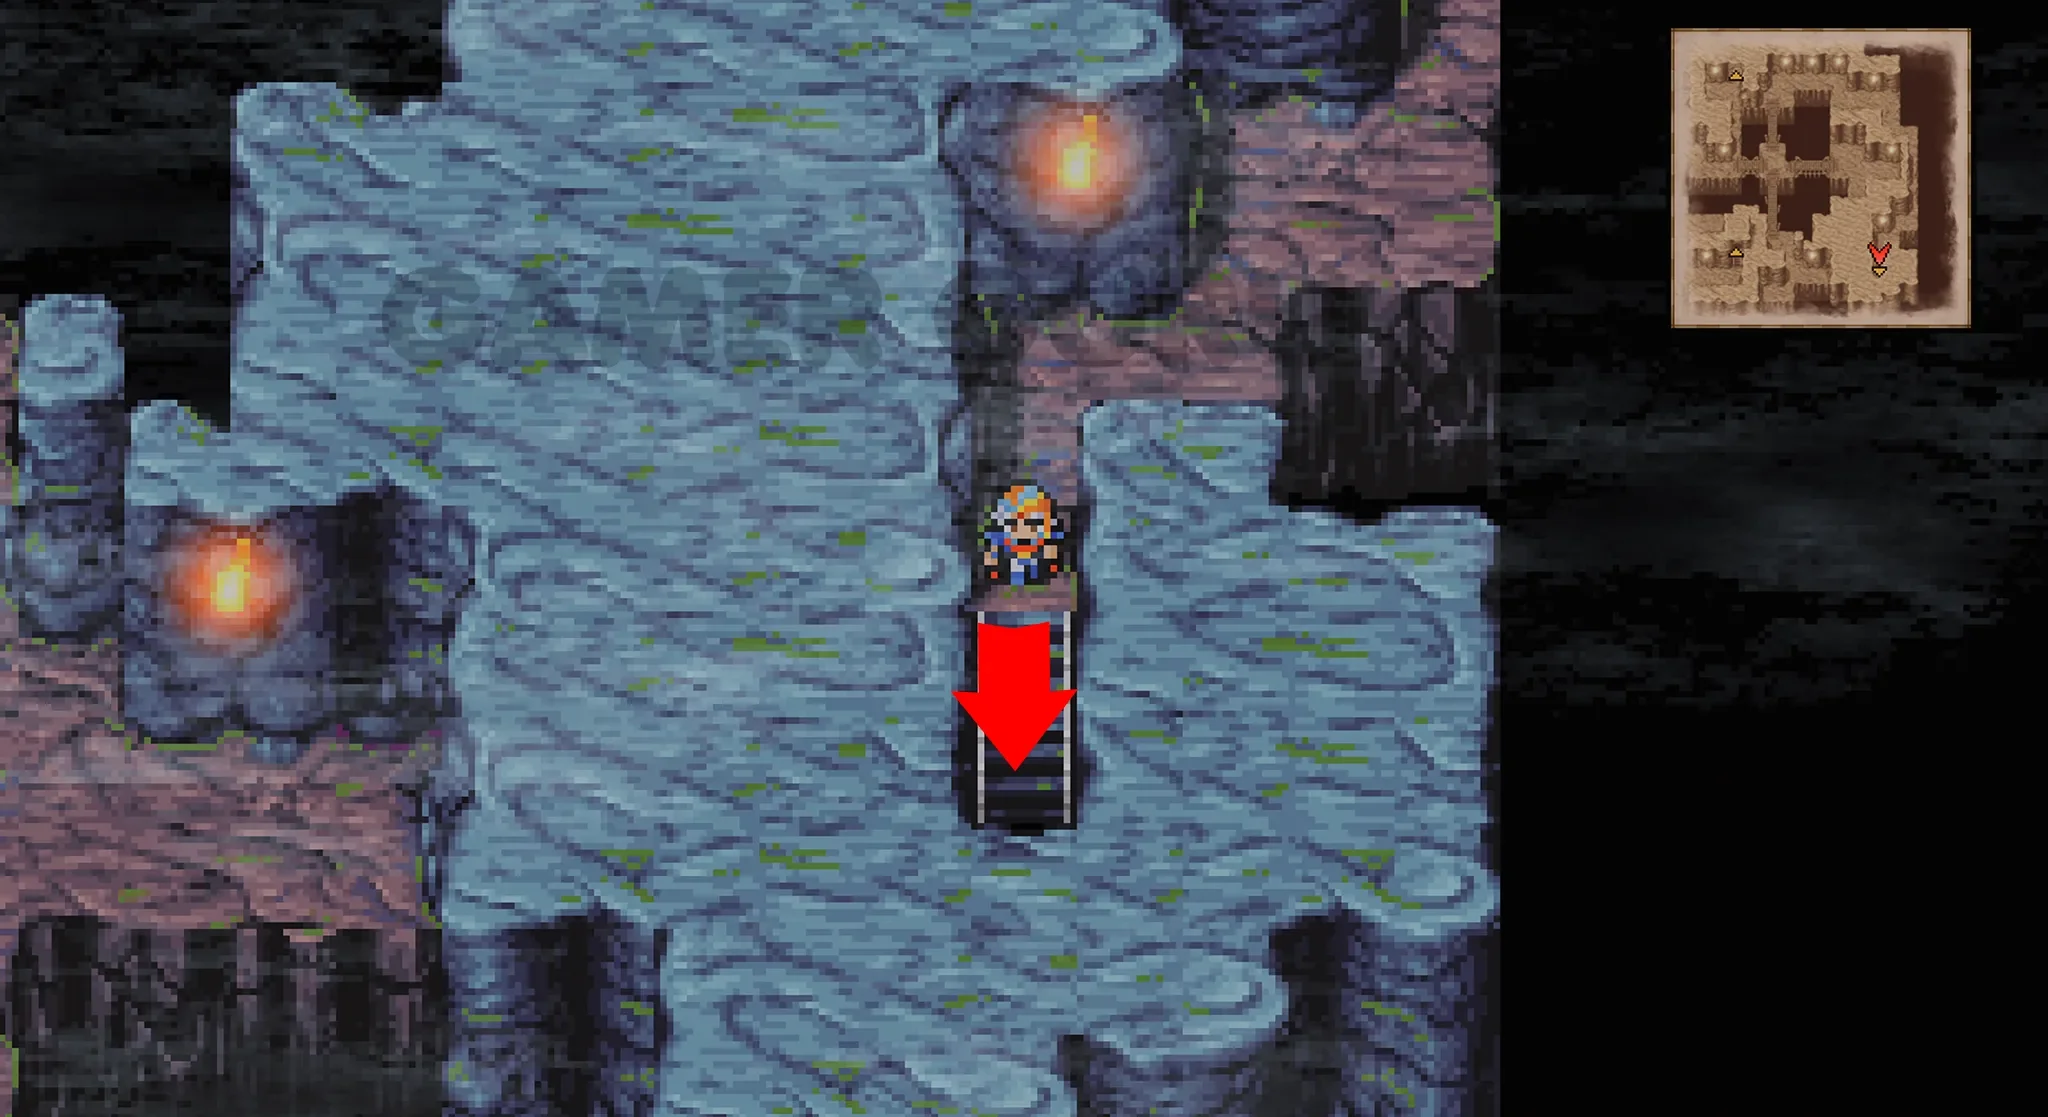
Once you have opened the chest you need to go across the bridge on the right to get to the crossroads, at the crossroads take the north bridge and follow this path all the way around to the stairs at the bottom right, this will take you to B5.
B5
B5 also has just one chest, at the top right side of the room.
To reach it go across the bridge to the left of where you entered the floor.
Be careful as when you go to open this chest you will get ambushed by a Land Turtle, to defeat it easily hit it with magic spells, because physical attacks won’t be very useful.
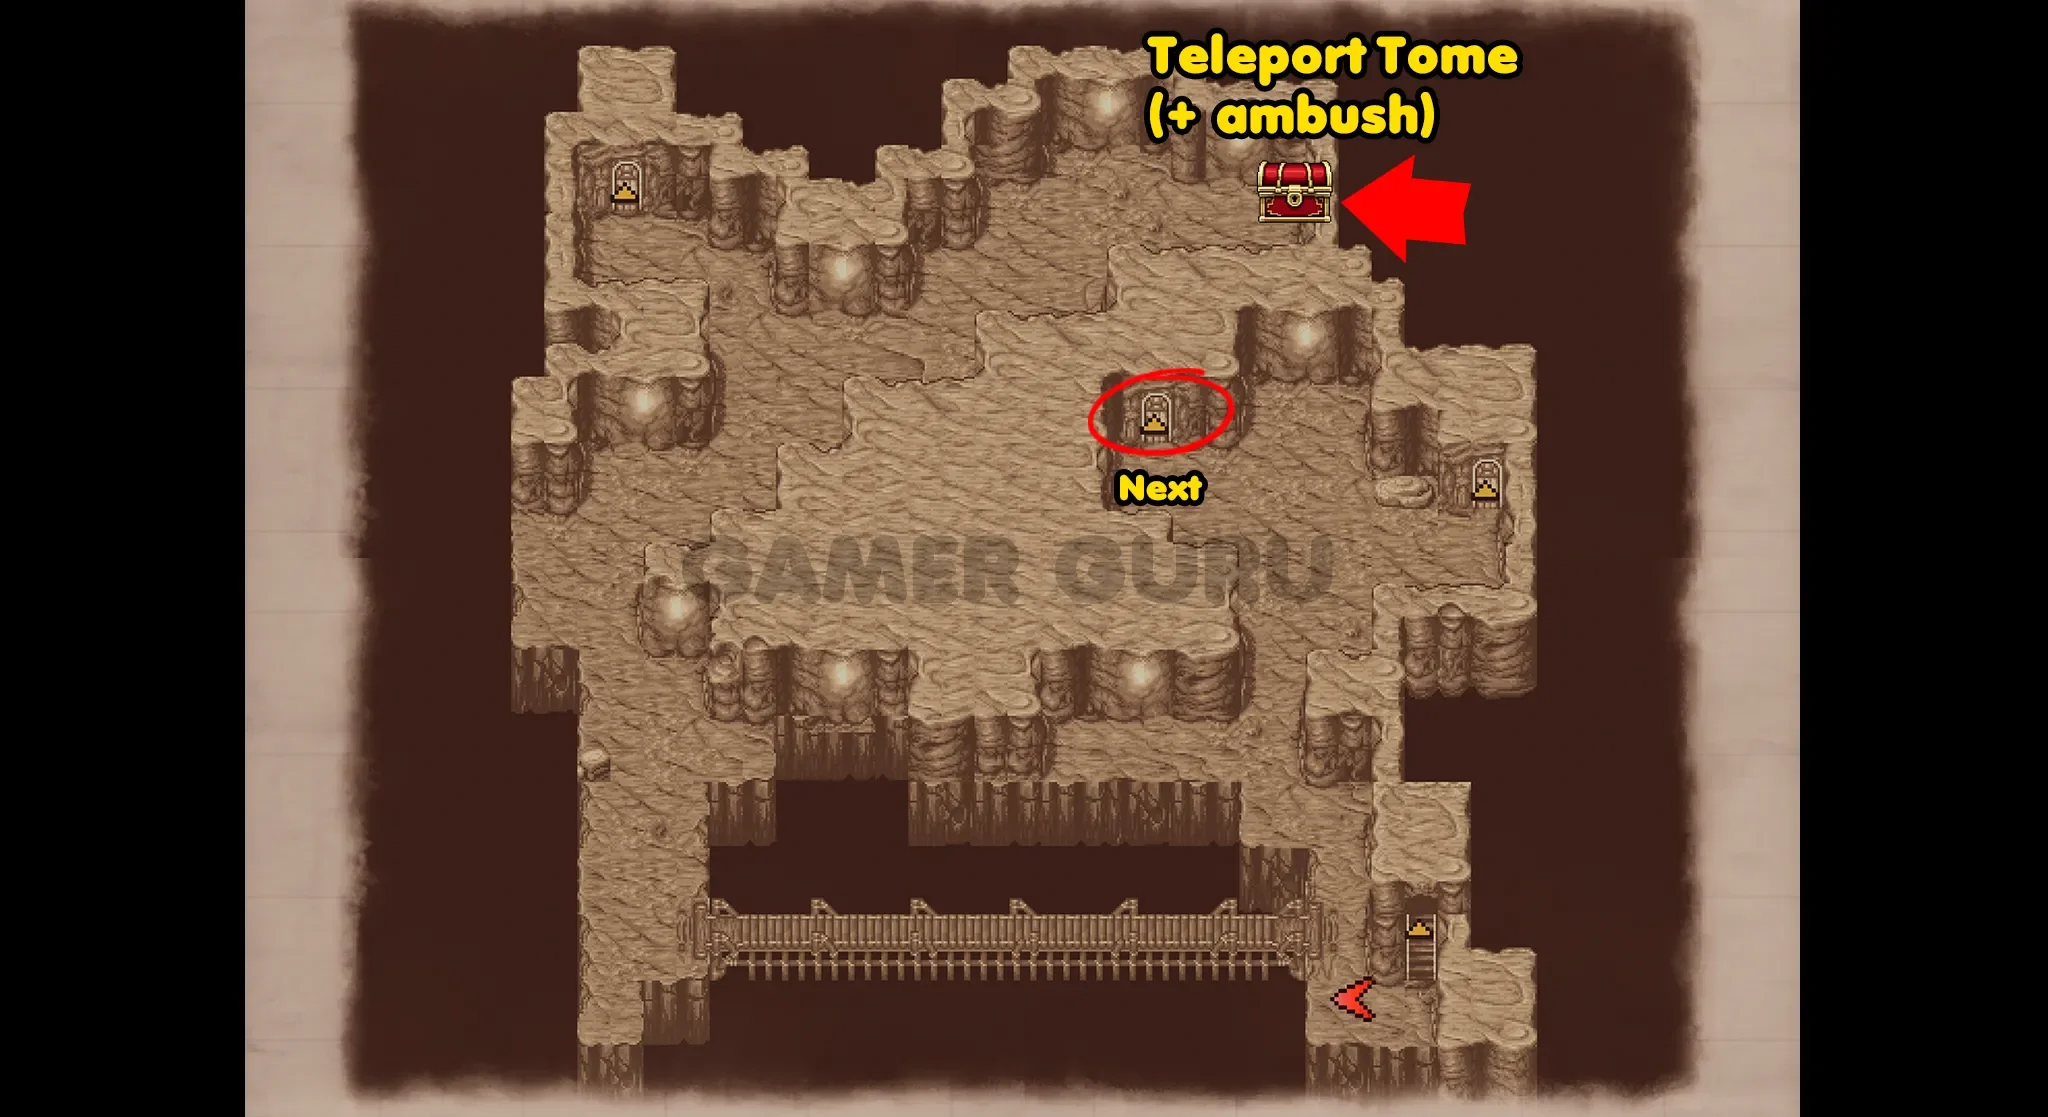
After you defeat the Land Turtle you will get the Teleport Tome from the chest.
Then walk back across the bridge at the bottom towards the entrance to this floor, then go upwards and you will see 2 doors, to reach the next room go through the one on the left.
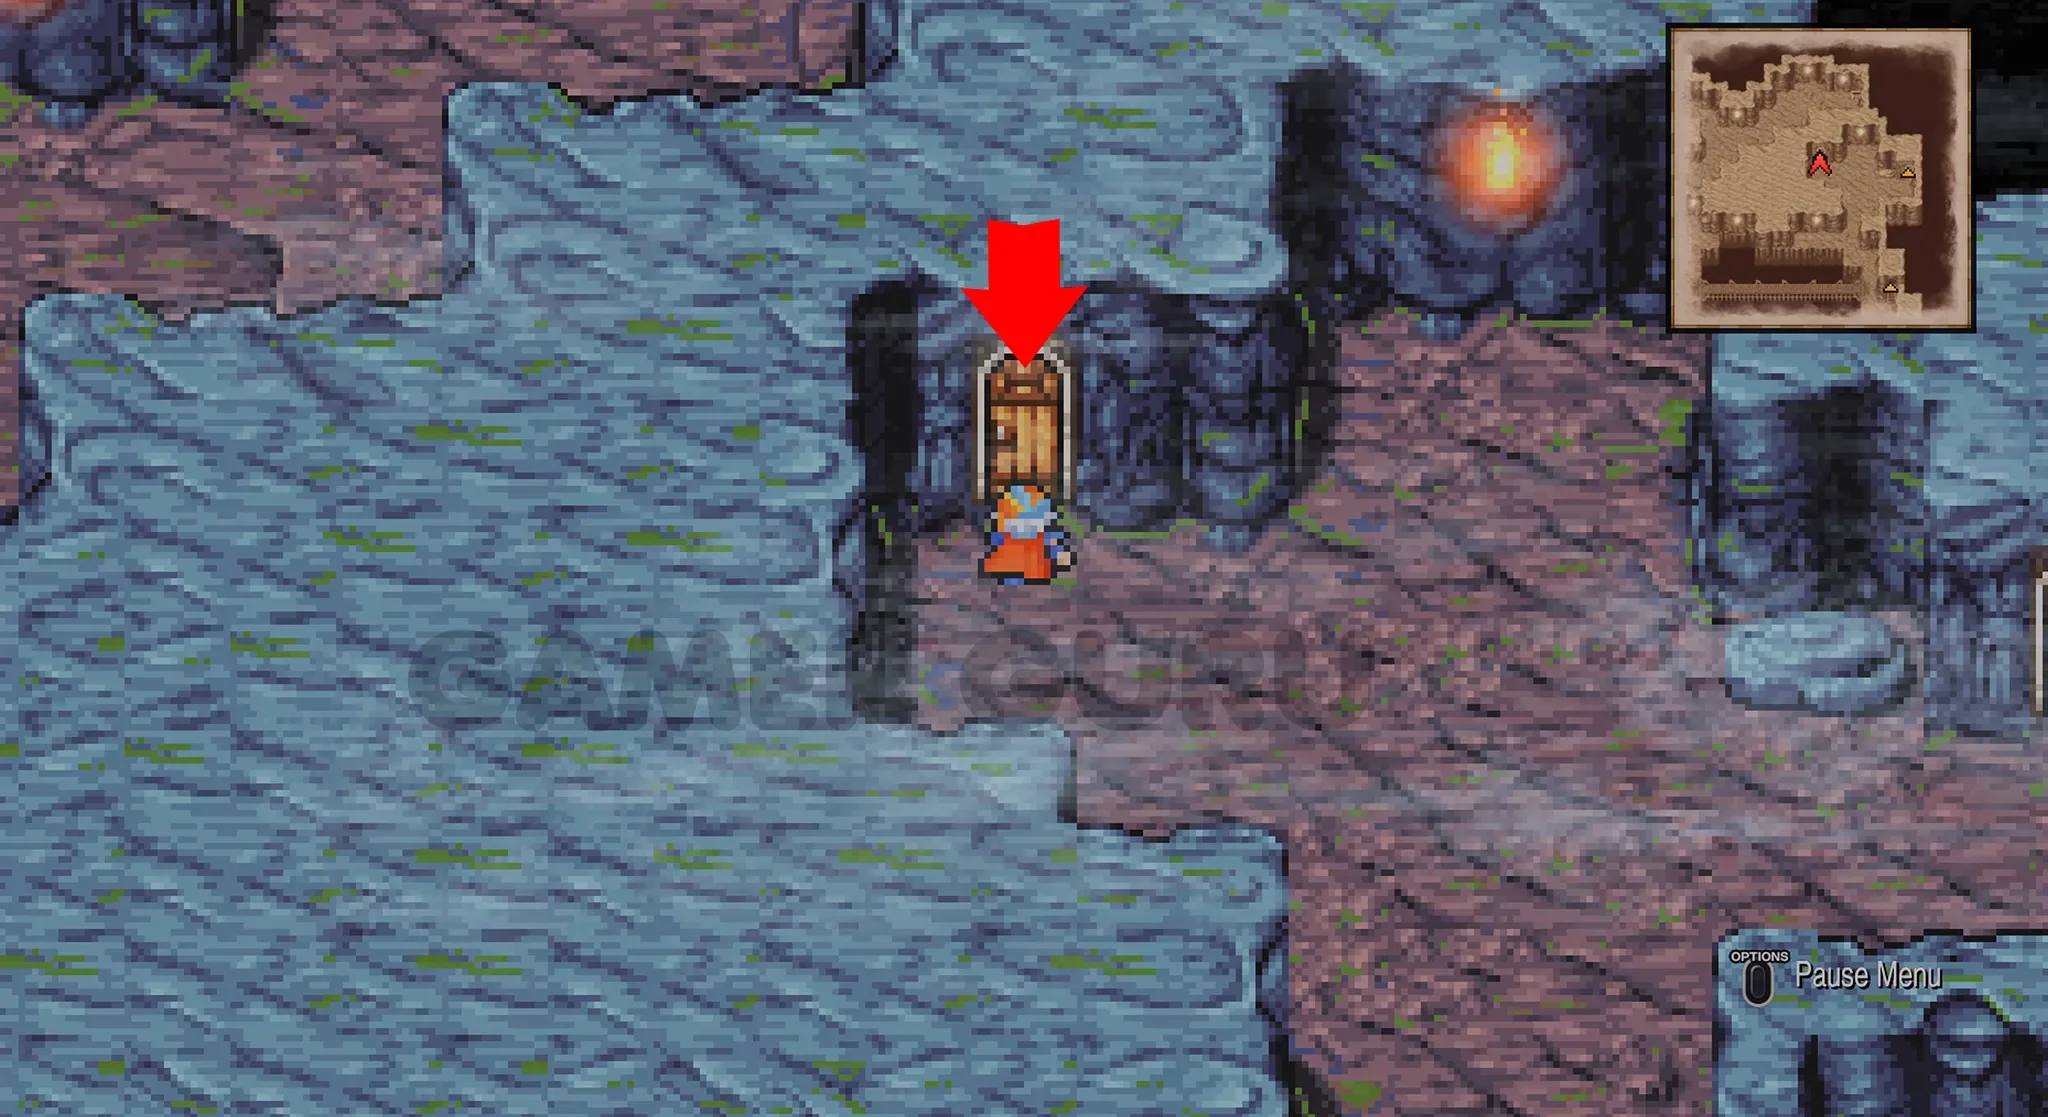
Through this door will be the Boss Fight of this dungeon.
Sergeant Boss Fight
As soon as you go through the previous door you will see another chest, but it is guarded by the Sergeant Boss Fight, make sure you heal up your party before the fight.
The Sergeant has very high physical defense so black magic is going to be your best friend here, he deals quite high damage as well so as soon as the fight starts, have Minwu cast Protect on all of your party members.
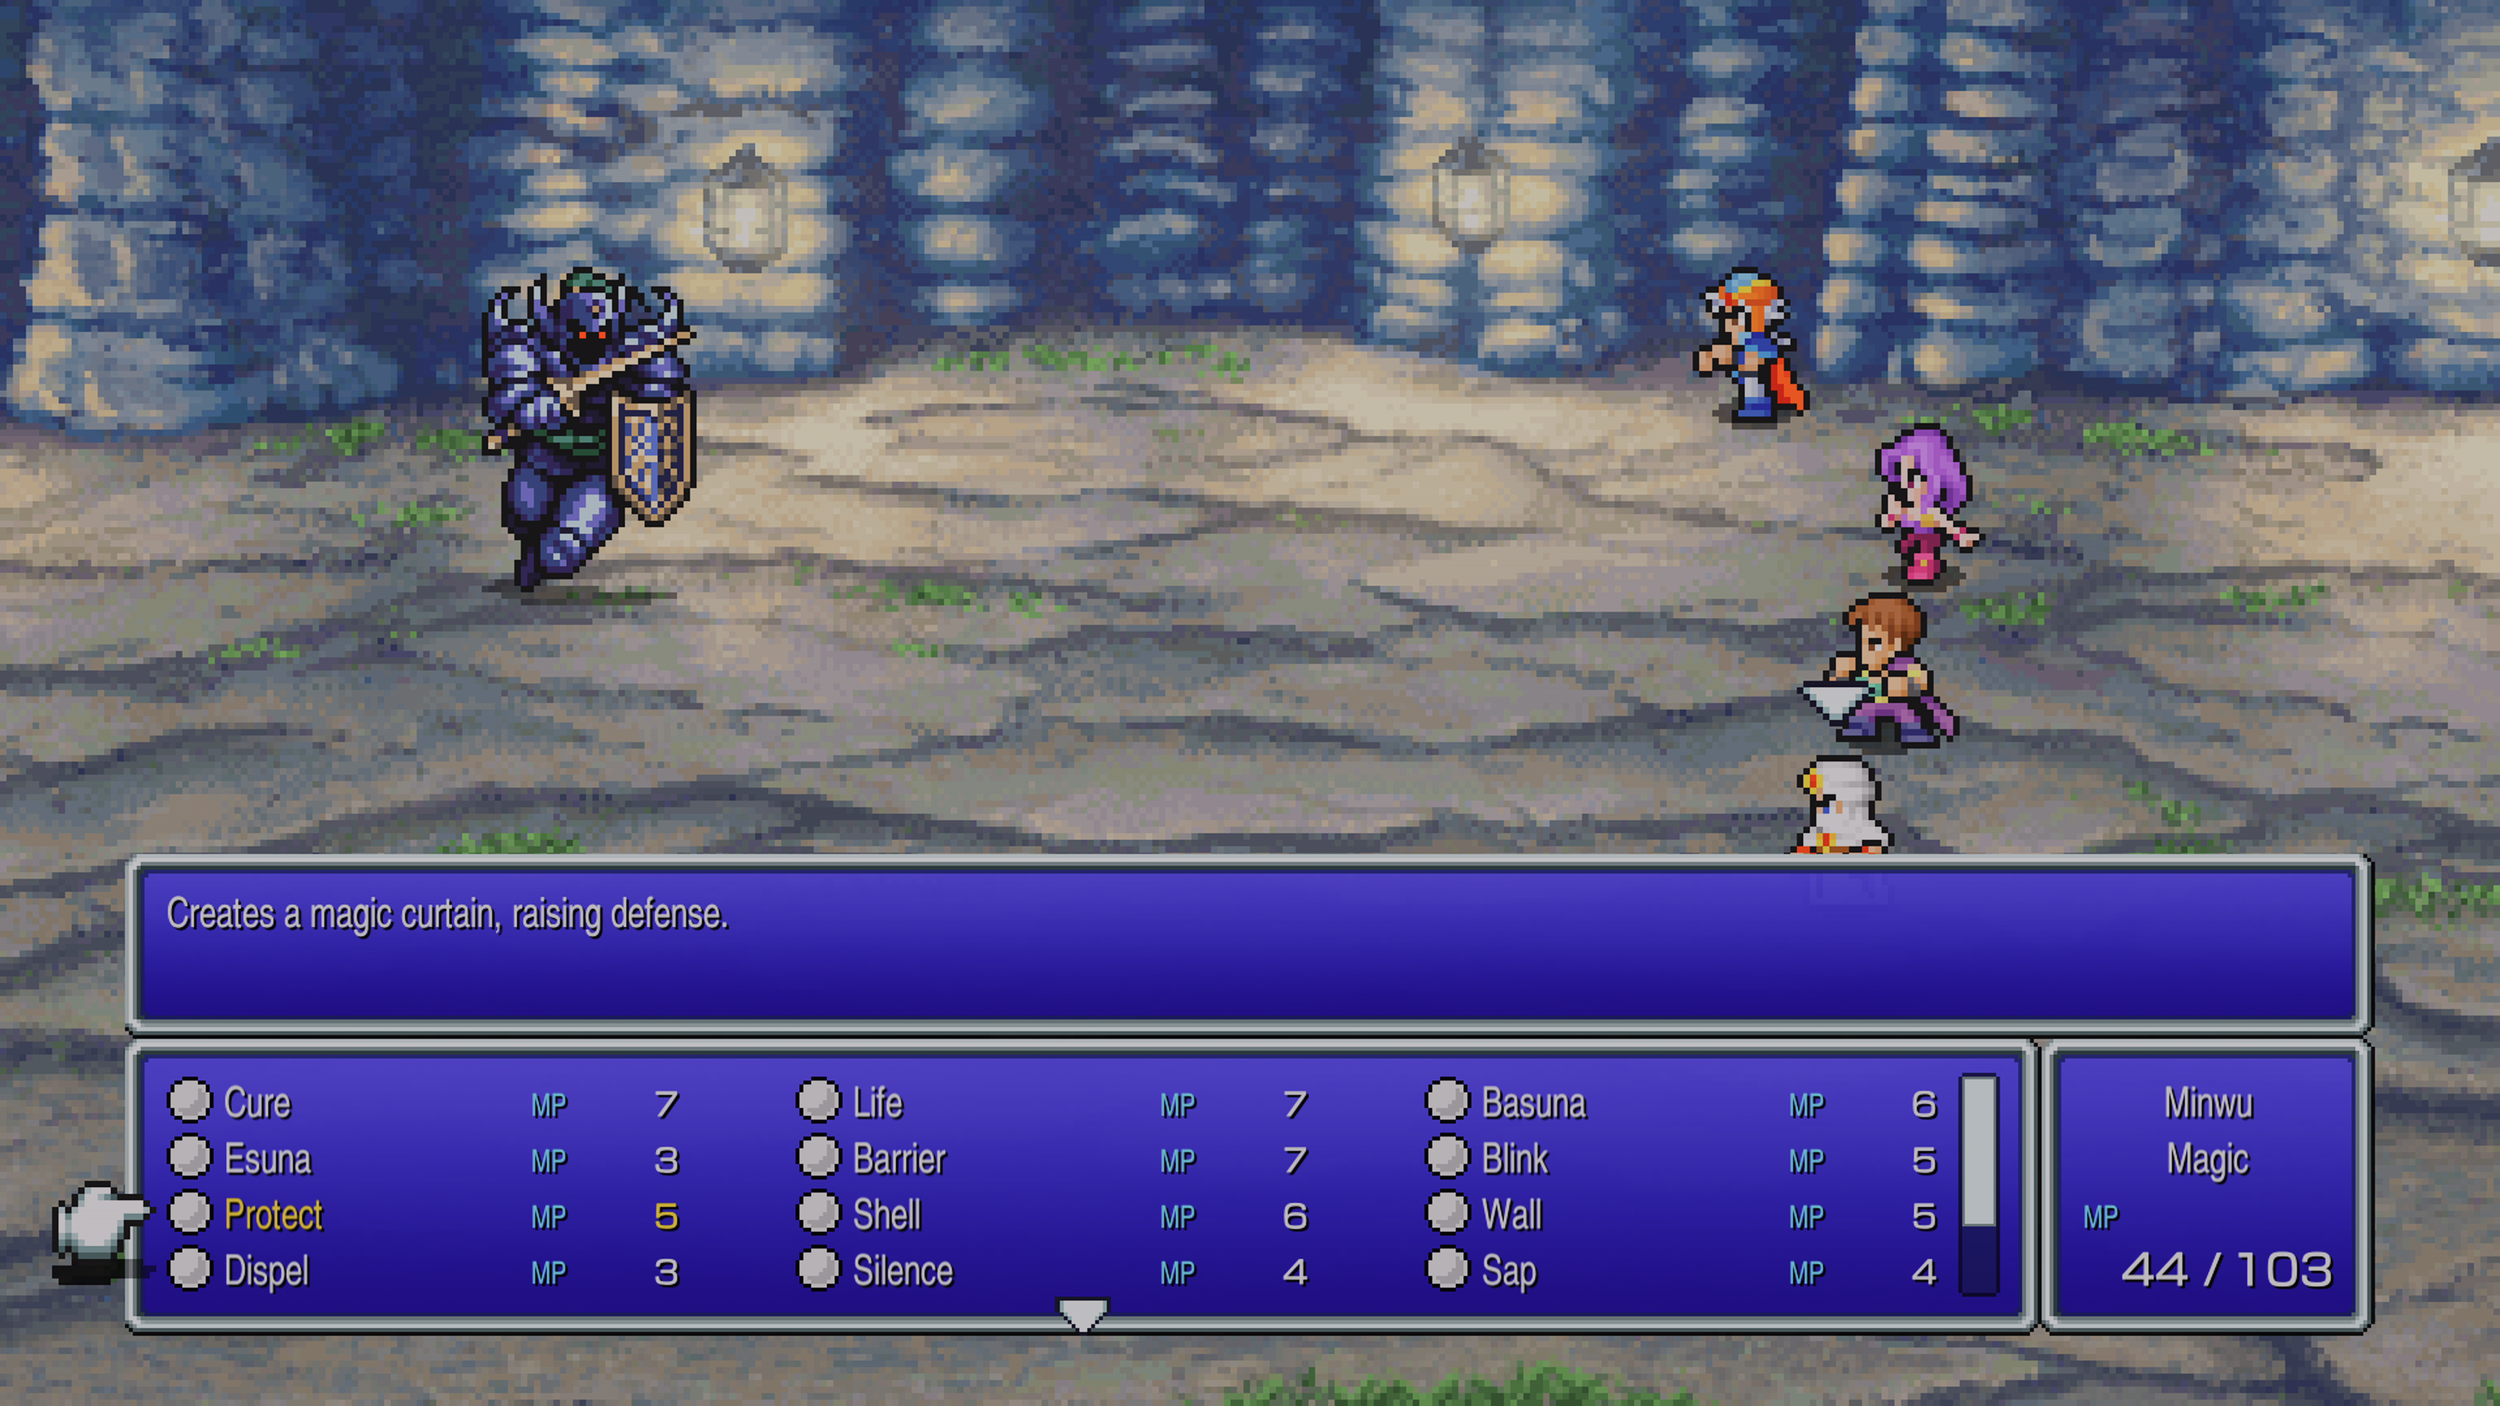
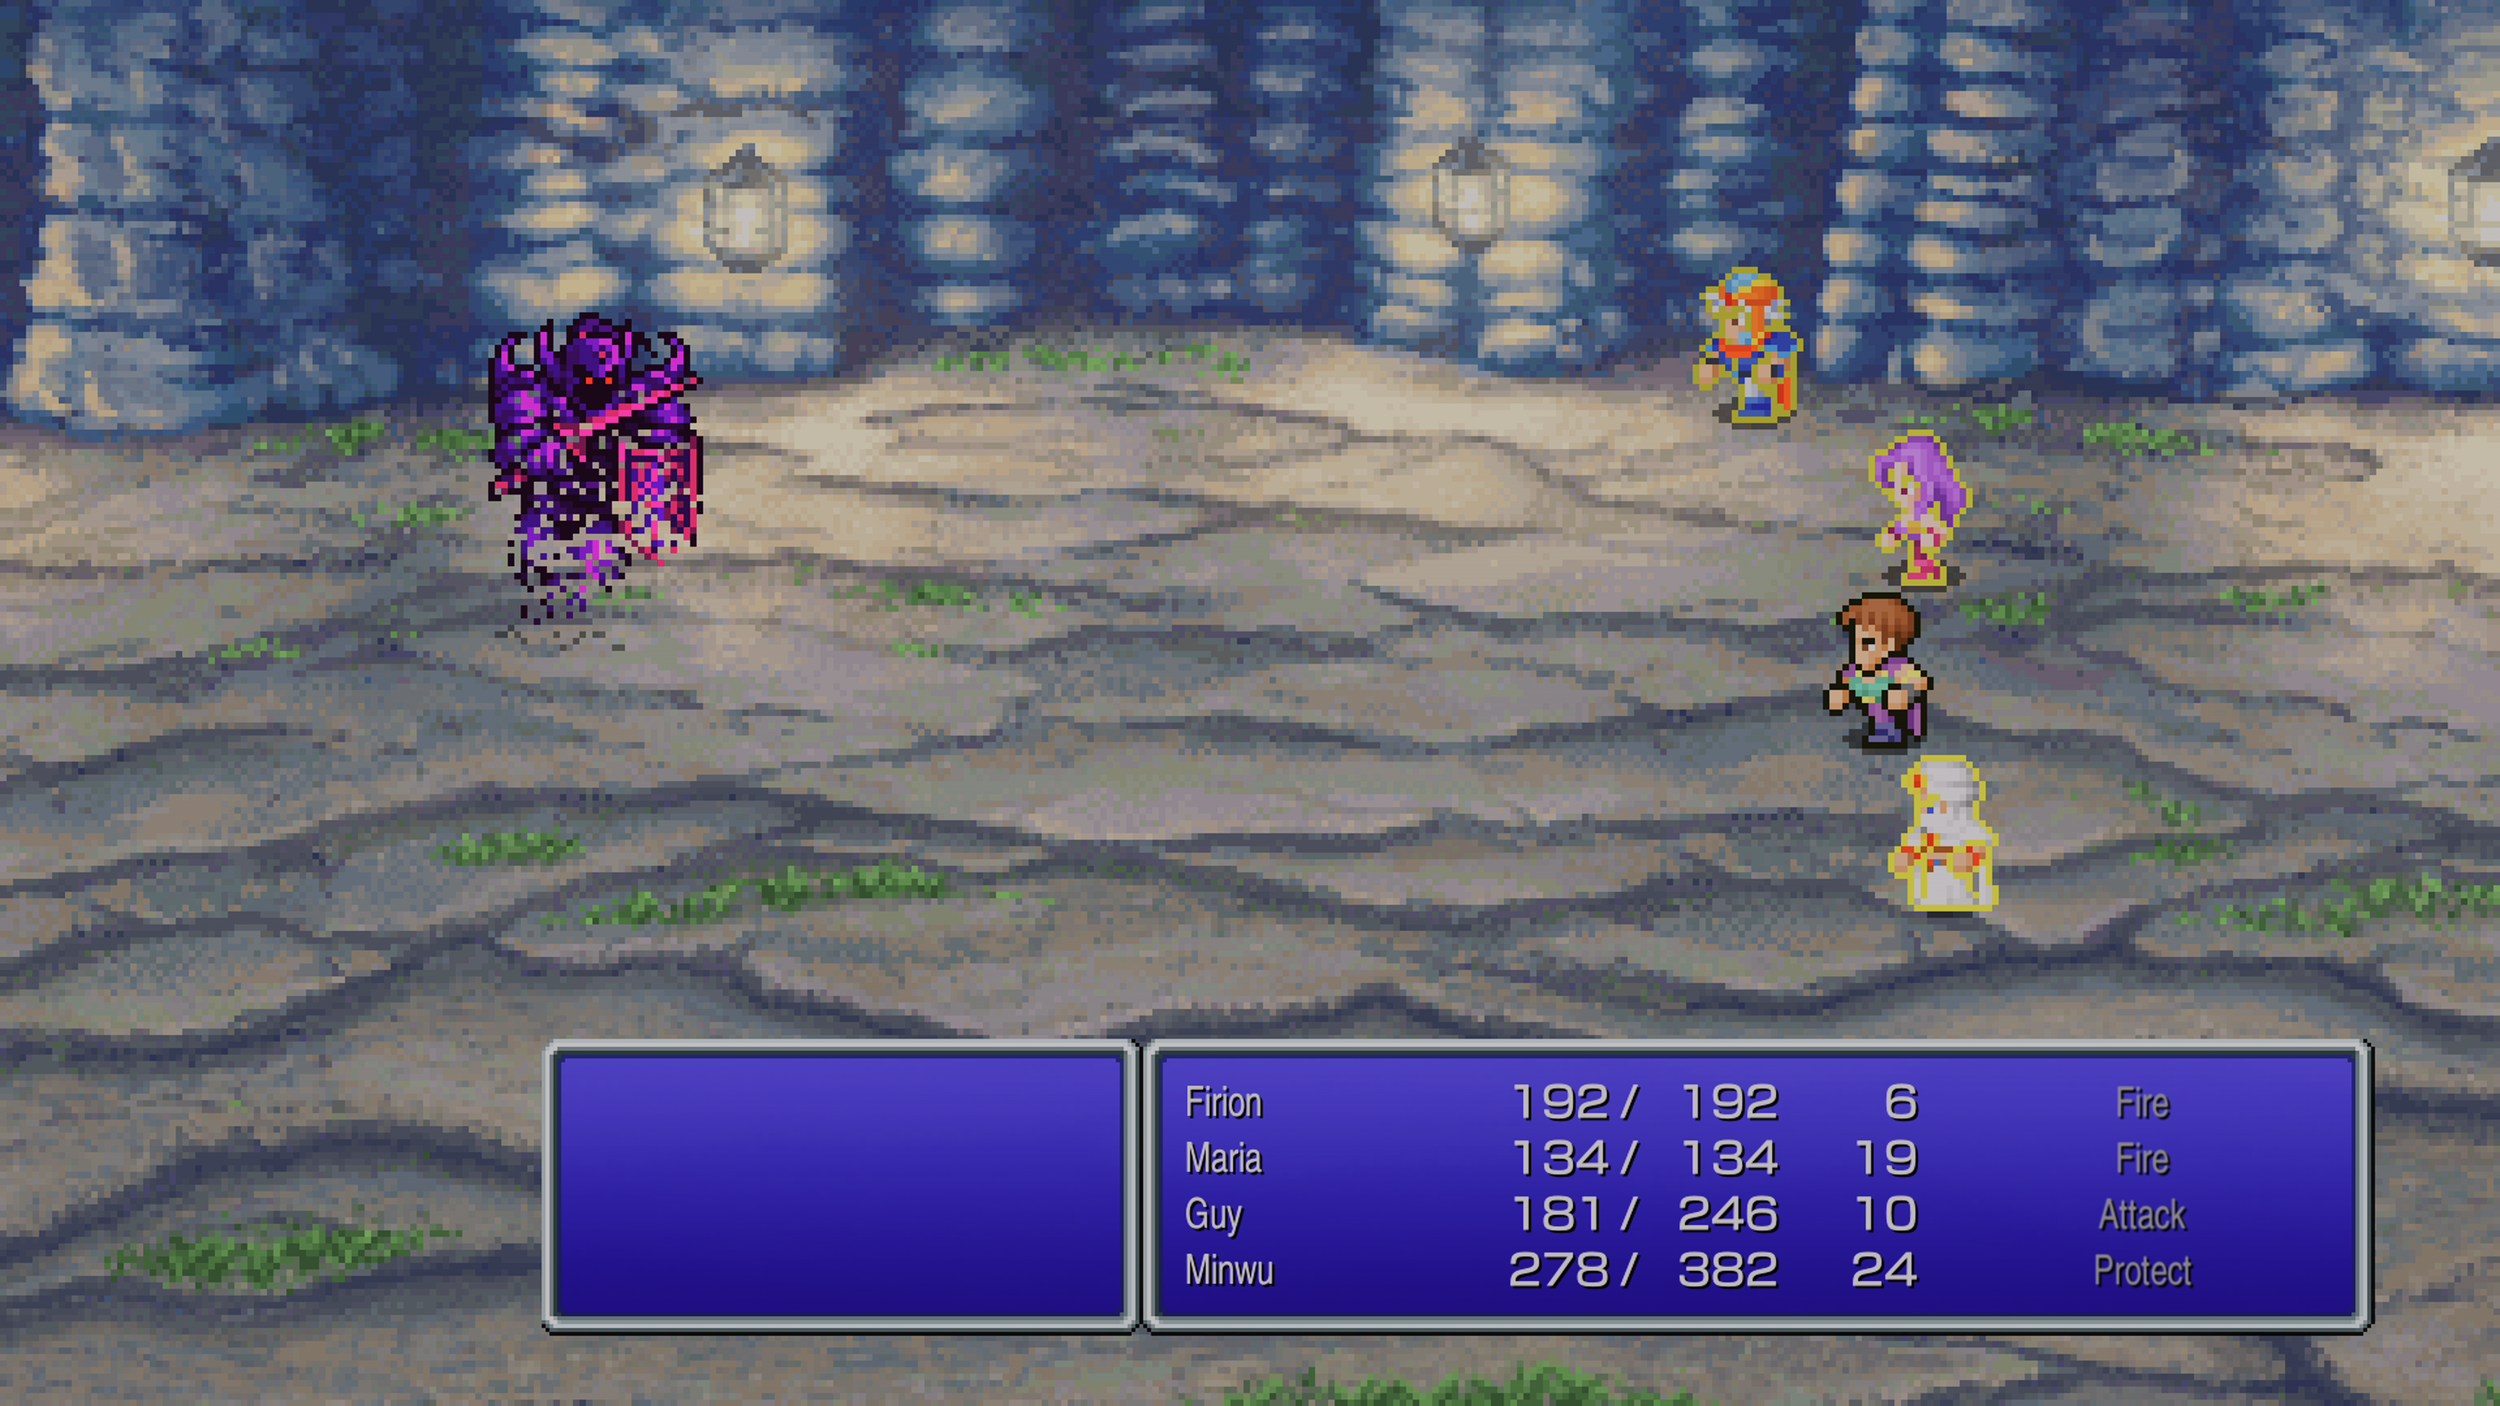
Overall as long as you have one party member able to cast offensive spells this fight should be quite easy.
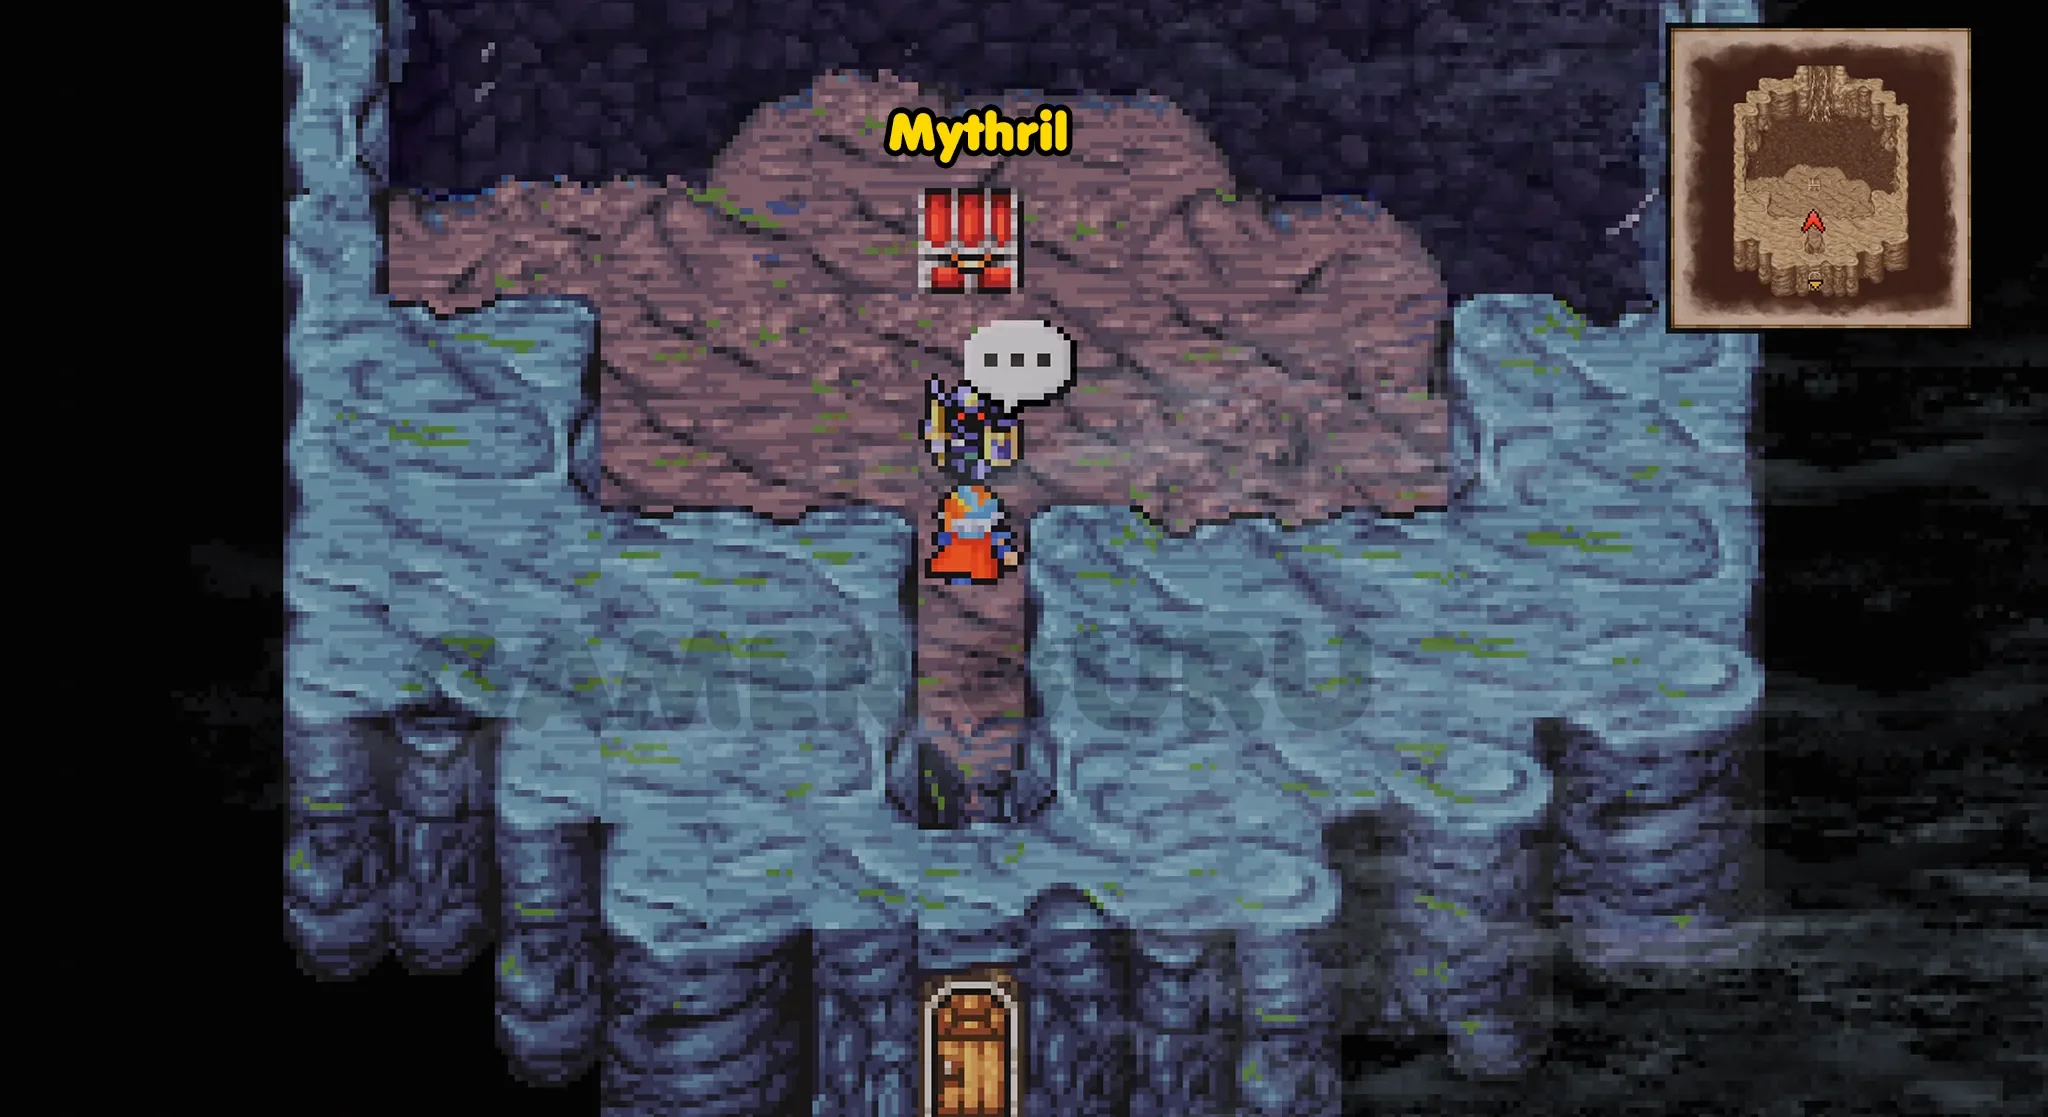
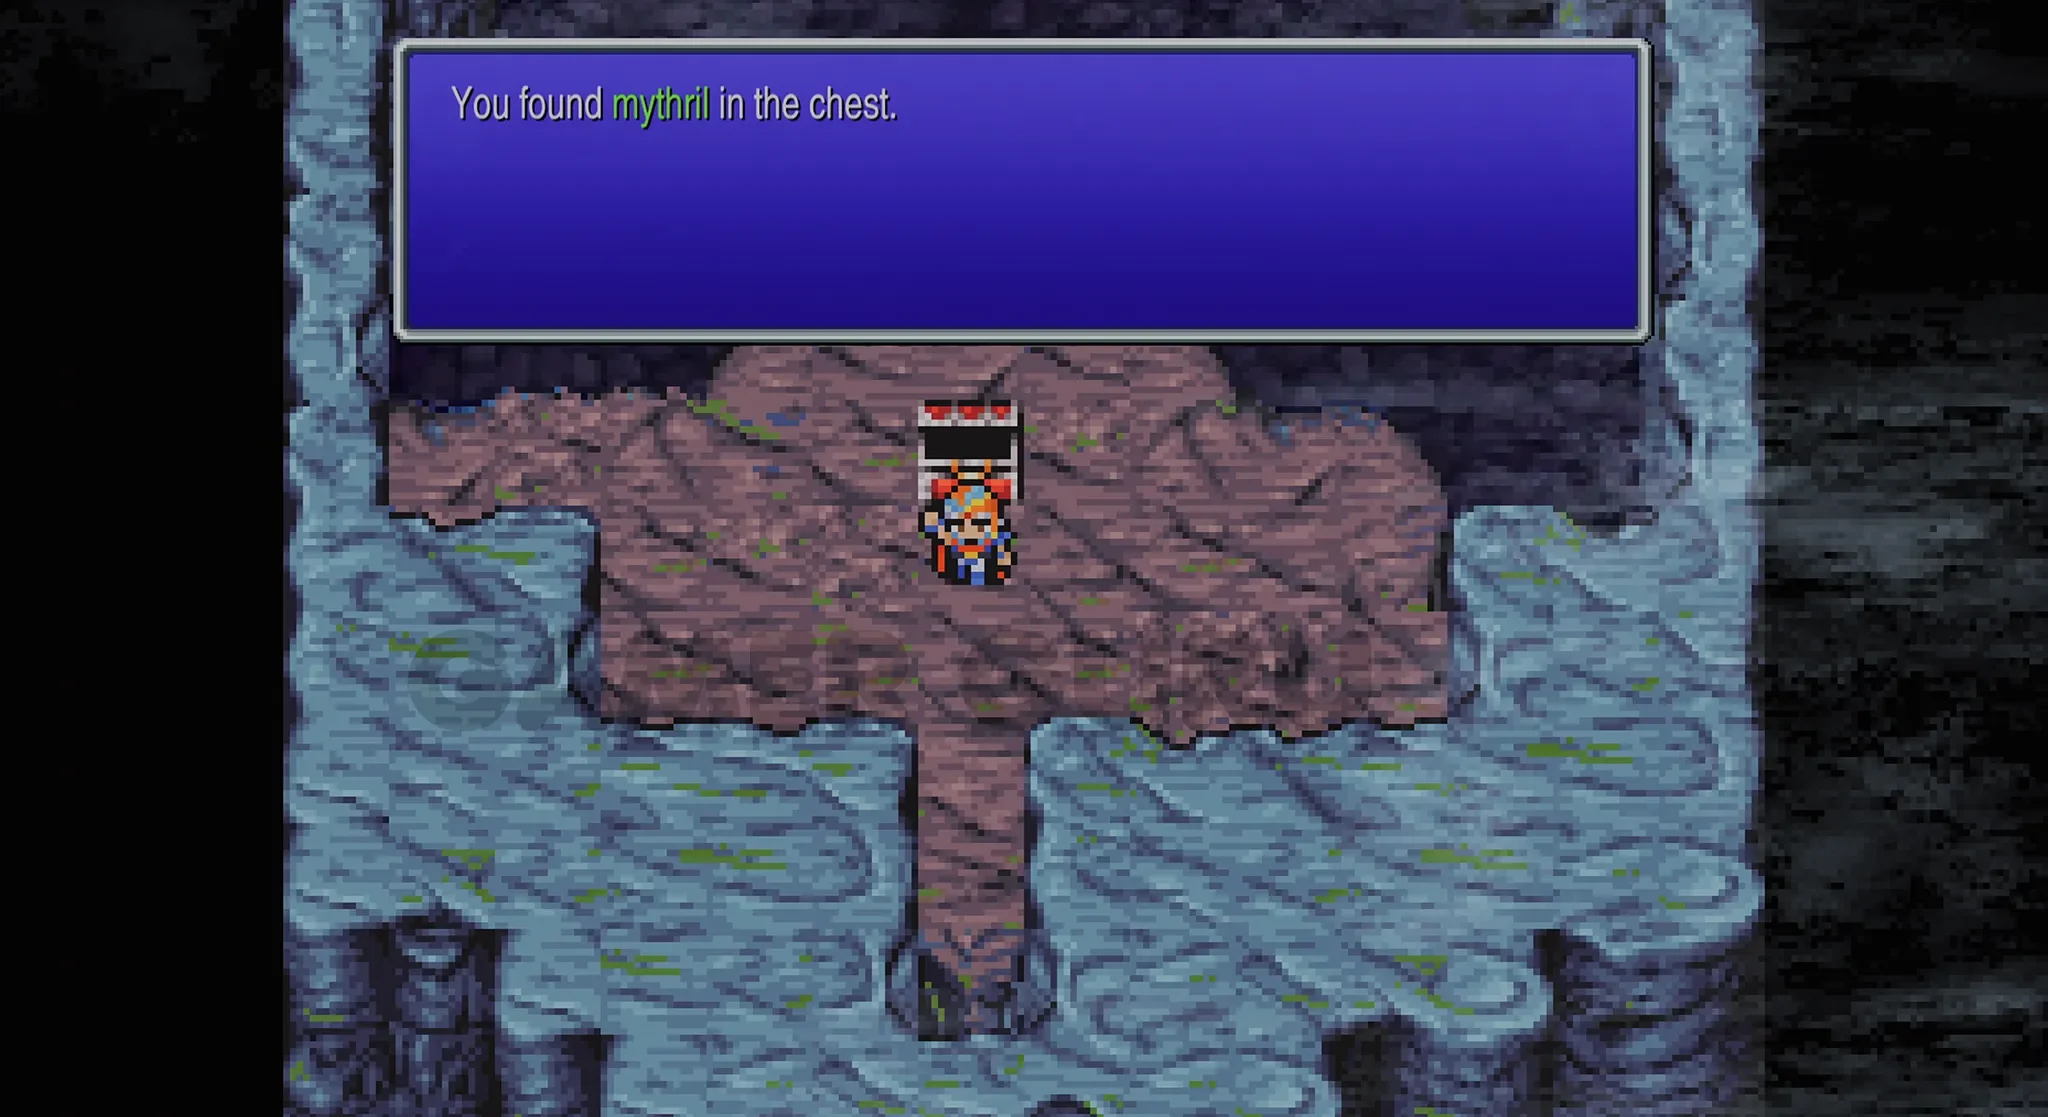
Once you defeat the boss, open the chest behind him to get the Mythril.
You may have noticed that we only have 10 out of the 11 chests, but as we mentioned at the start of the area, the 11th chest can only be obtained when we return here later on in the game, we will mention it in this walkthrough when the time comes so don’t worry.
Now that you have the Mythril, use Teleport to exit the dungeon.
Our next step is going to be to take the Mythril back to Princess Hilda.